Follow the steps below to create a new customer:
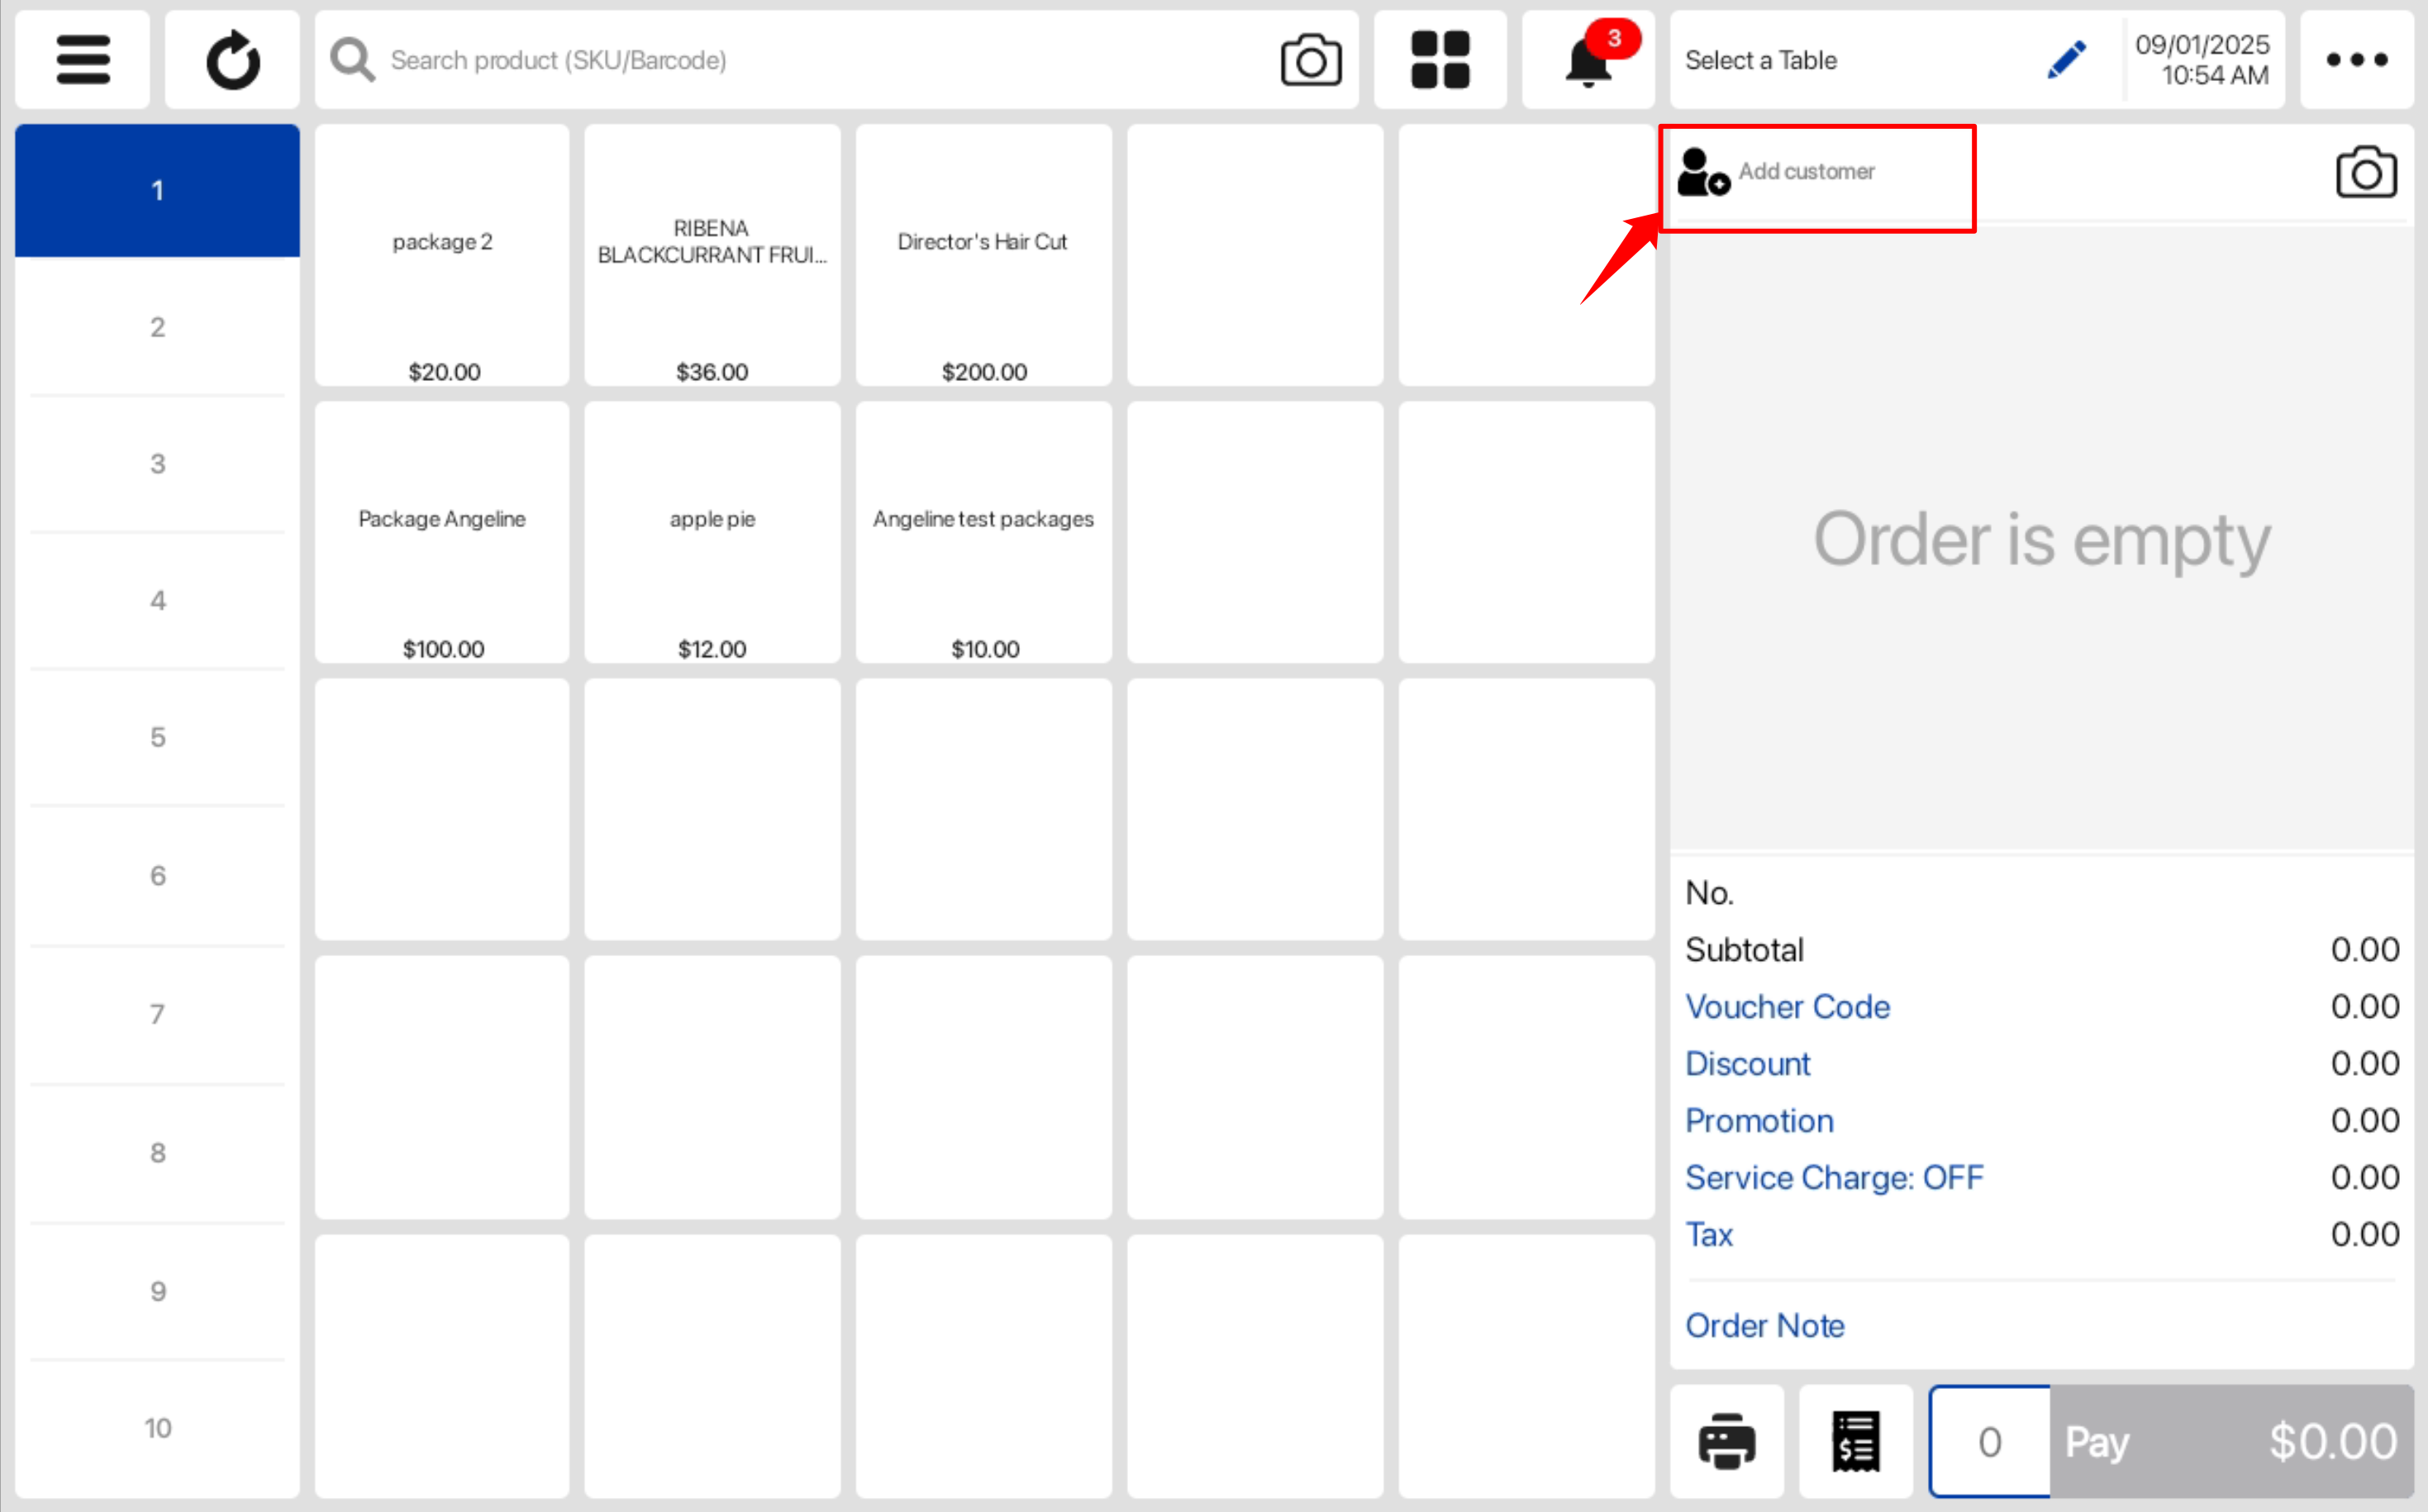
Step 1: Users can click on the Add Customer section on the sales screen.
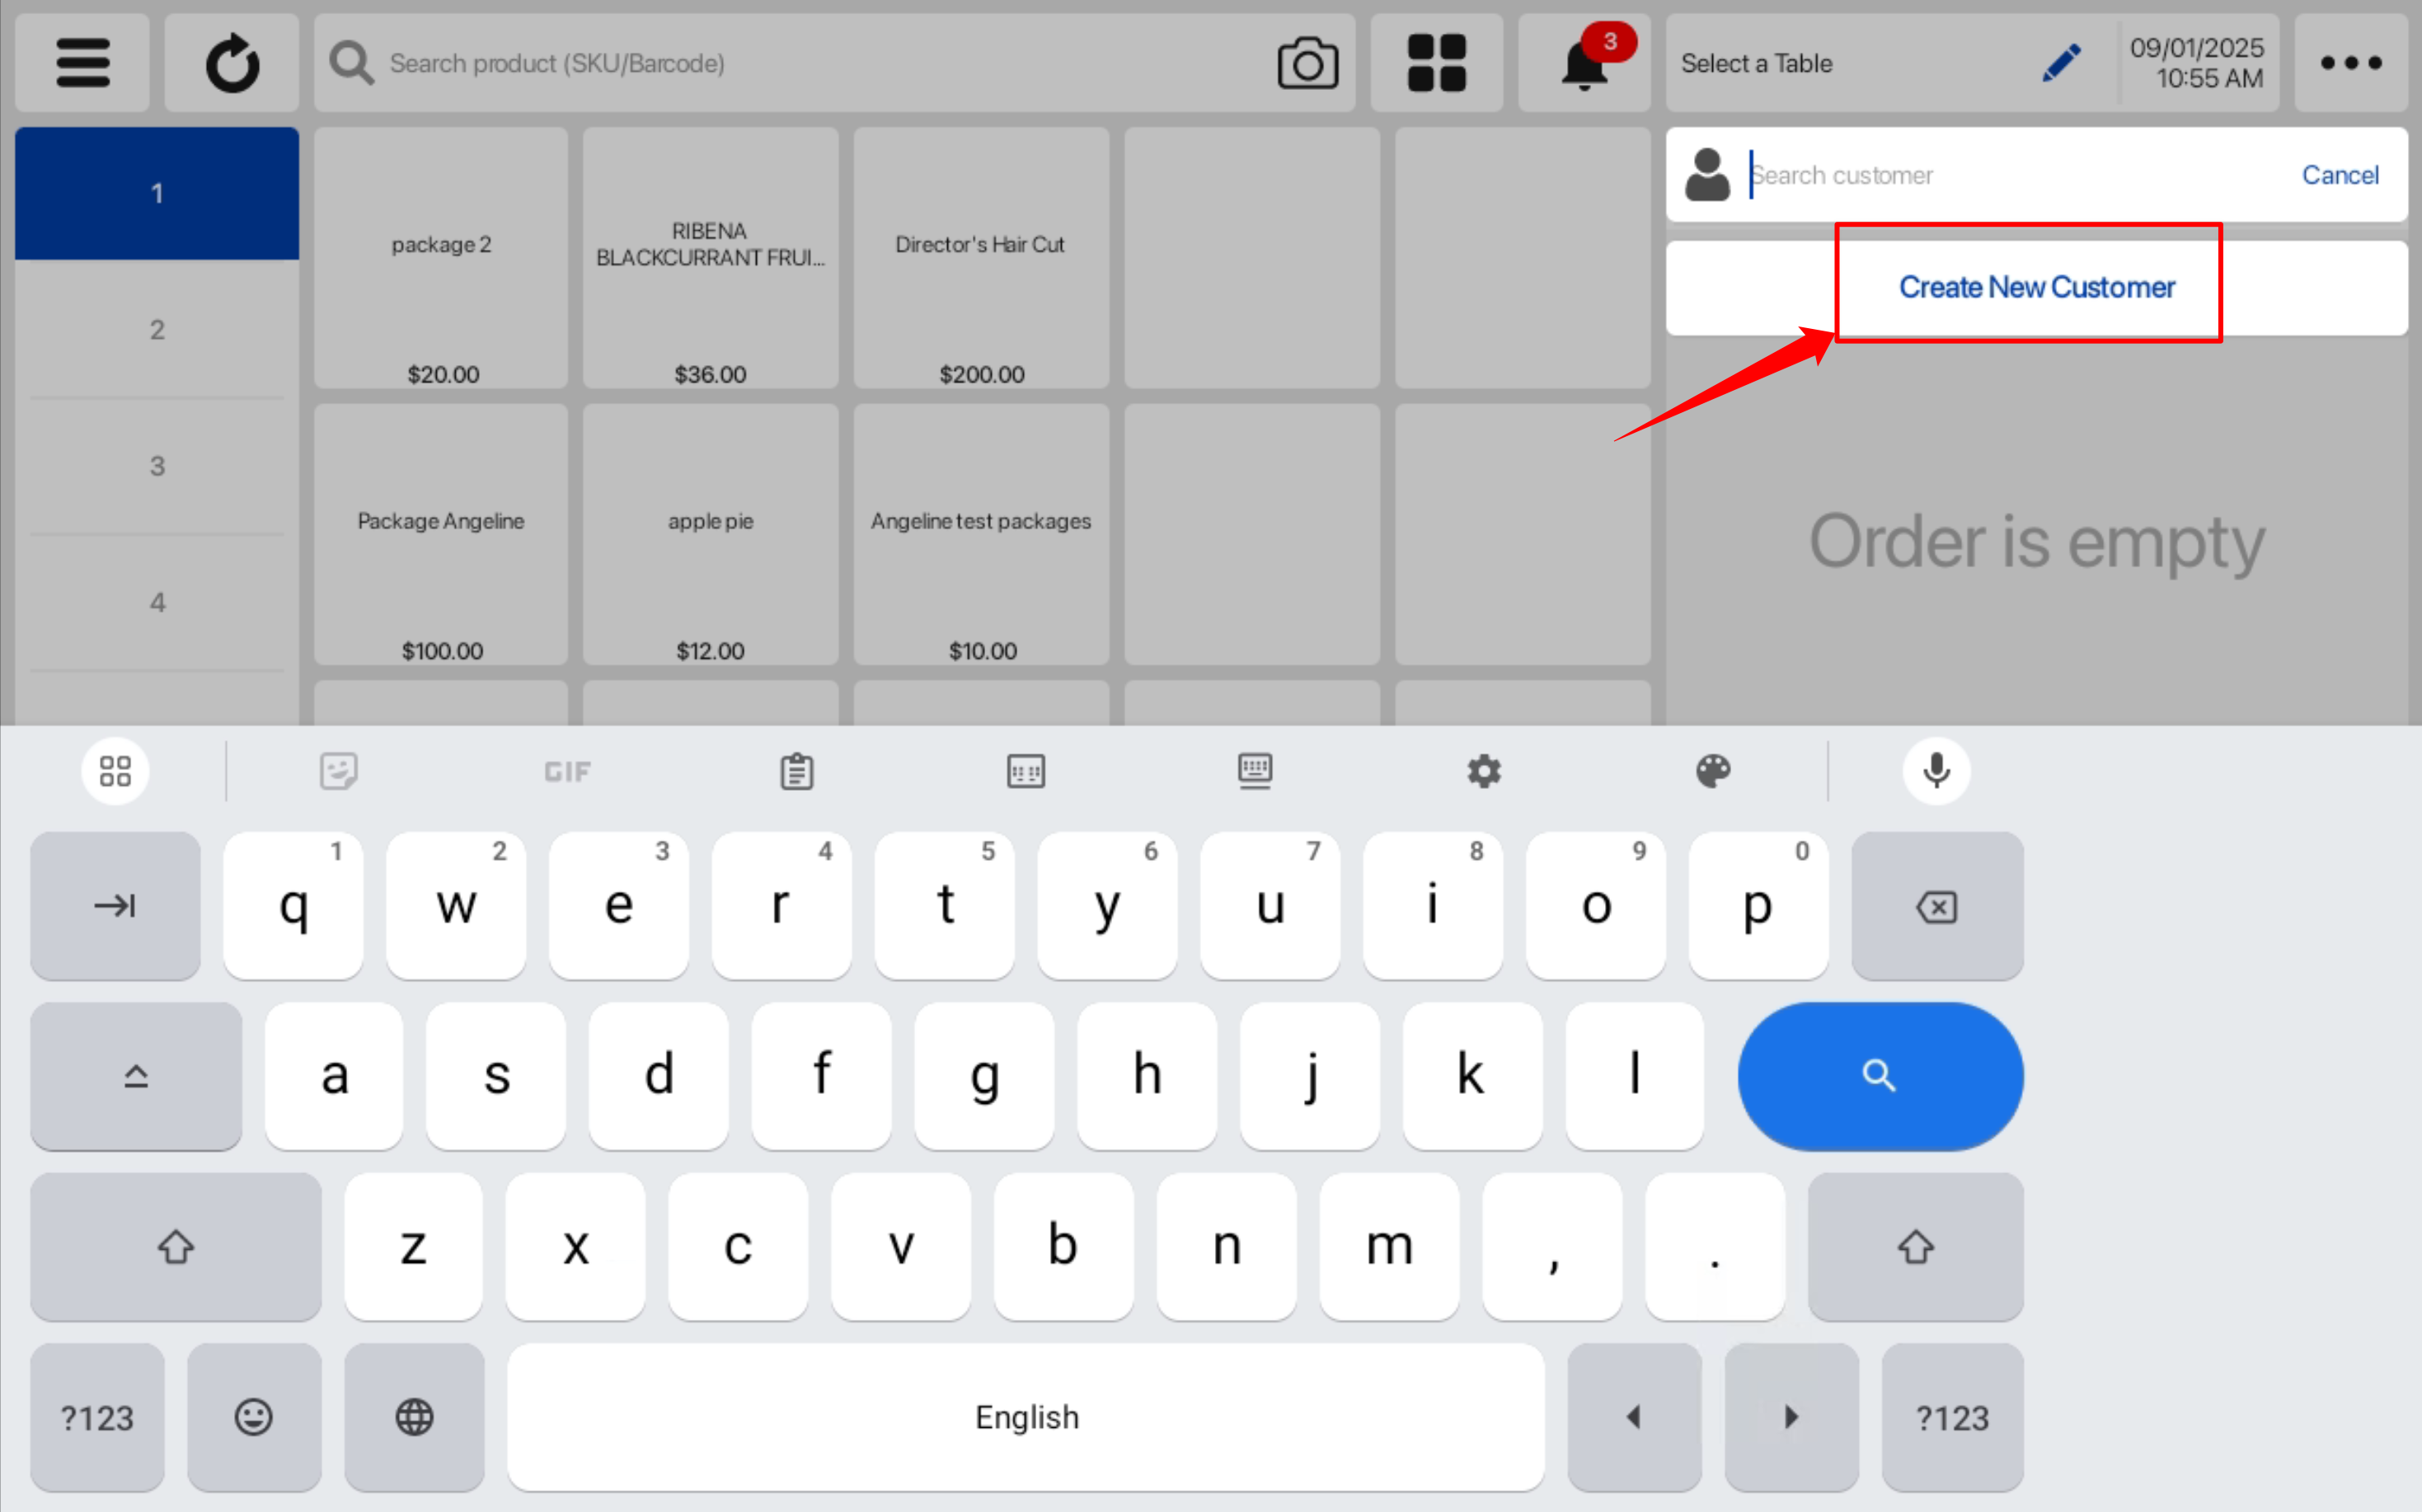
Step 2: Users can click on the Create New Customer text to access the create new customer page.
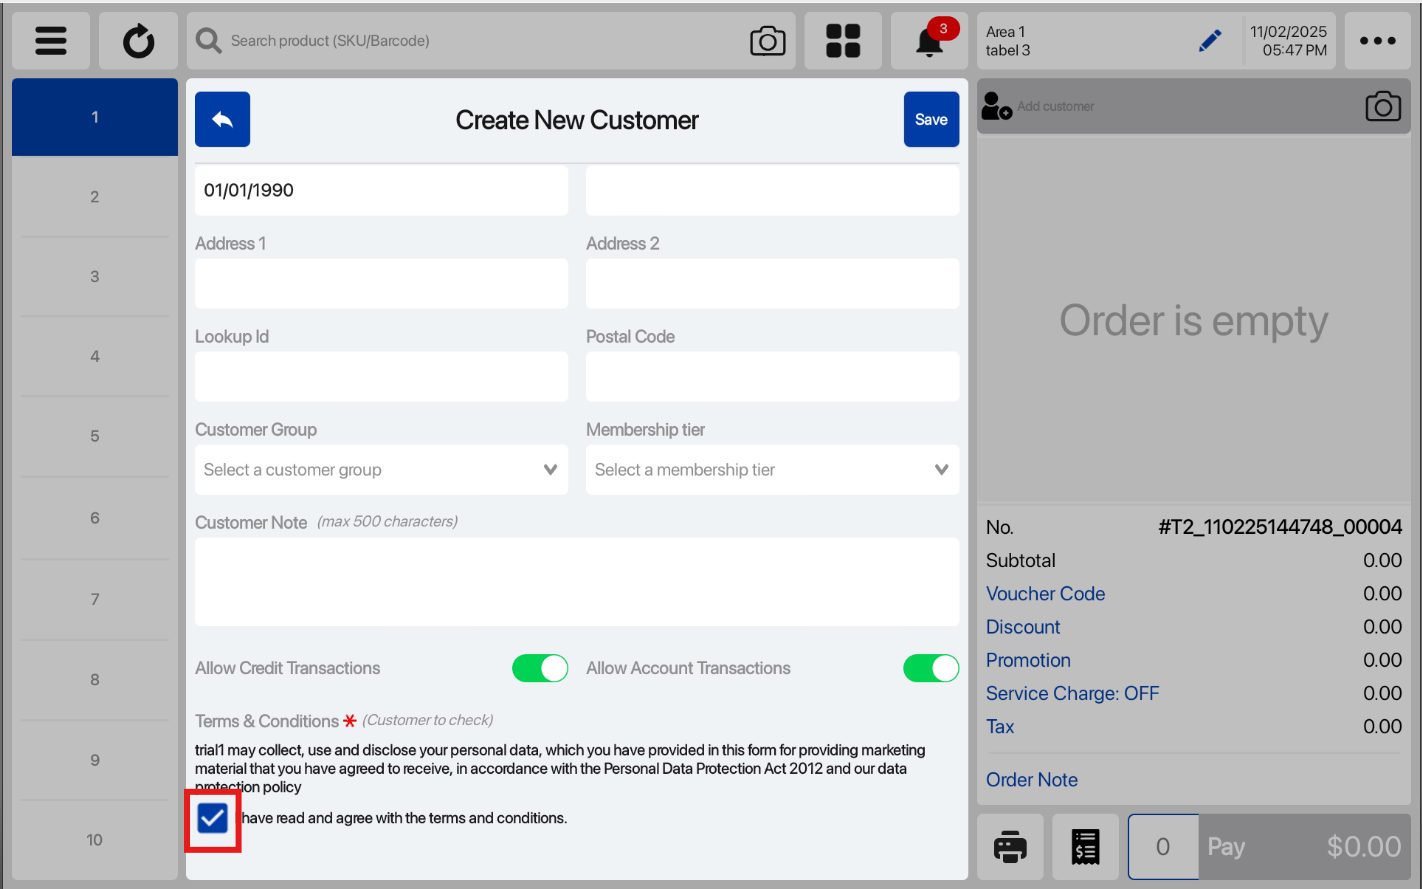
Step 3: In the pop up window, users can insert the new customer details, add customer note.
💡 Name and Phone Number are mandatory fields.
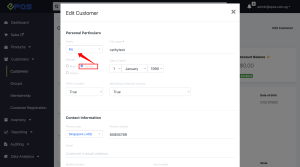
💡 Can select gender here, our system would auto-map title prefix for you.
– Female→ Ms.
– Male → Mr.
– Others → No mapping
– Null → No mapping
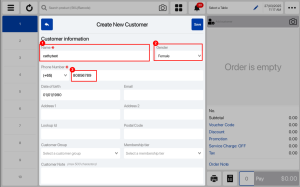
💡Lookup ID is an optional field. If left blank, unique values are auto assigned to identify customers.
Step 4: After inserting all of the following information, users can click on the Save button to save the new customer’s information.
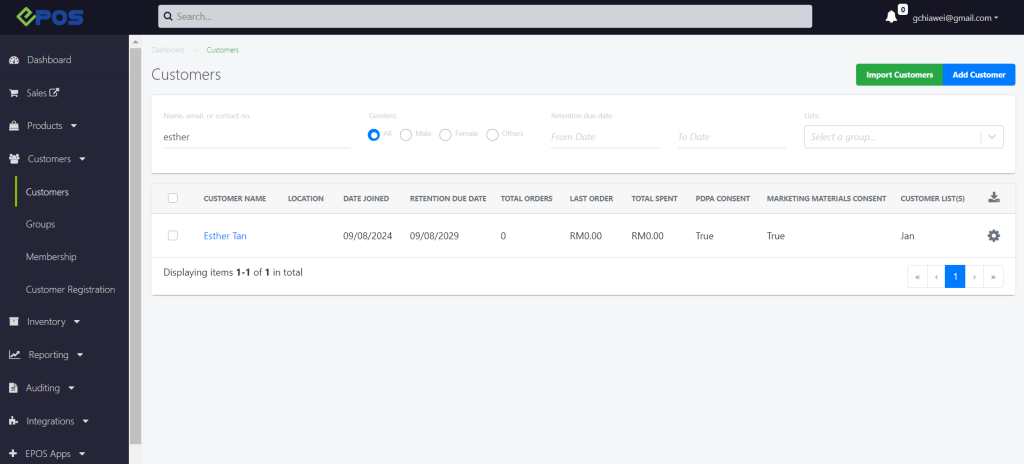
The new customer’s information will be stored in the backend portal.
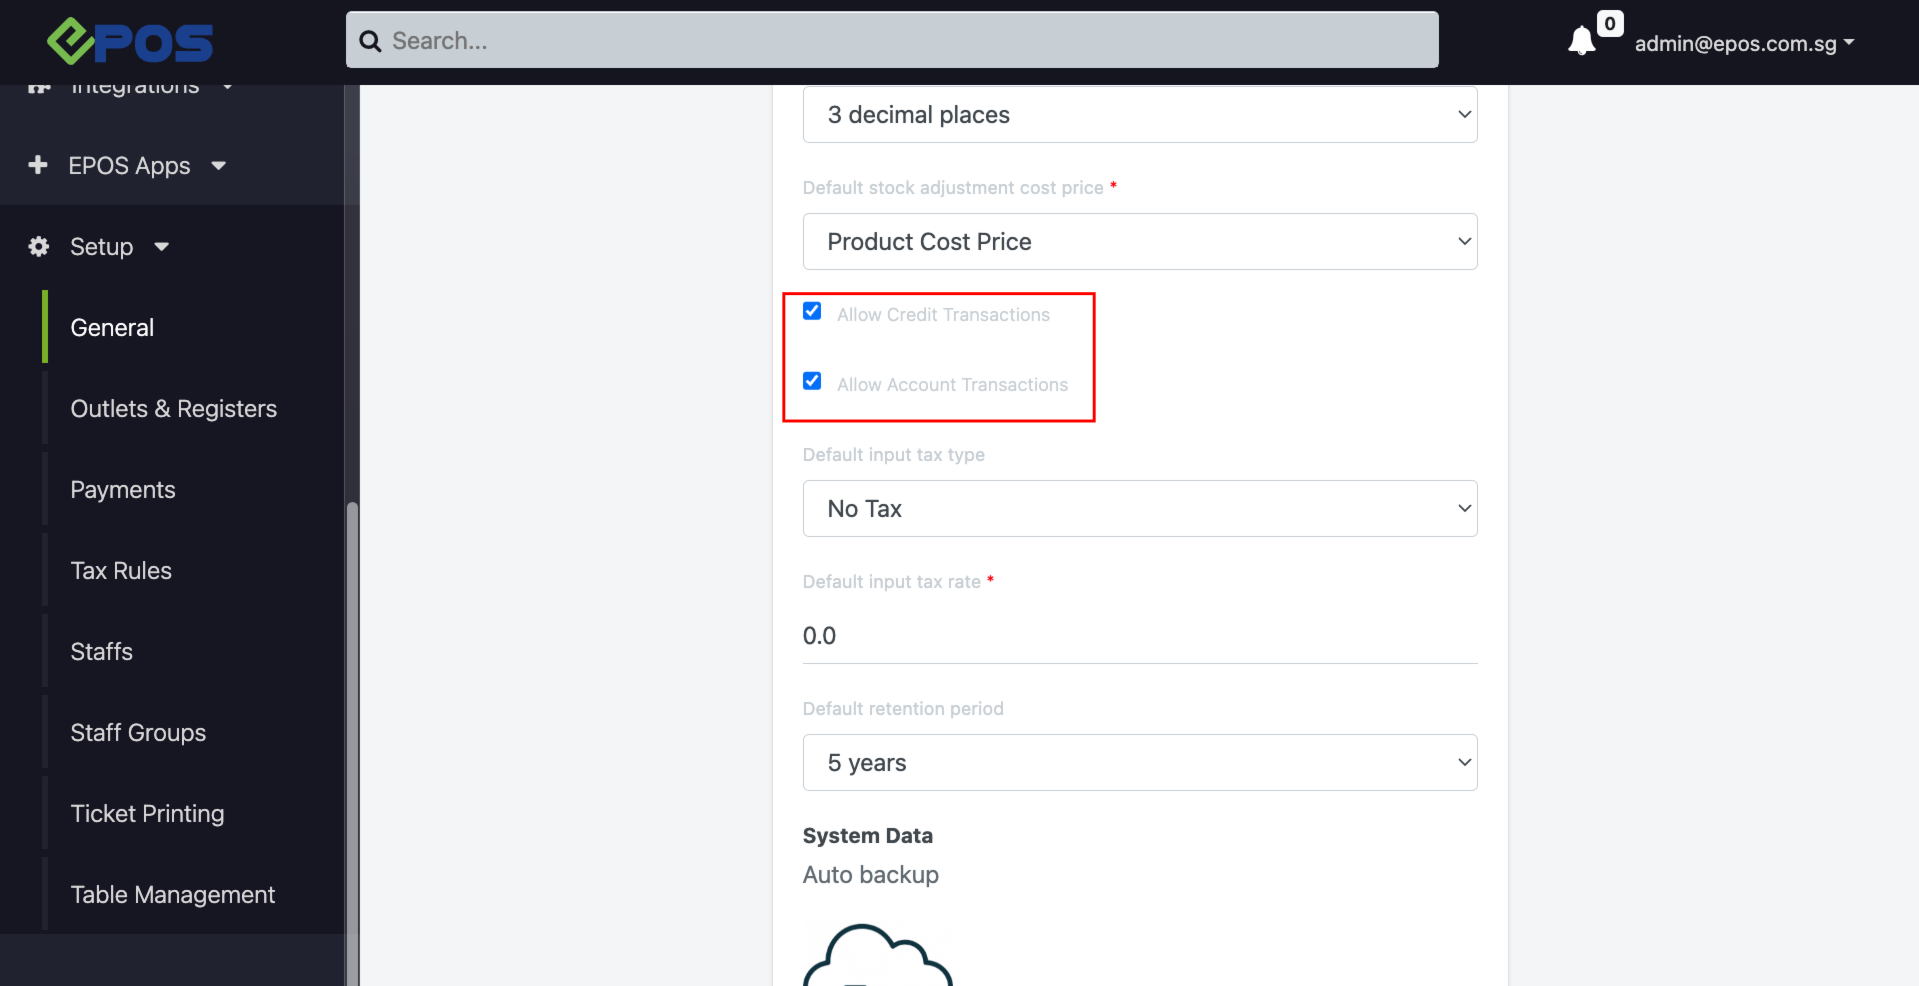
*Step 5: About “Allow Credit Transactions” & “Allow Account Transactions”
By default these two options are disabled, if want to have it enabled automatically, should set up in the Backend.
Set the general config to enable both credit and account transaction in Backend.
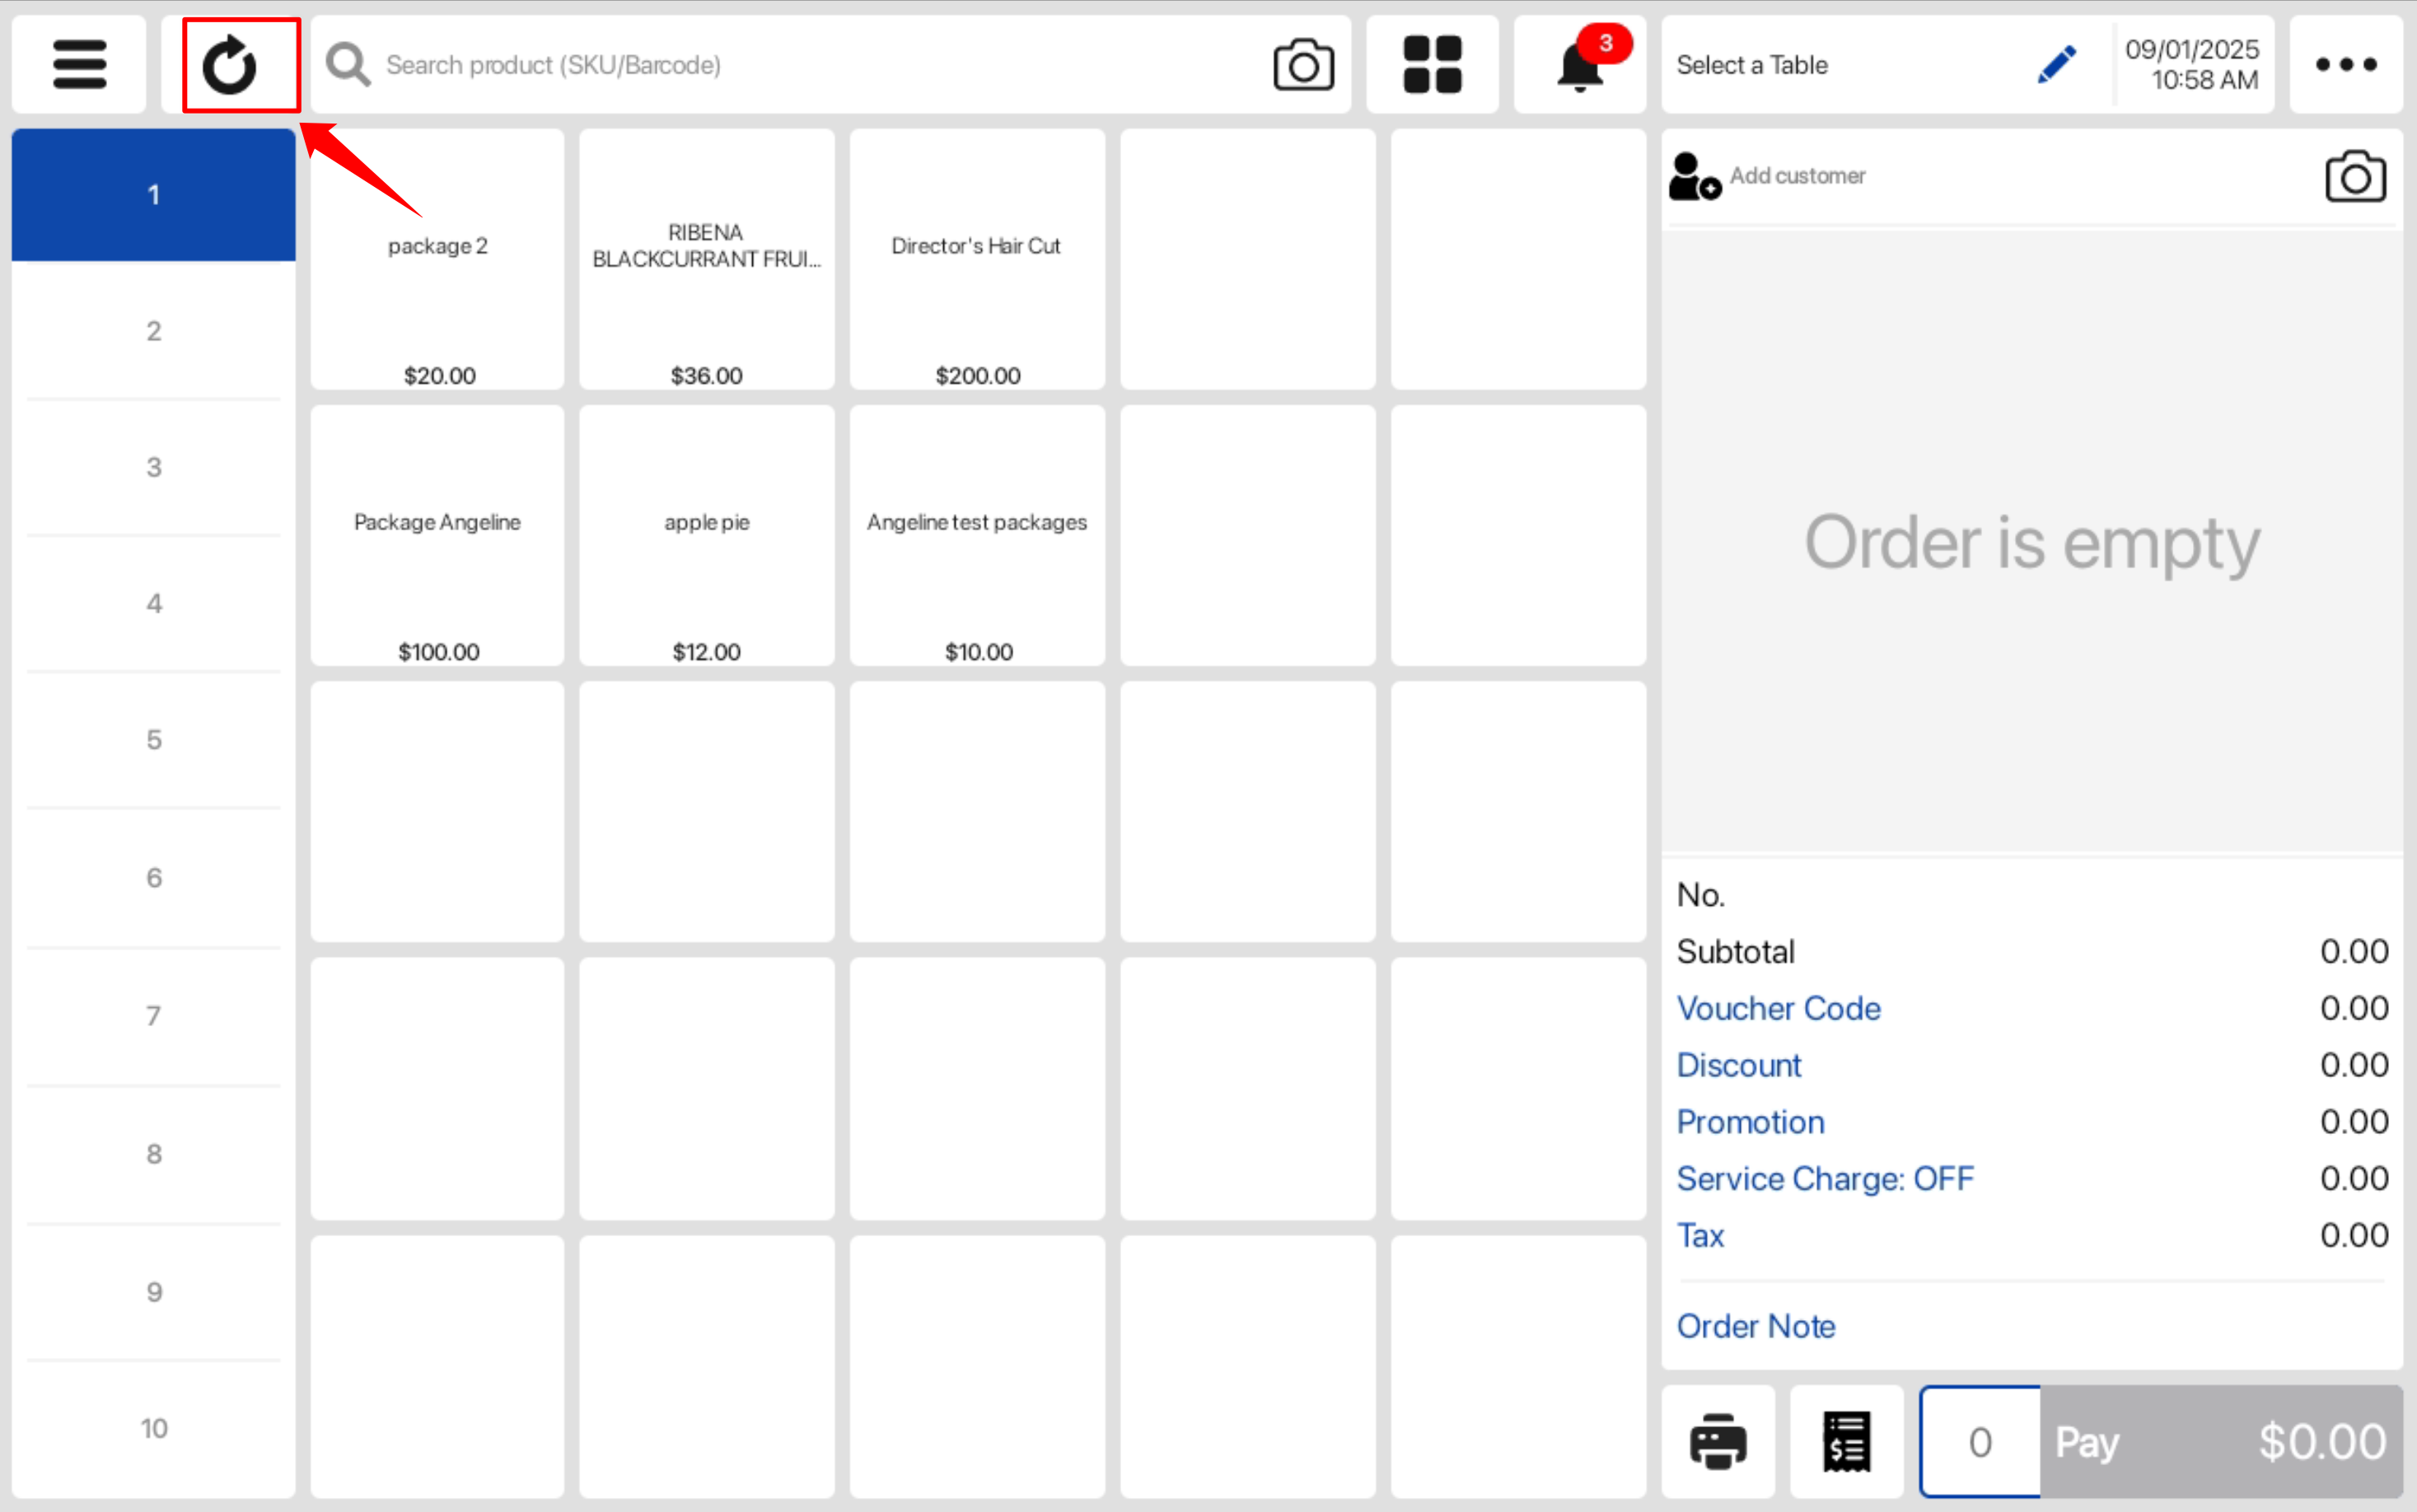
Go back to the Android POS and click the Sync button.
Now, when creating a new customer, the two boxes would be auto-ticked in the frontend.
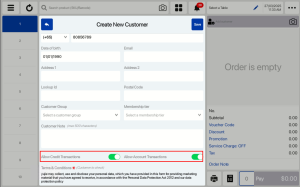
Customer will need to tick the Terms & Conditions checkbox such that they acknowledge the collection and use of their data.
