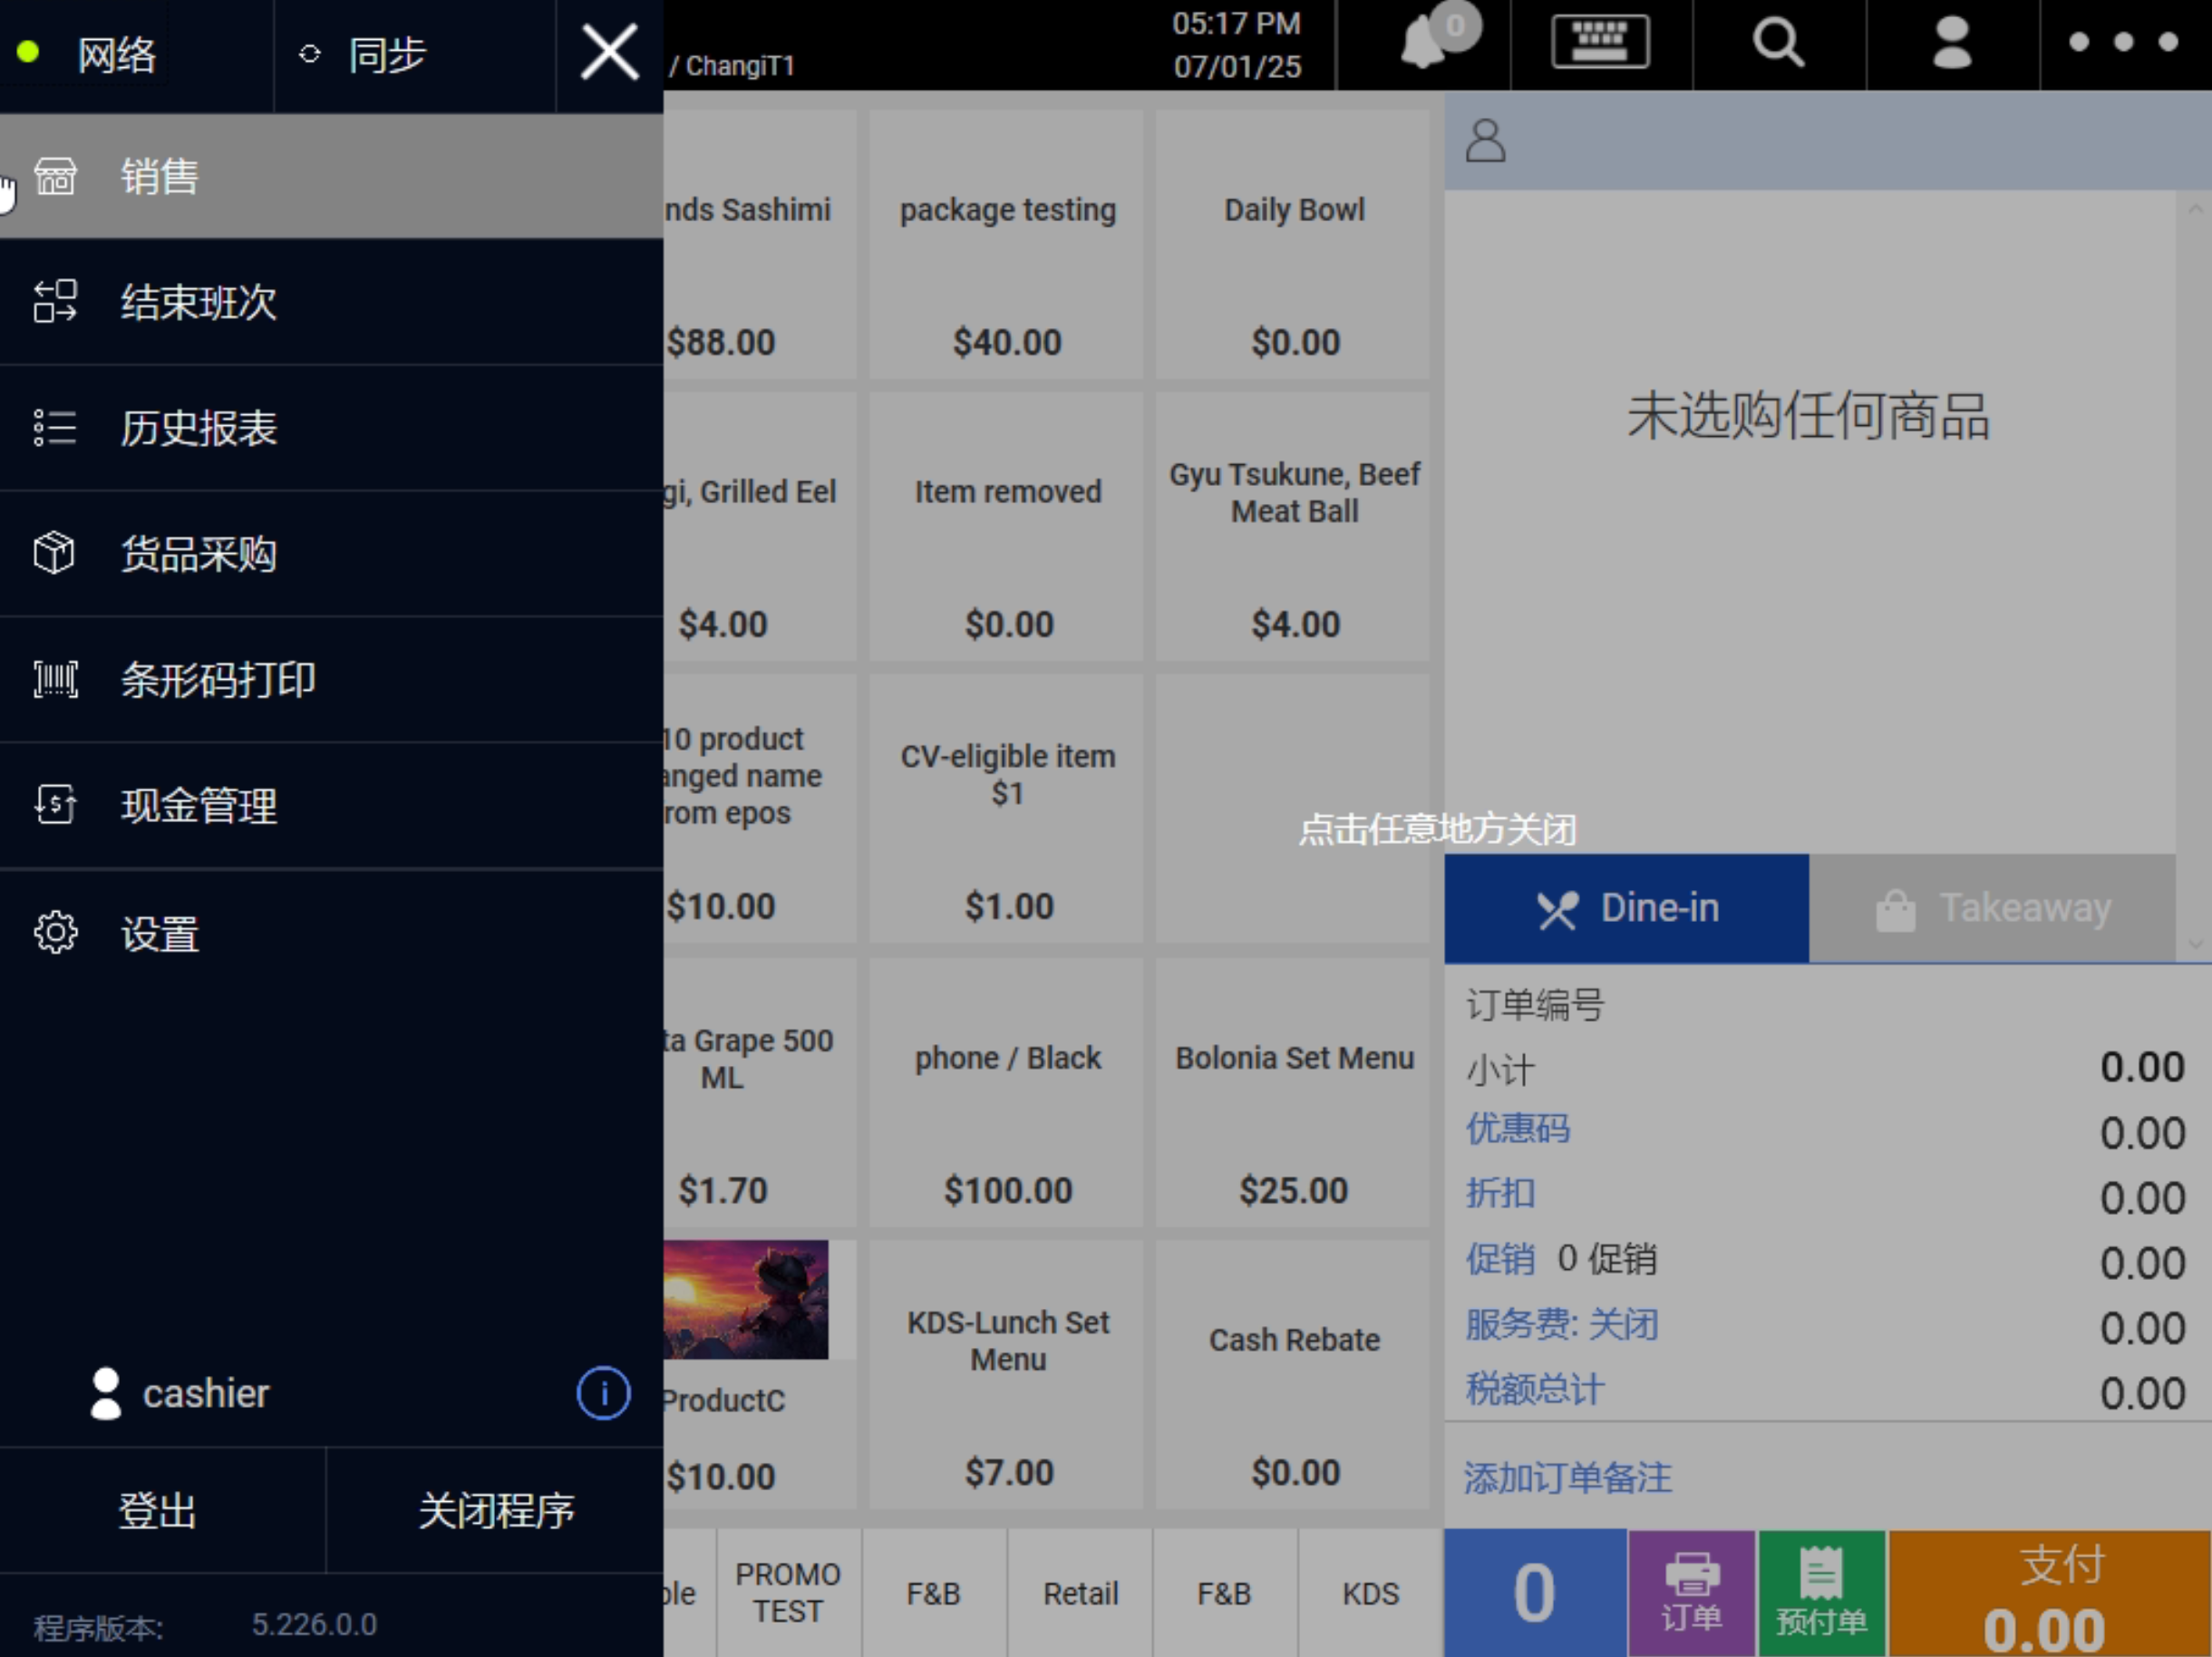
No products in the cart.
General Settings are those which will assist users in general usage of the FRONTEND POS
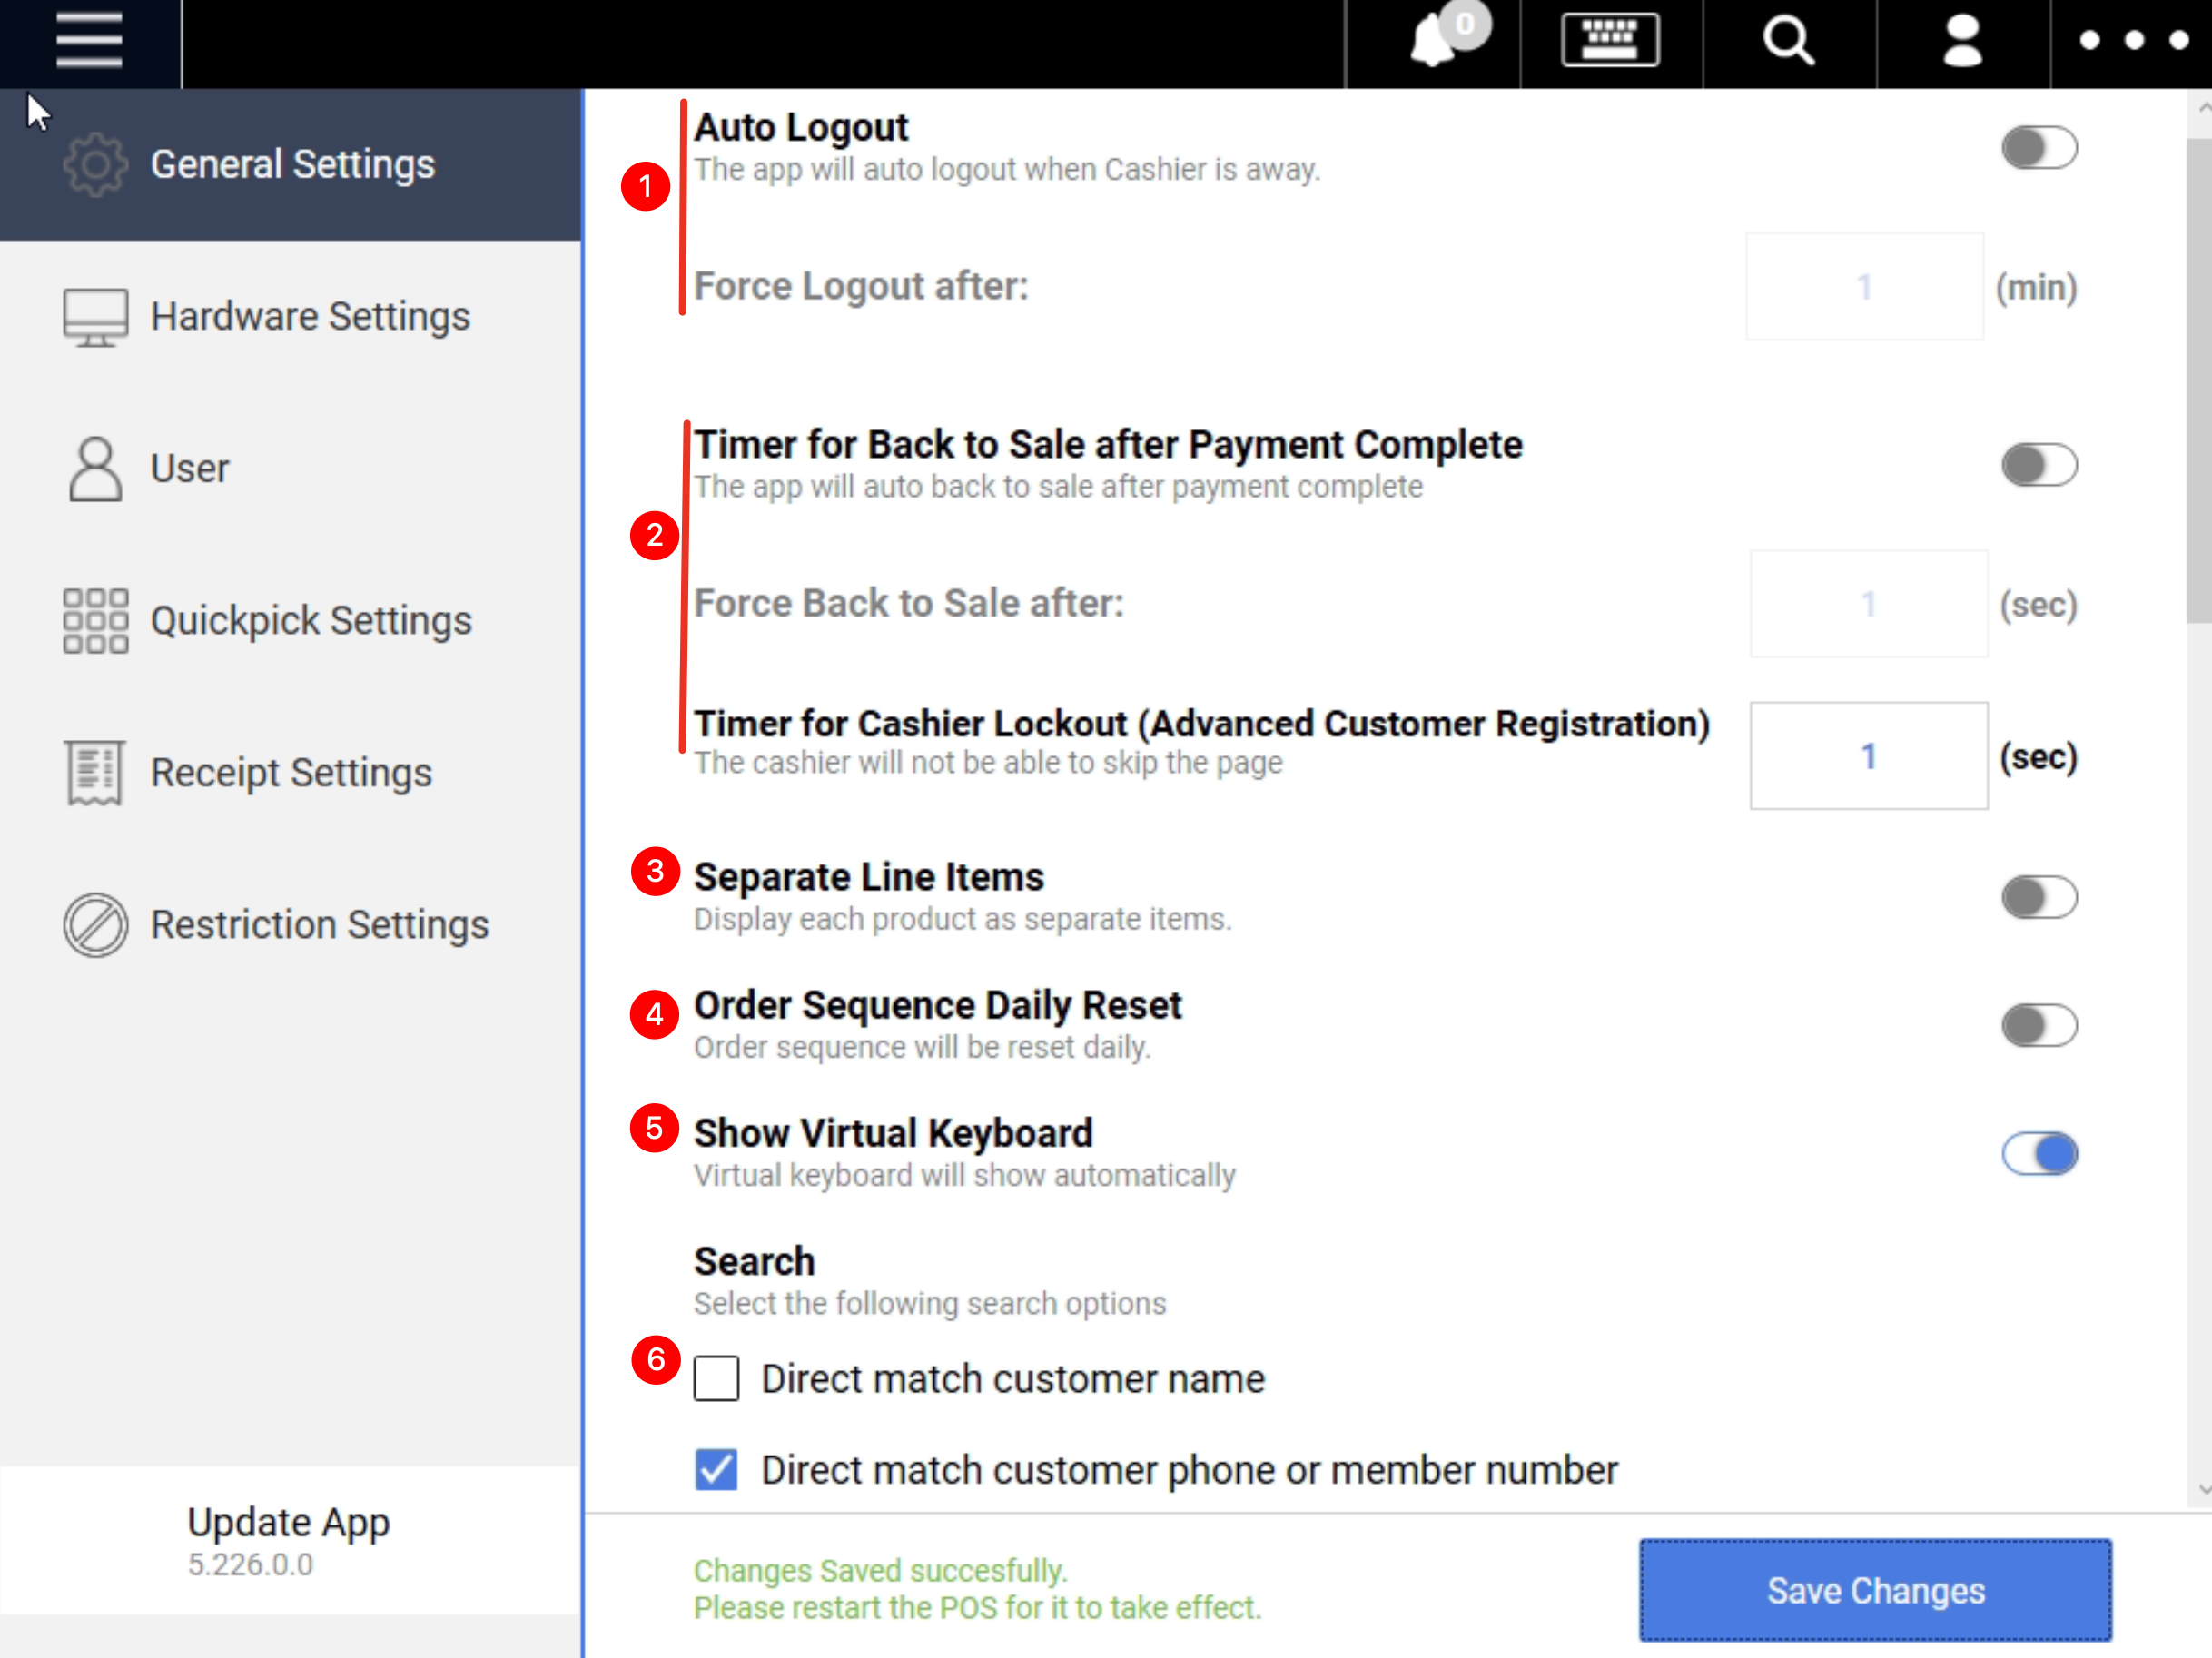
1. Auto Logout & Timer
Default setting – disabled.
If enabled – allows the system to auto-log out of FRONTEND POS after a specific period of inactivity.
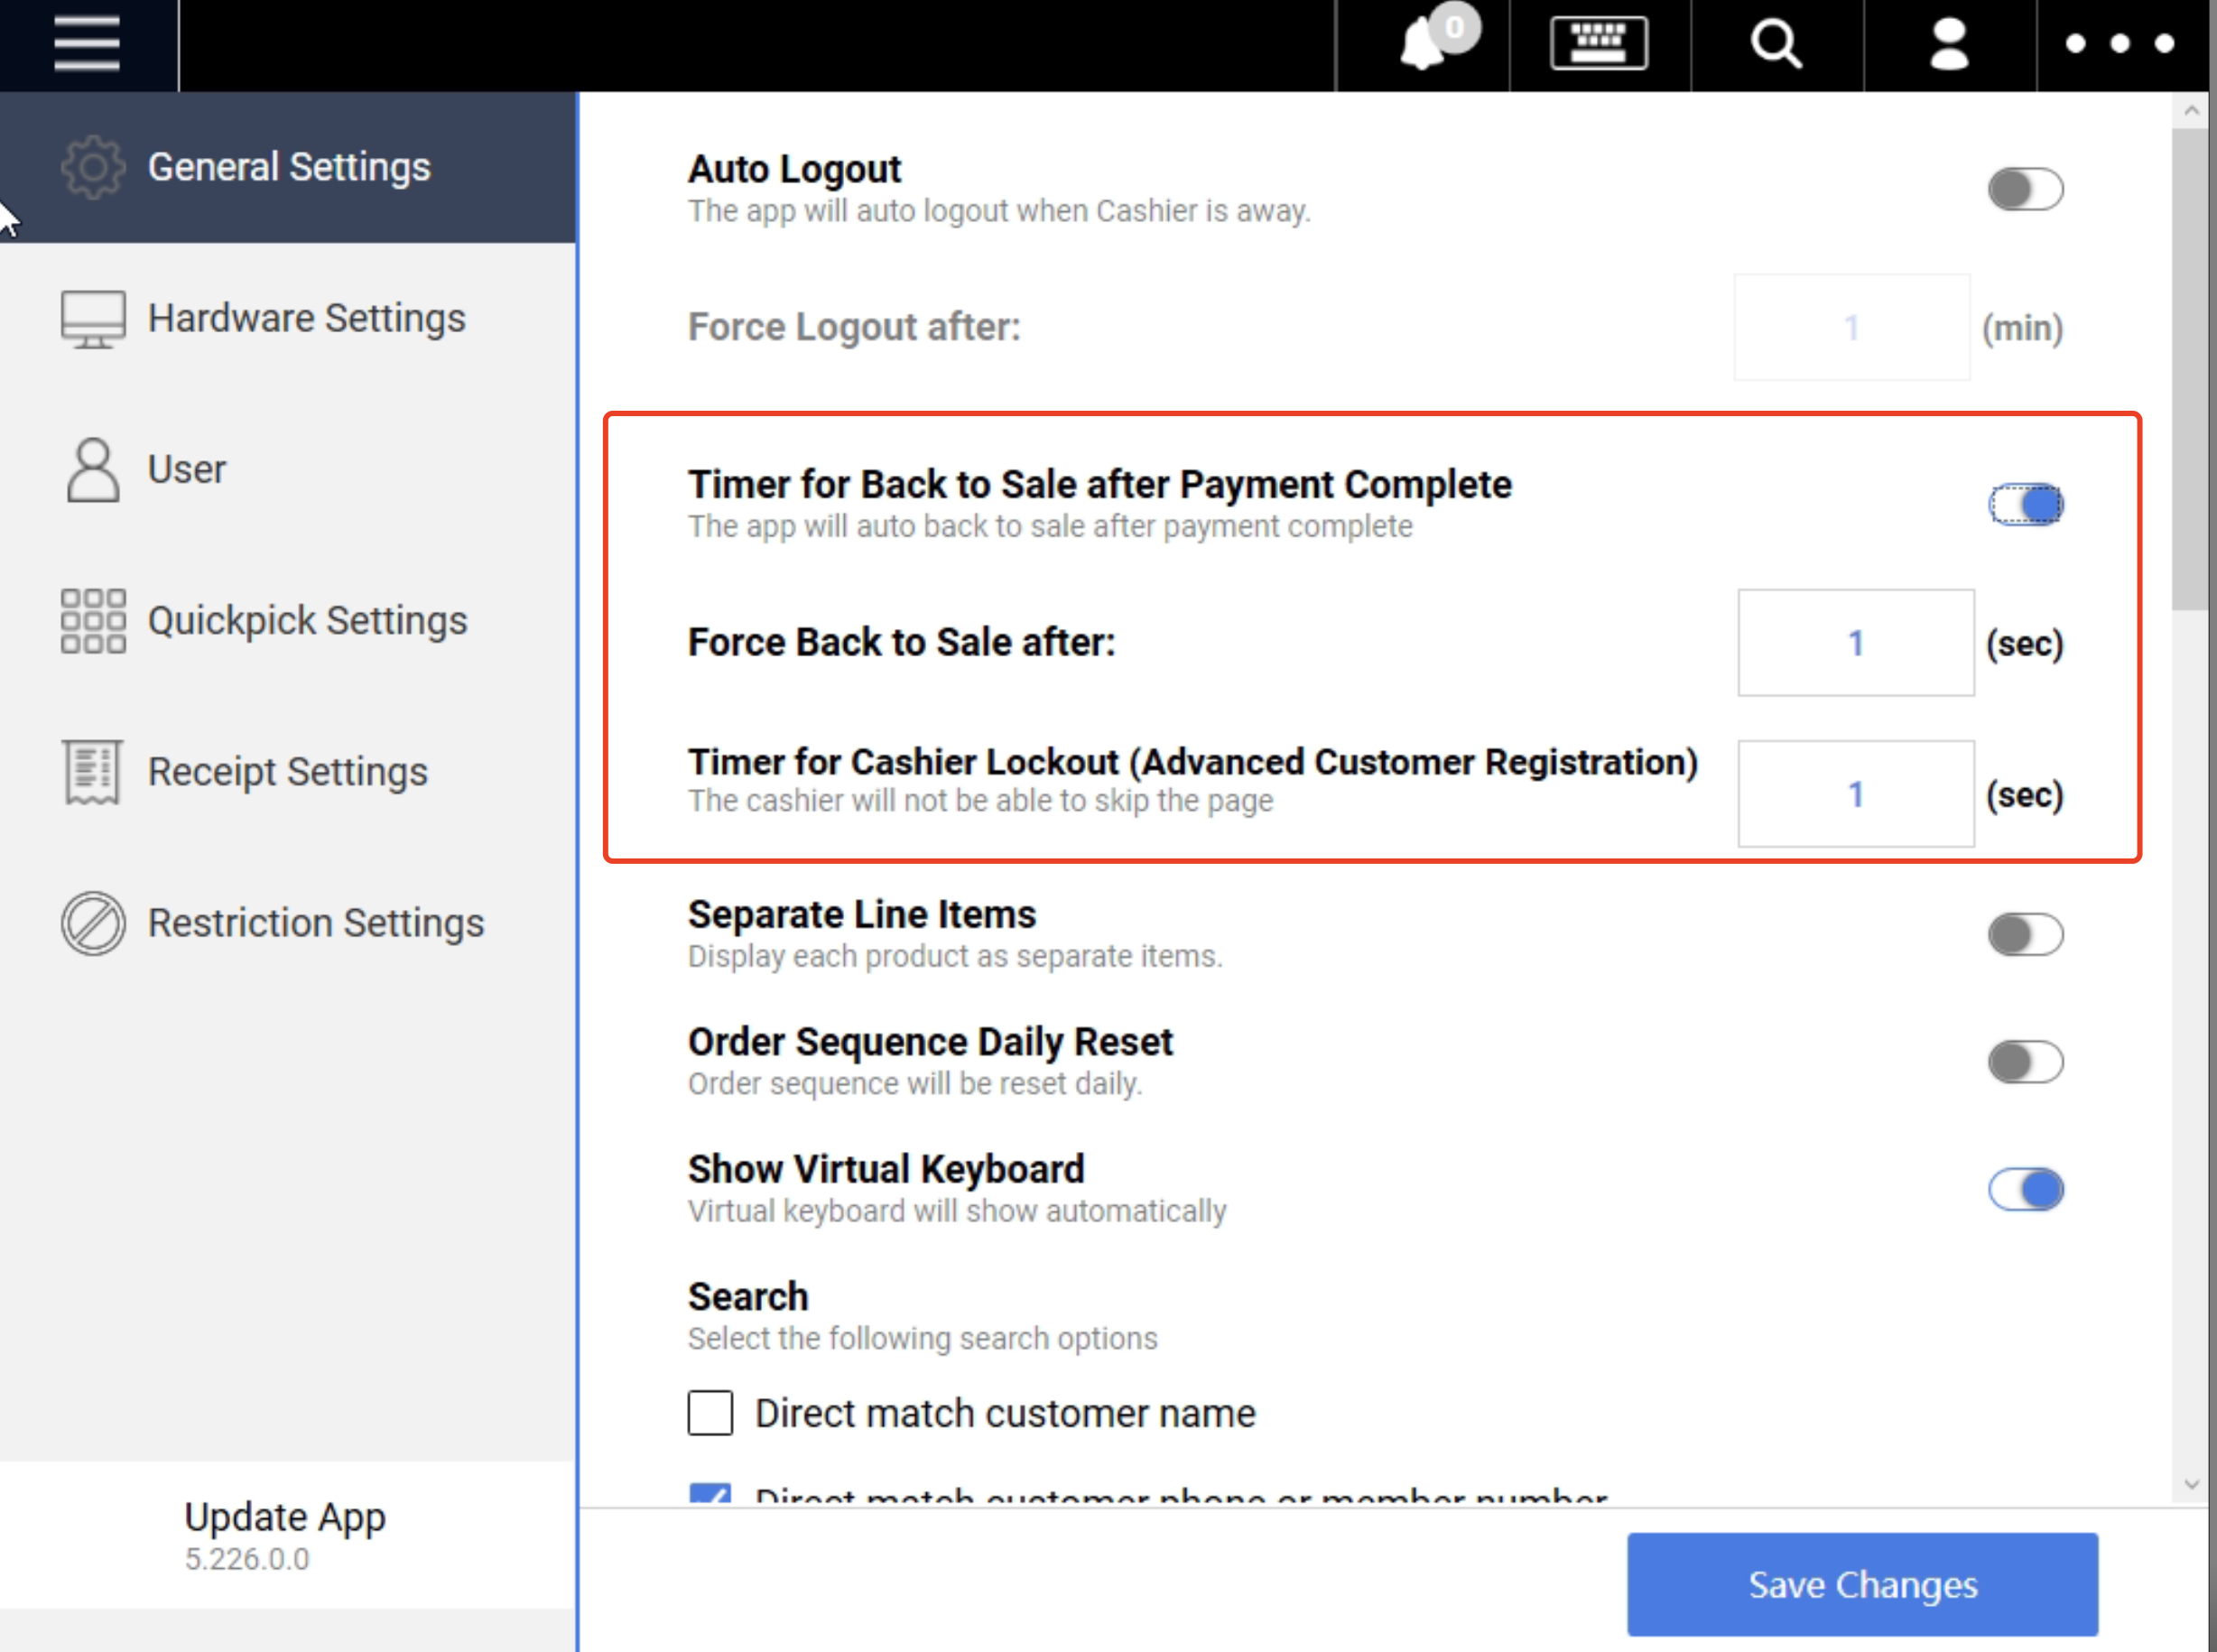
2a. Back to Sale after Payment Complete & Timer
Default setting – disabled.
If enabled – Automatically return to Sales Screen without users clicking on “Done” at the payment completion page after a specific period of time.
2b. Timer for Cashier Lockout (Only for subscribers of Advanced Customer Registration)
Default setting – disabled.
If enabled – Cashier can now skip the Advanced Customer Registration page or automatically return to Sales Screen after a specific period of time.
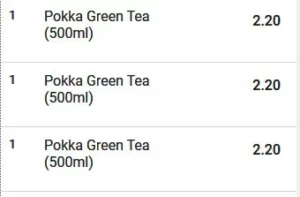
3. Separate Line Items
Default setting – disabled.
If enabled – Every item added to cart will be a single line item, multiple quantities of the same product will not be merged in the order cart.
4. Order Sequence Daily Reset
Default setting – disabled.
If enabled – Order Sequence printed on the sales receipt will start from 00001 for every first order of the day.
5. Show Virtual Keyboard
Default setting – disabled.
If enabled – a shortcut key for the virtual keyboard will be created.
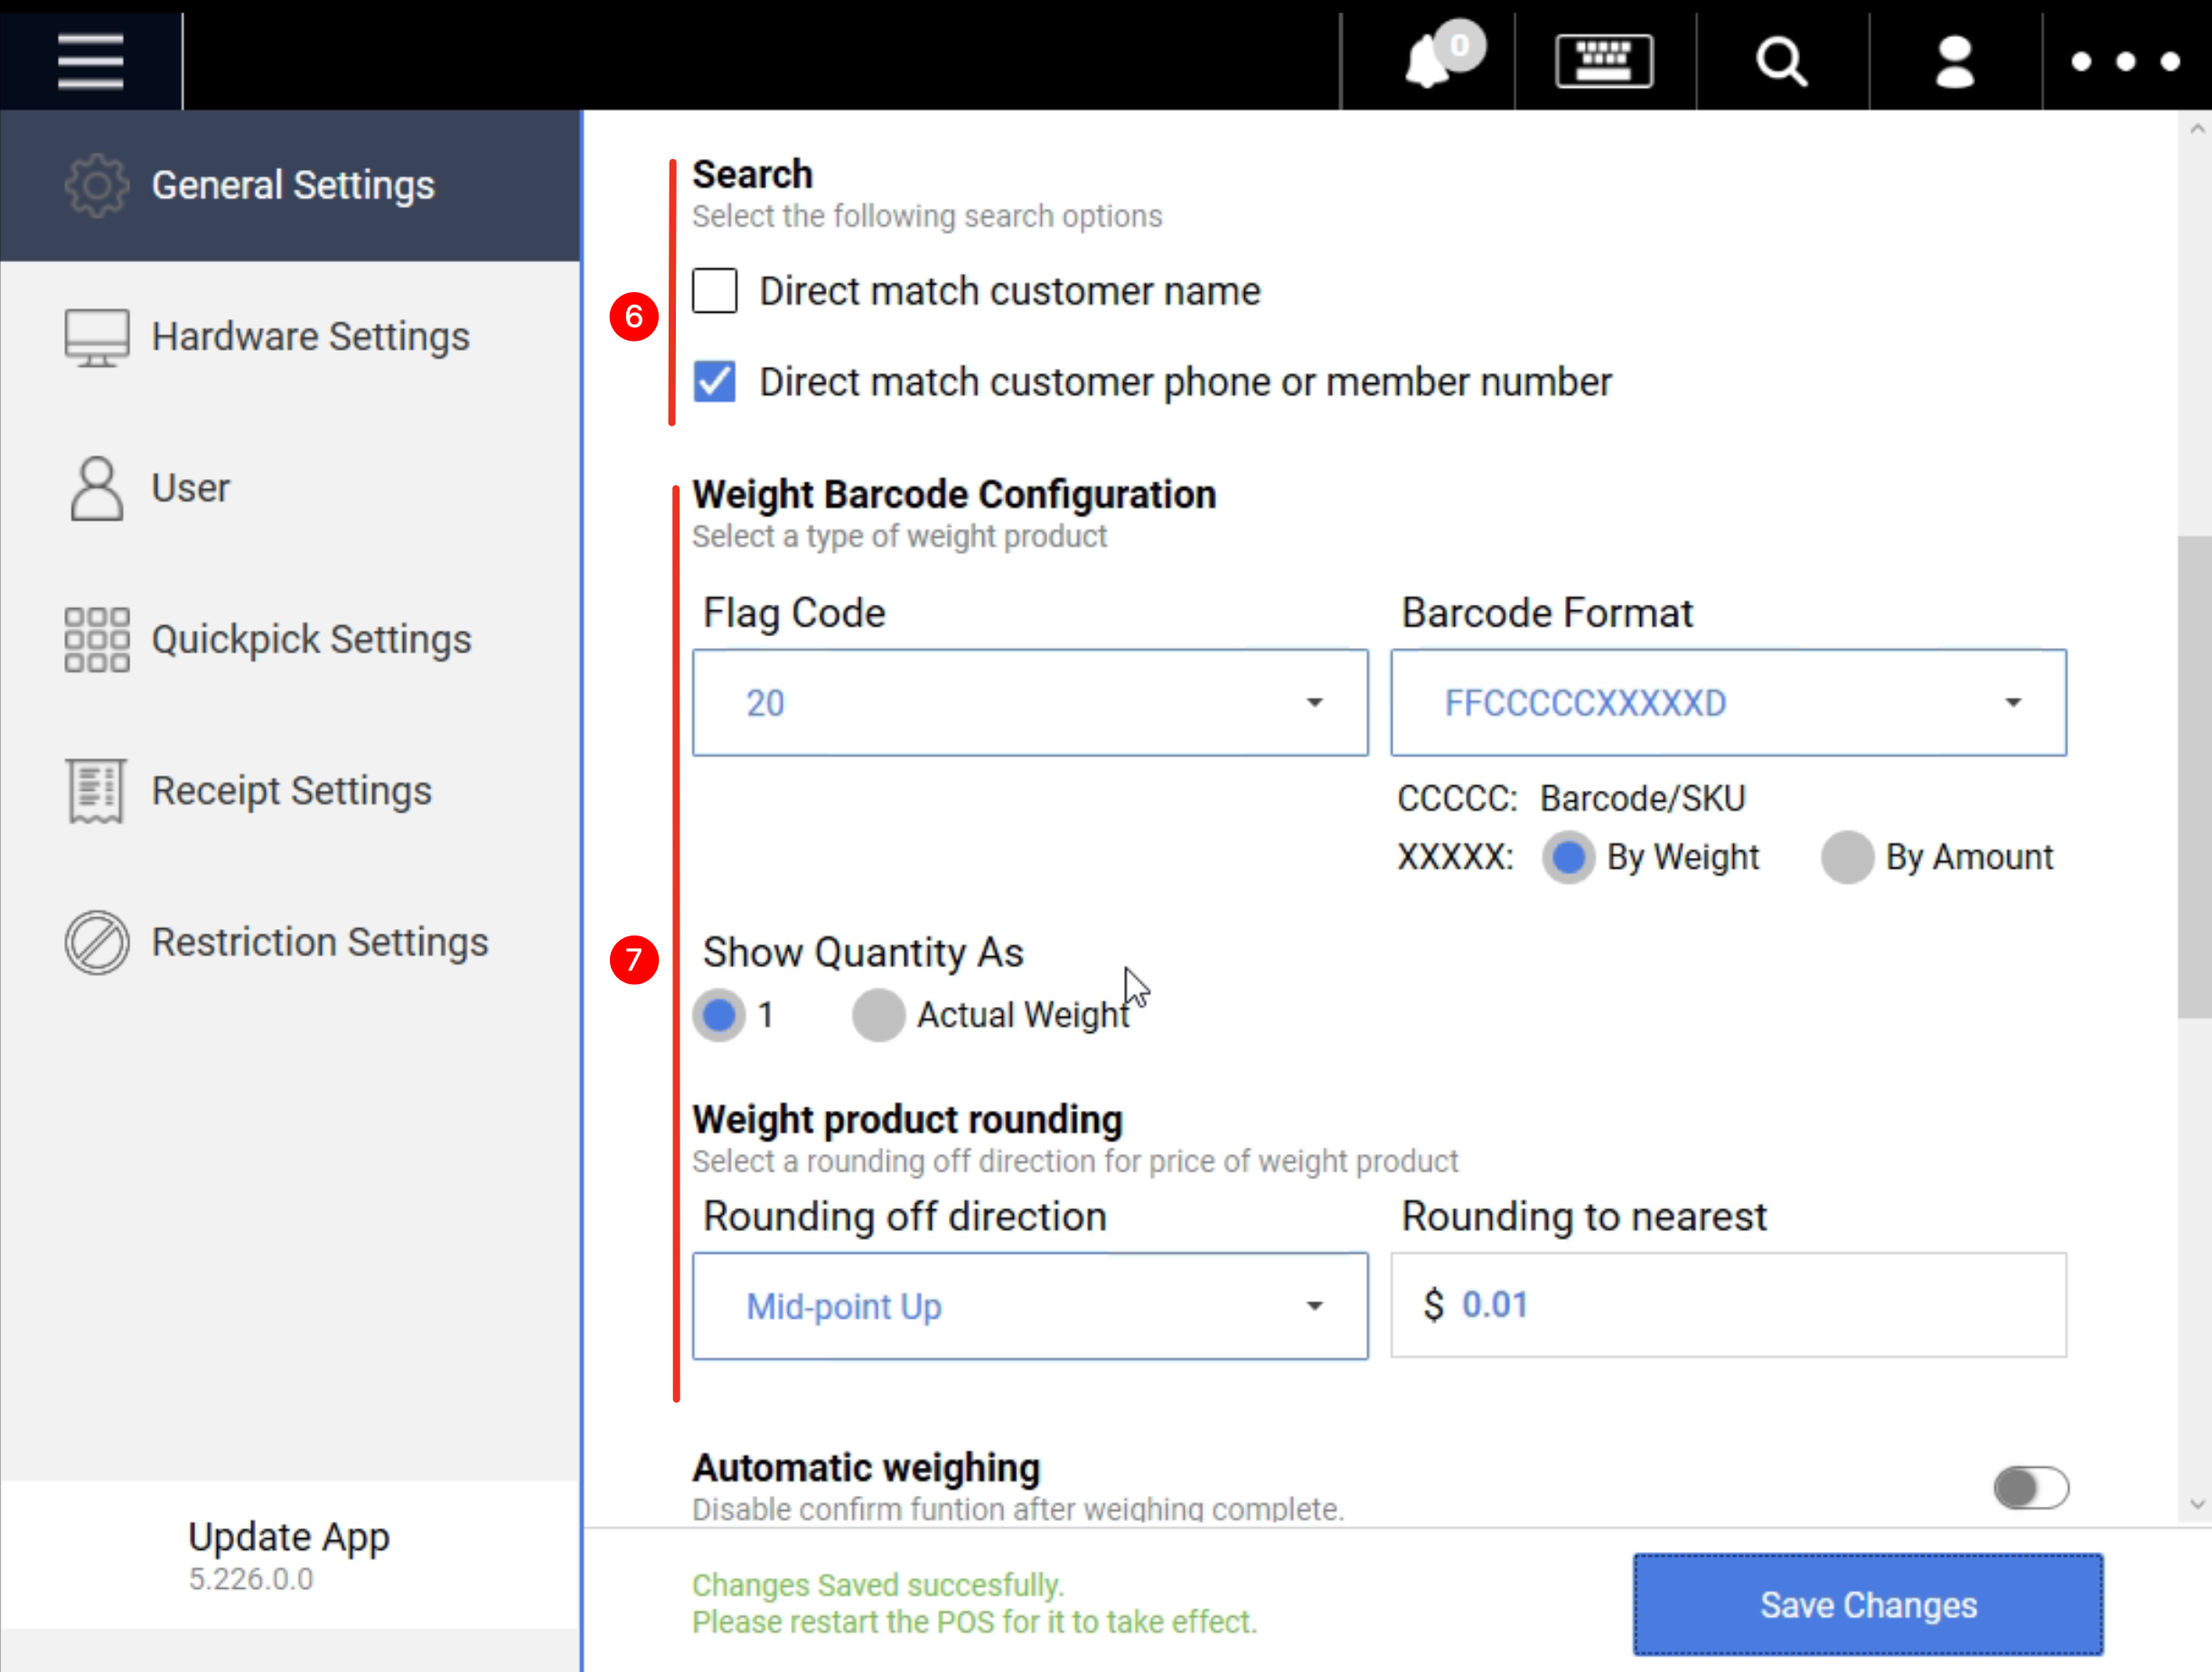
6. Search Customer
Direct Match customer name
↳ Users must insert the customer’s name in full. No instant search.
Direct match customer phone or member number
↳ Users must insert customer’s phone number and lookup ID in full.
7. Weight Barcode Configuration
This setting is particularly for users who are using the Barcode Printing Weighing Scale supplied by EPOS.
Typical Setting:
Flag Code : 20
Barcode Format : FFCCCCCXXXXXD XXXXX: By weight
Show Quantity As: Actual Weight.
Users may contact EPOS Tech Support if there is any difficulty.
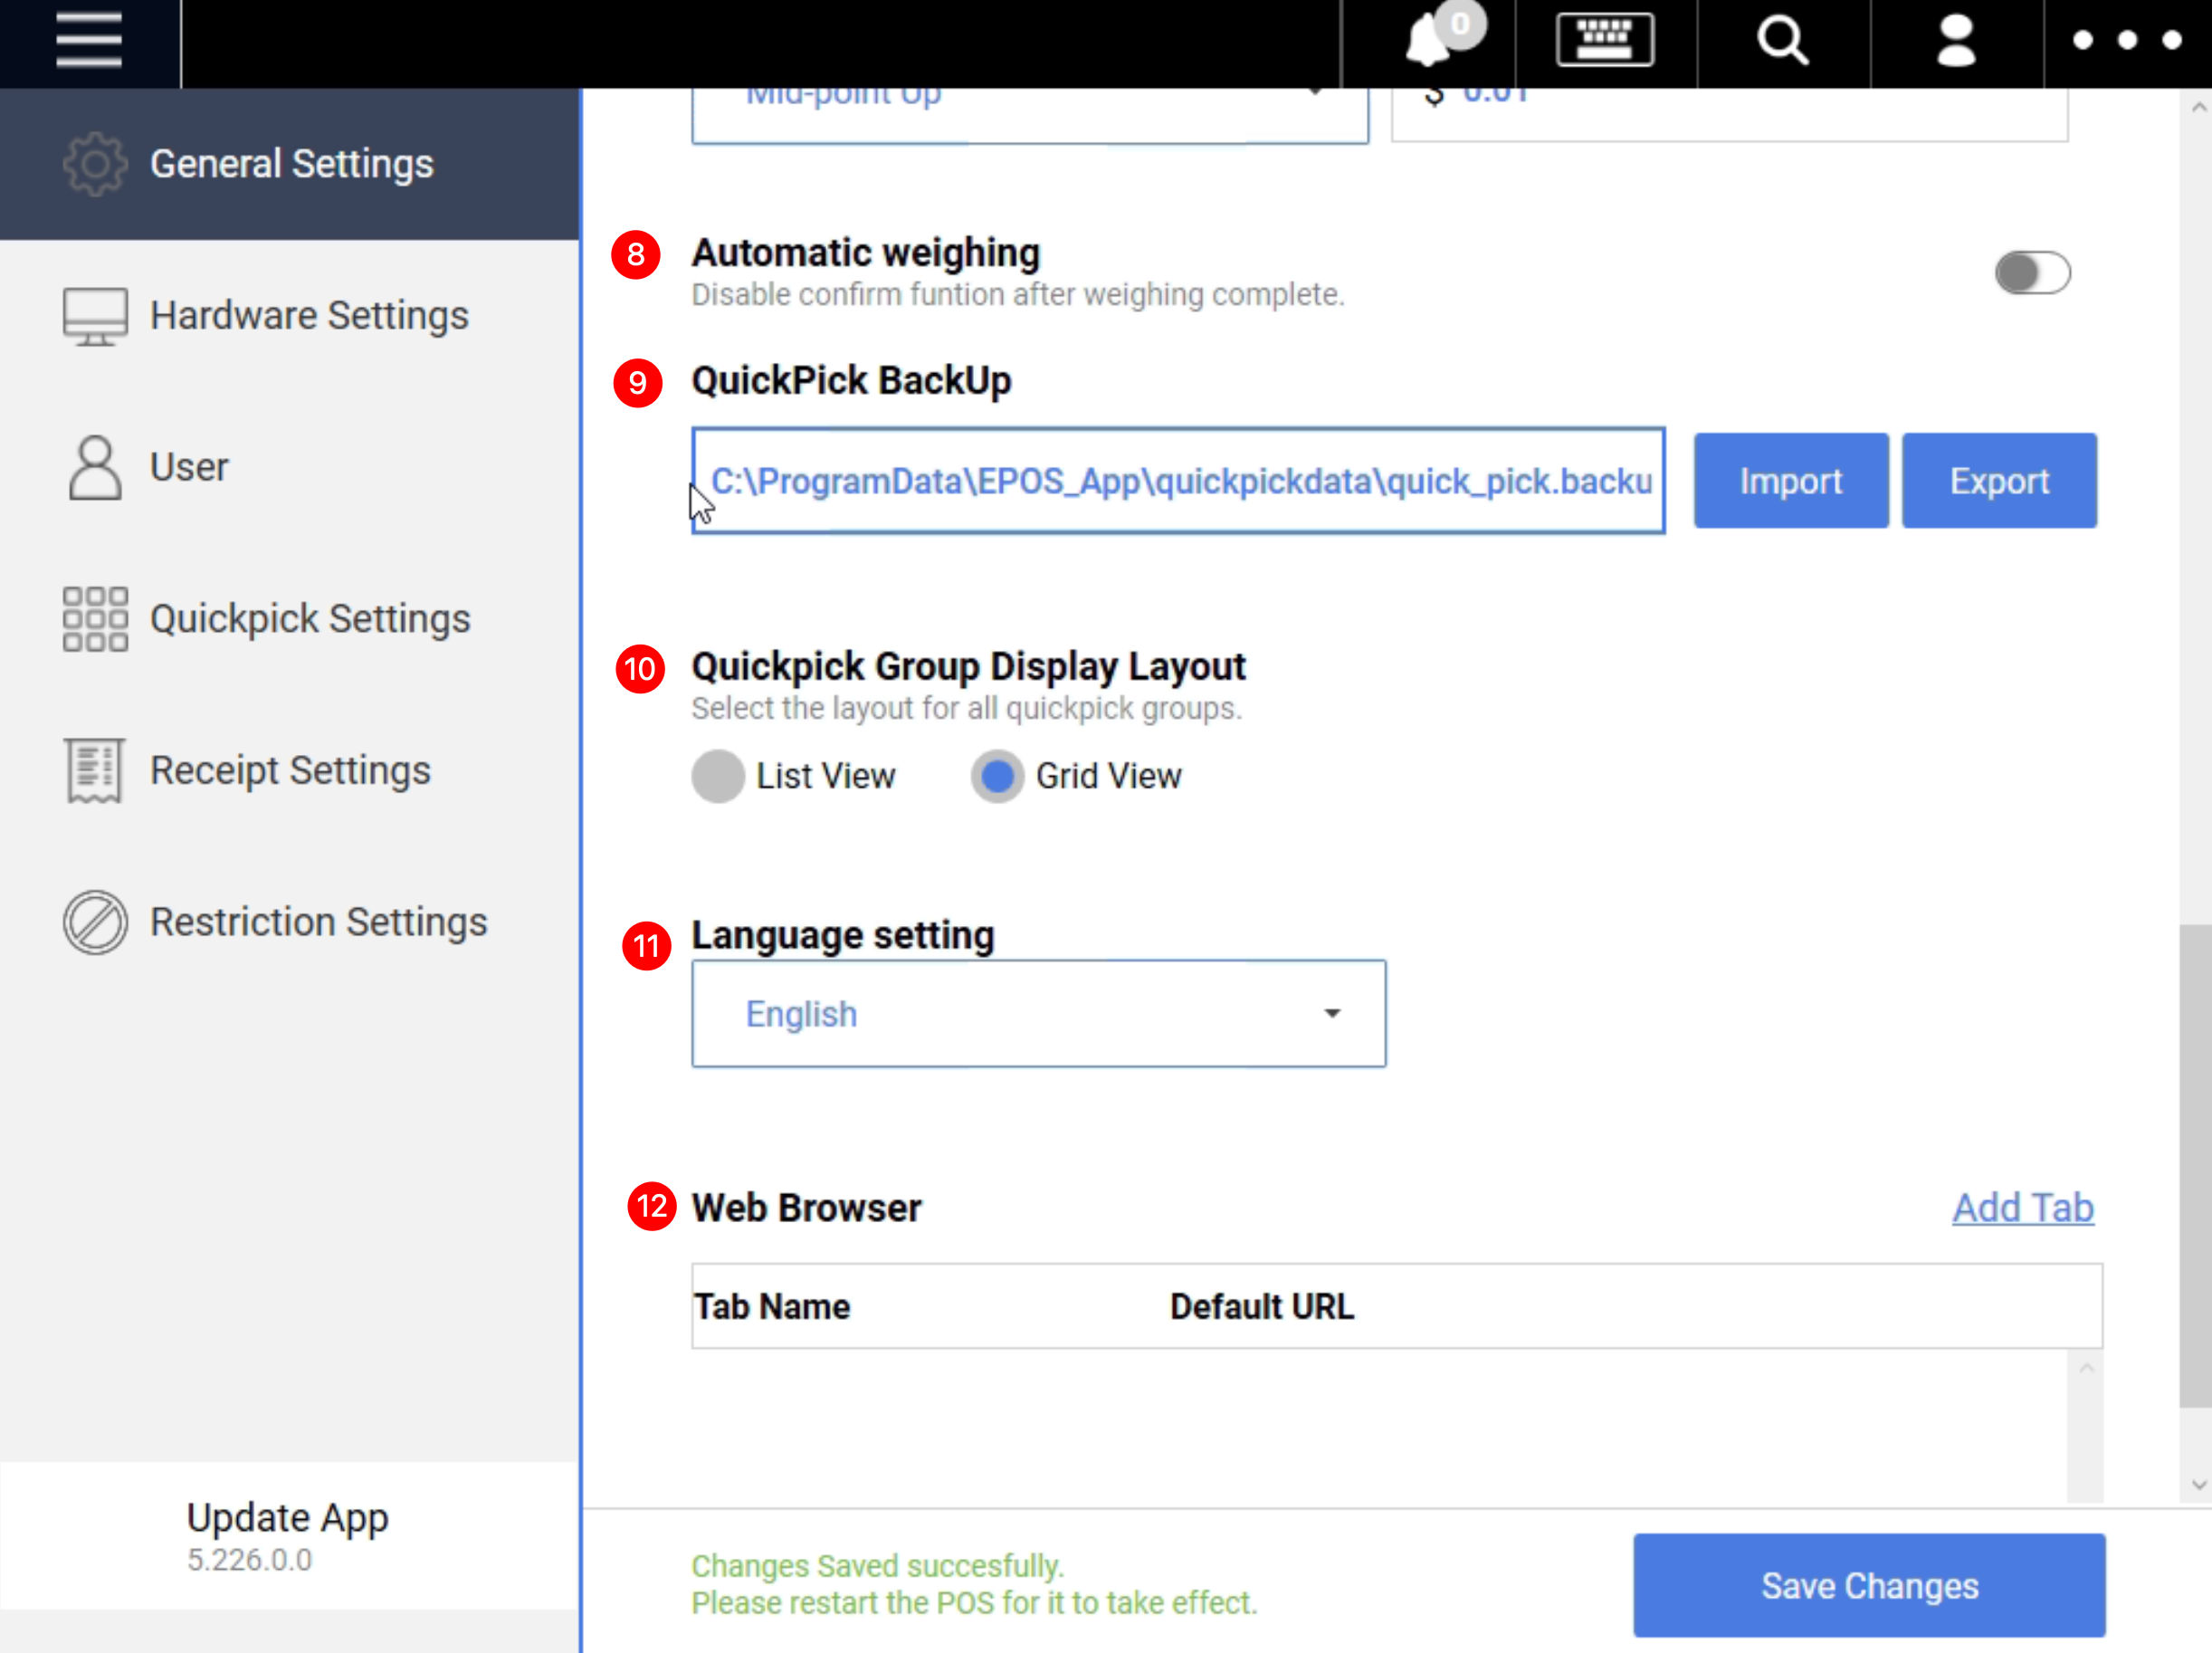
8. Automatic Weighing
Default setting – Disabled
If enabled – Does not require user to manually press ‘Confirm’ once a product is placed on the weighing scale.
9. Quickpick Backup
Allow users to import & export Quickpick data
10. Quickpick Group Display Layout
Allow user to select the layout for all Quickpick groups
11. Language setting
Allow user to change the language for the pos system.
After select the language user wants, user should click on “Save Changes”, “Close App” and restart EPOS POS again:
12. Web Browser
Allow users to add a browser in the FRONTEND POS. Click on Add Tab, insert URL, and click Save.
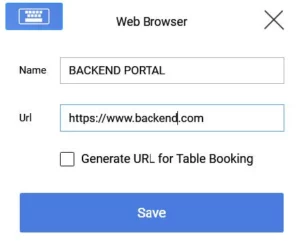
A shortcut will be created.
Was this article helpful?
YesNo
