No products in the cart.
Video Tutorial :
Was this article helpful?
YesNo
Follow the steps below on how to apply discount(s)
There are two different tiers of discounts available at the FRONTEND POS. Users can either apply discounts at the product level and/or order level. The discounts can be stacked on each other.
Applying discounts at product level
1. At the particular product added to the order cart, click on the product
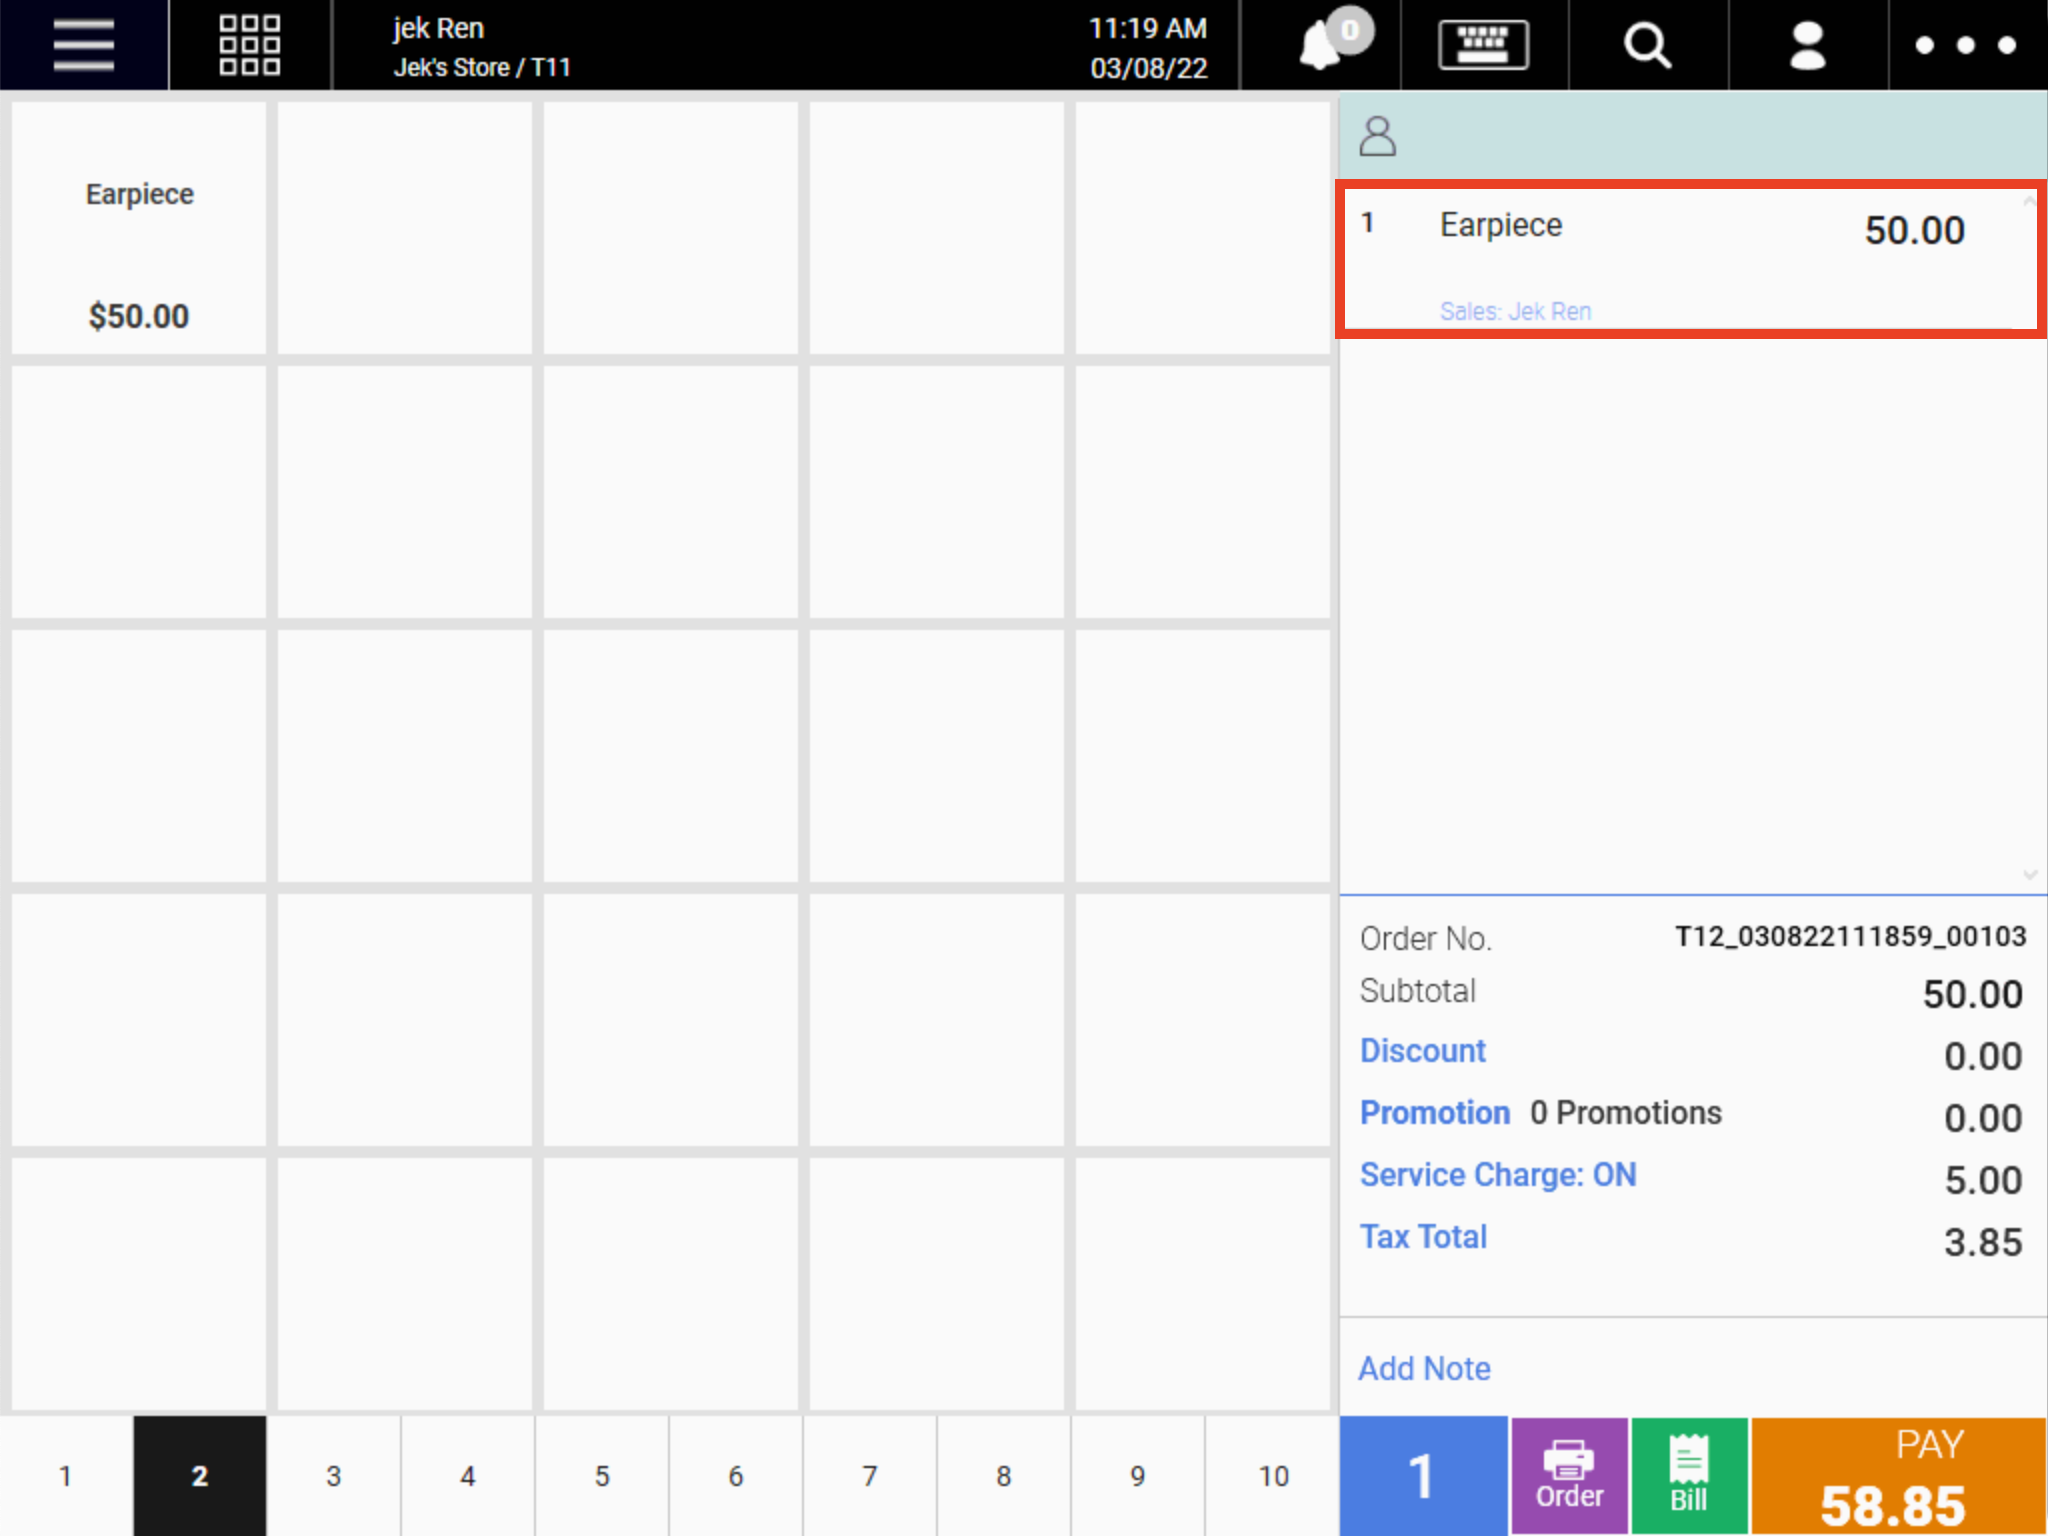
2. The product details window will be shown.
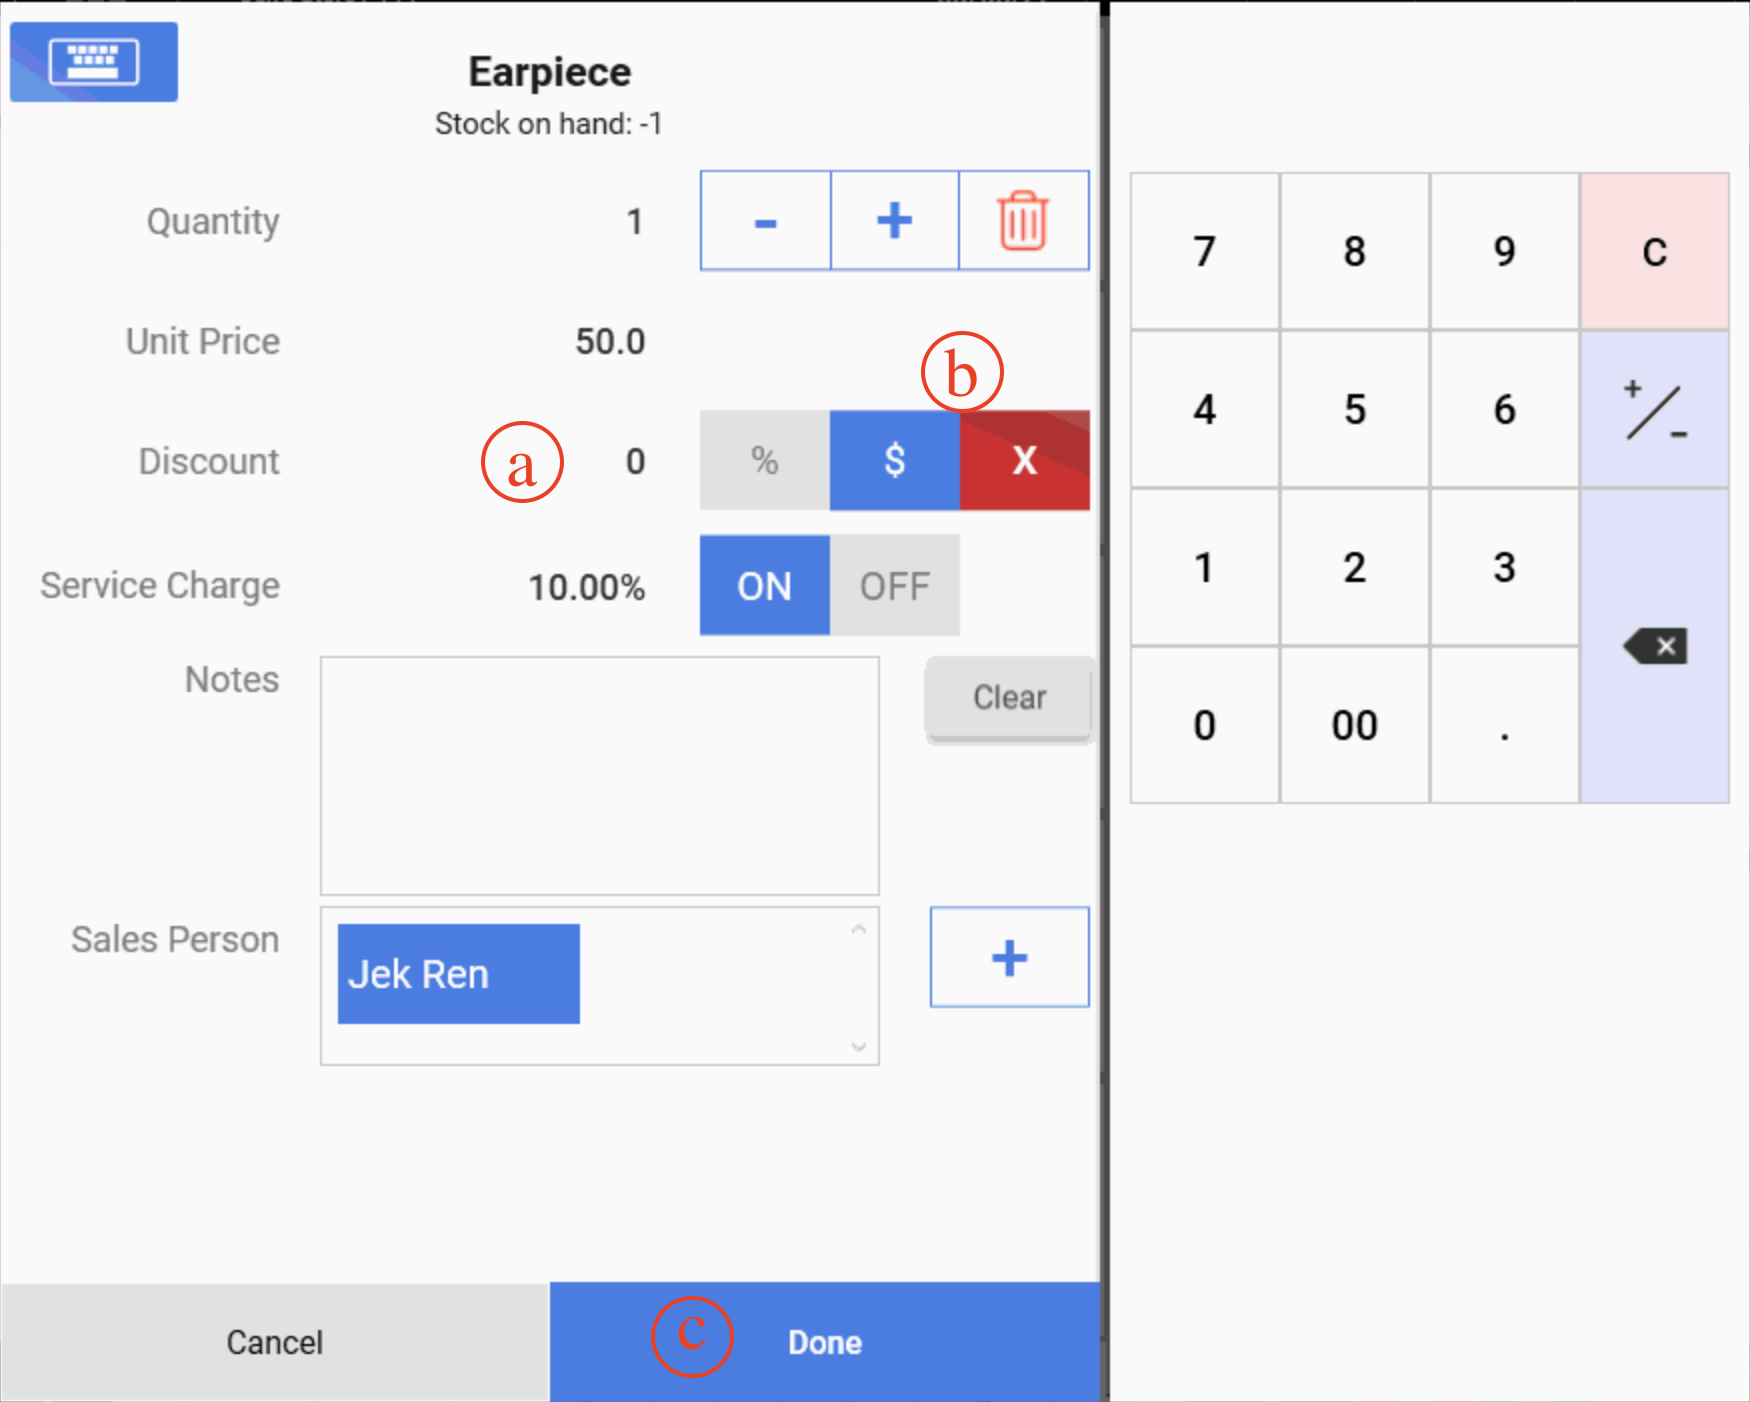
(a) Insert the amount
(b) Select the type of discount, Percentage(%) or Dollar ($) discount. Selection will be highlighted in blue
(c) Click on Done to proceed with the update.
3. For the particular item, either dollar discount or percentage discount will be shown as below.
Dollar discount
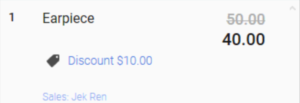
Percentage discount
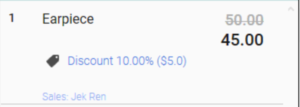
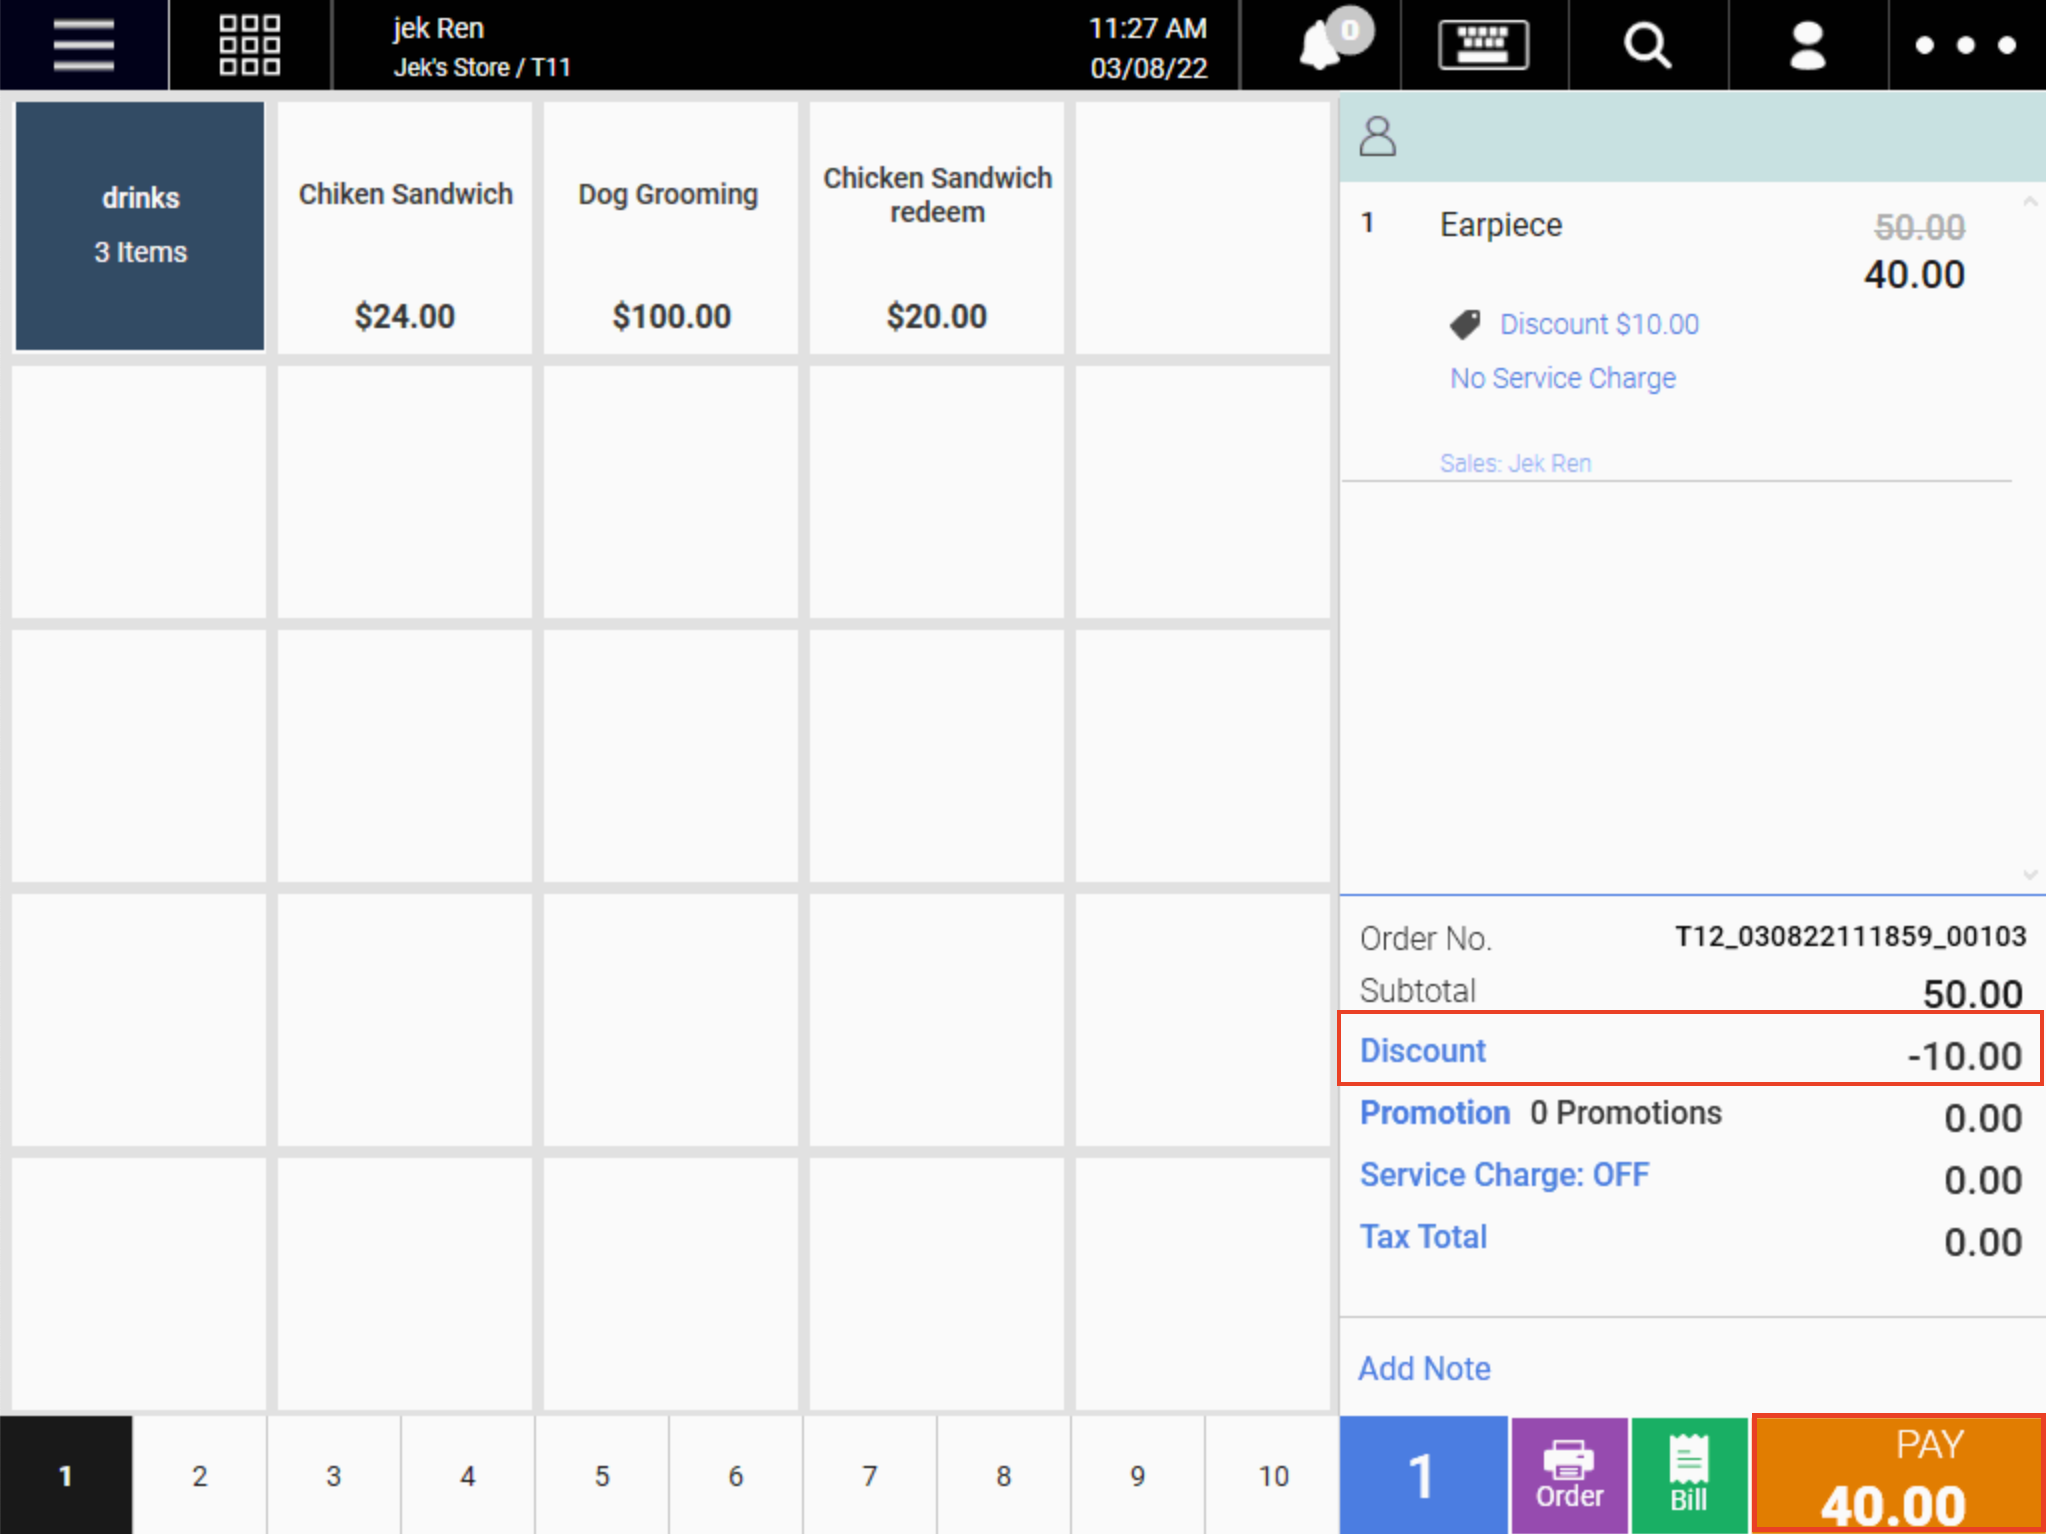
4. The amount of discount can be viewed here, and the total amount payable will also be deducted accordingly
5. To remove the discount, click on the product to open up the product details window.
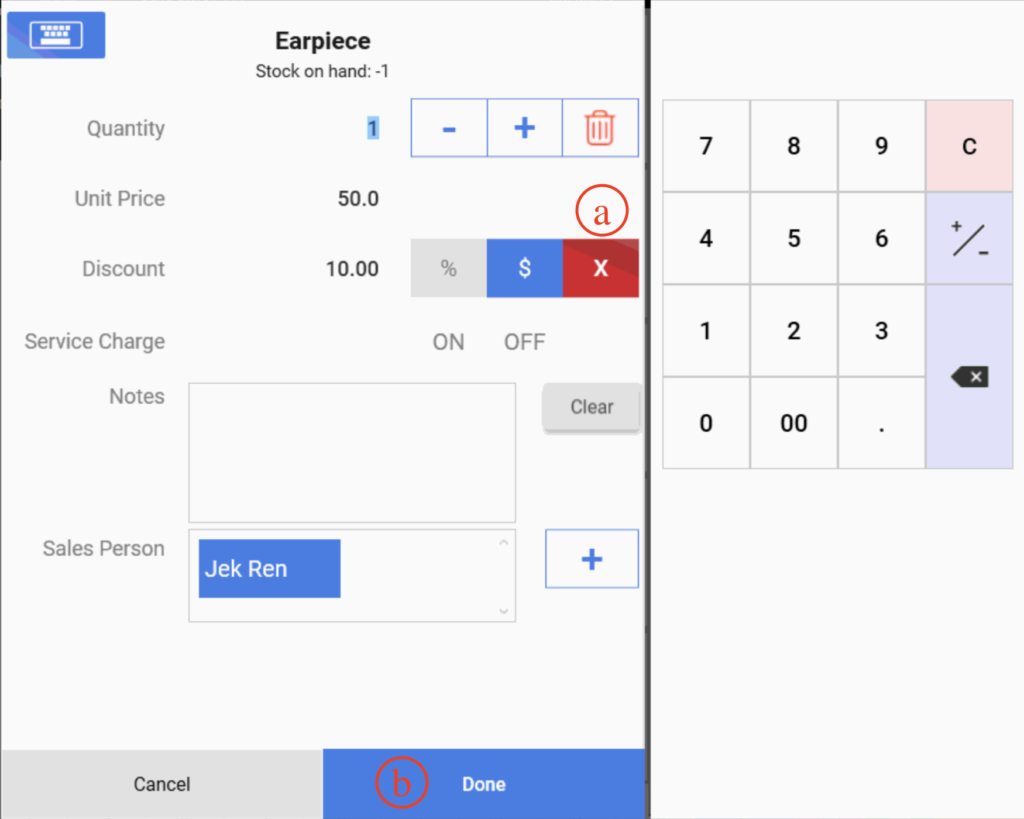
(a) Click on 🆇
(b) Click on Done to save changes.
Applying discounts at order level
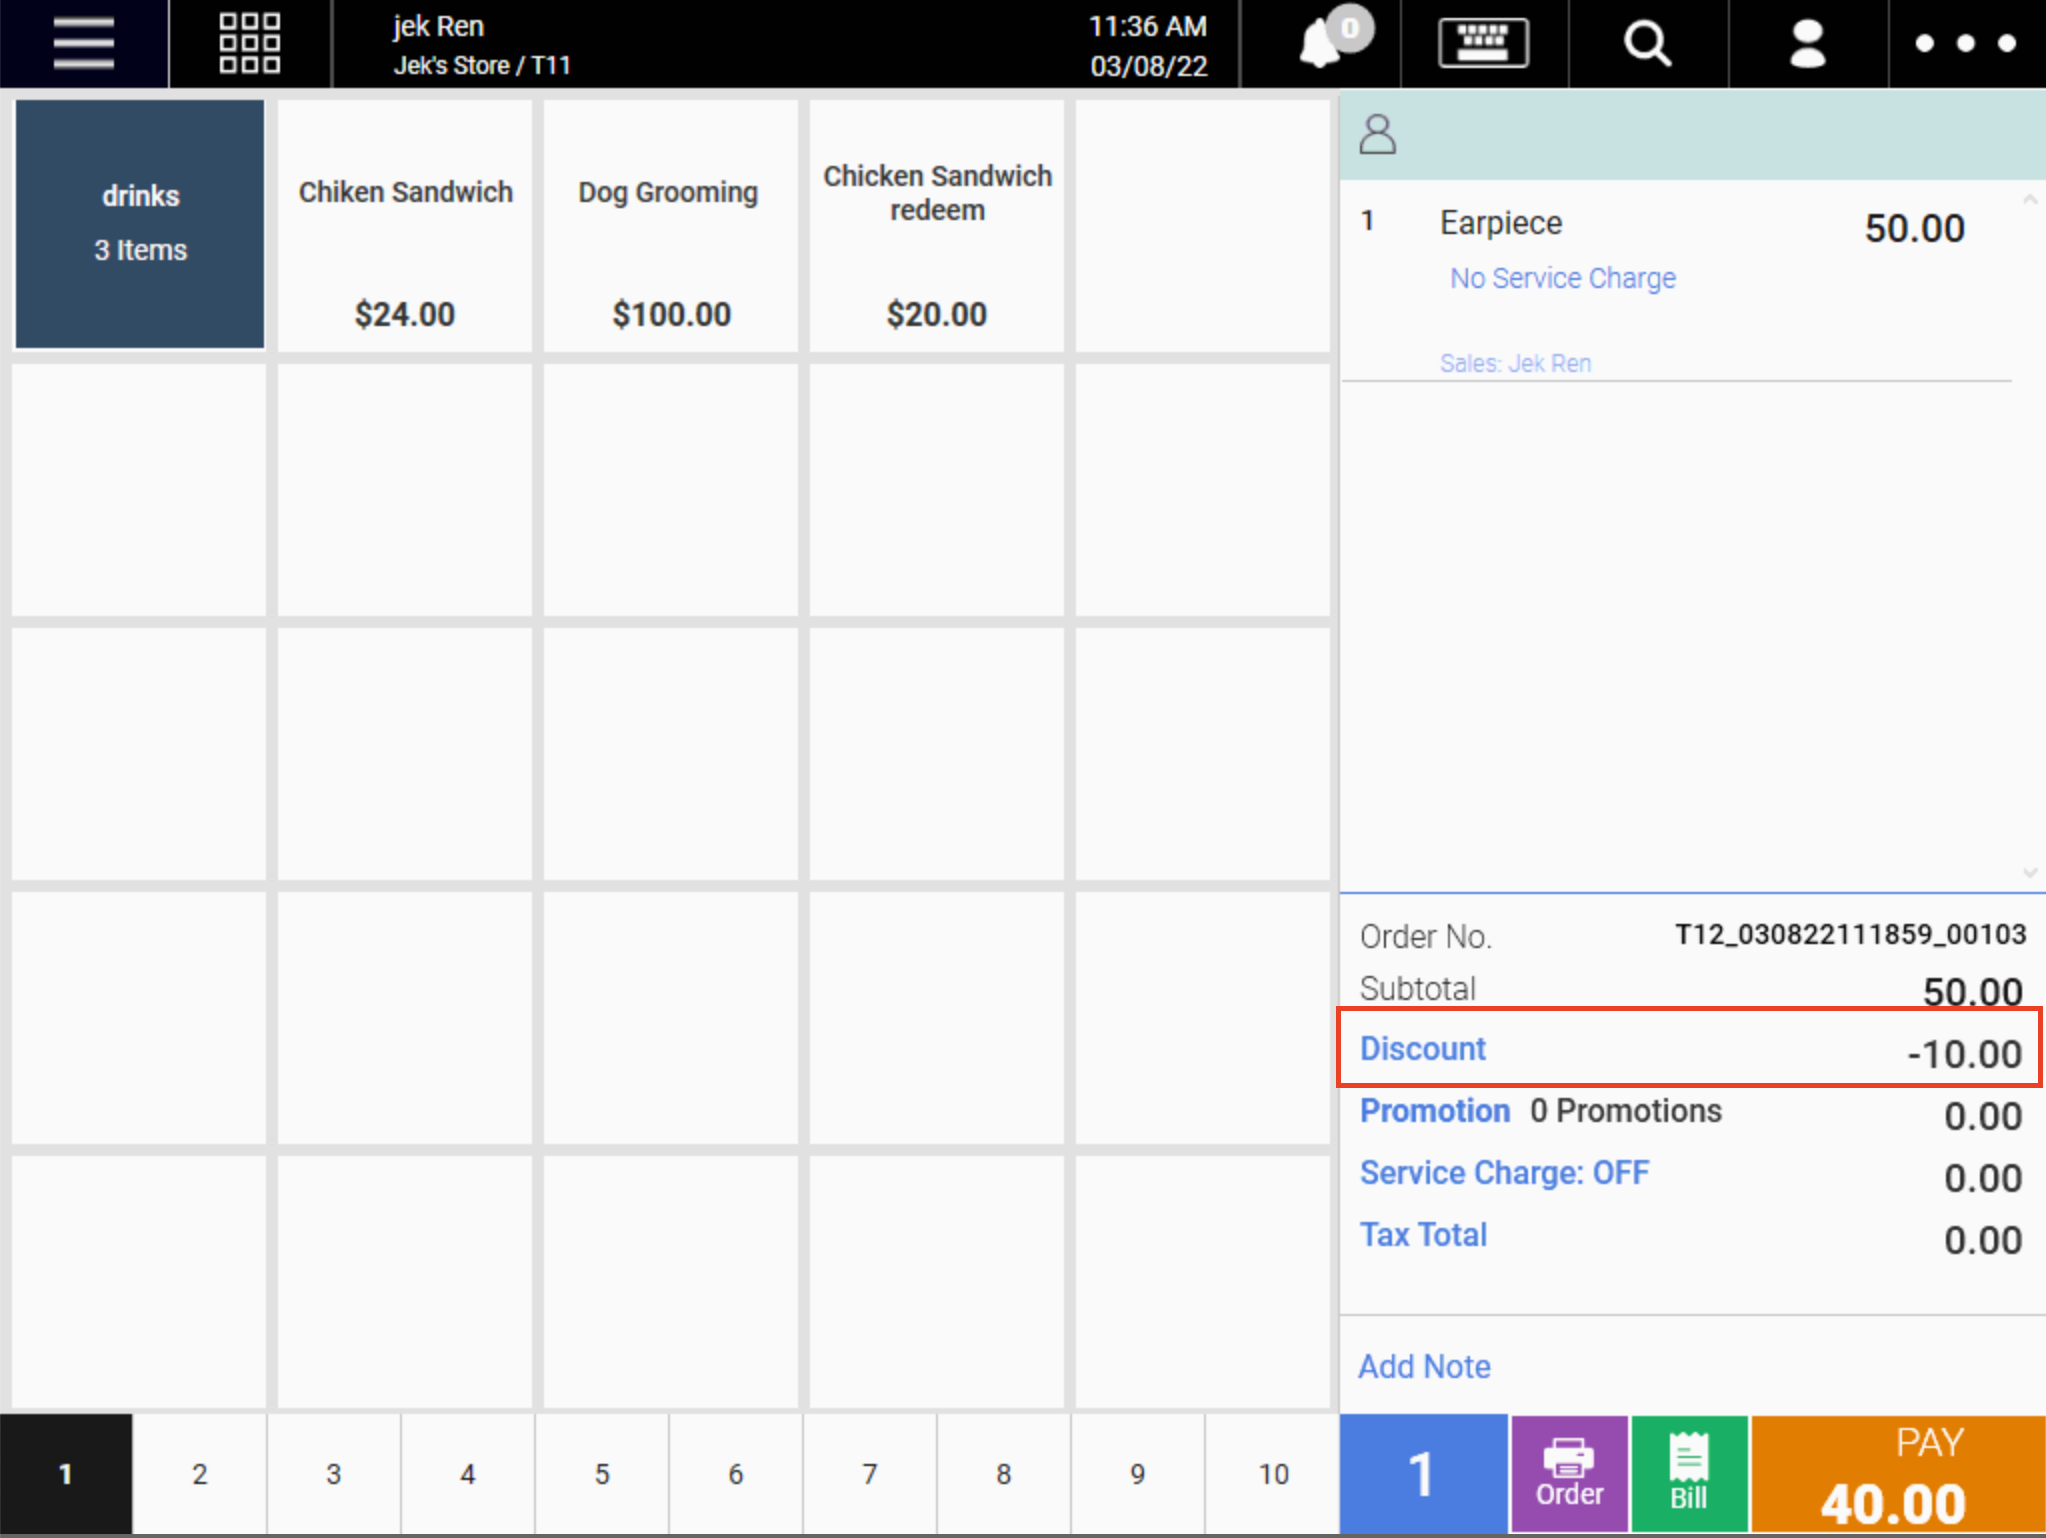
1. At the Sales Screen, click on Discount
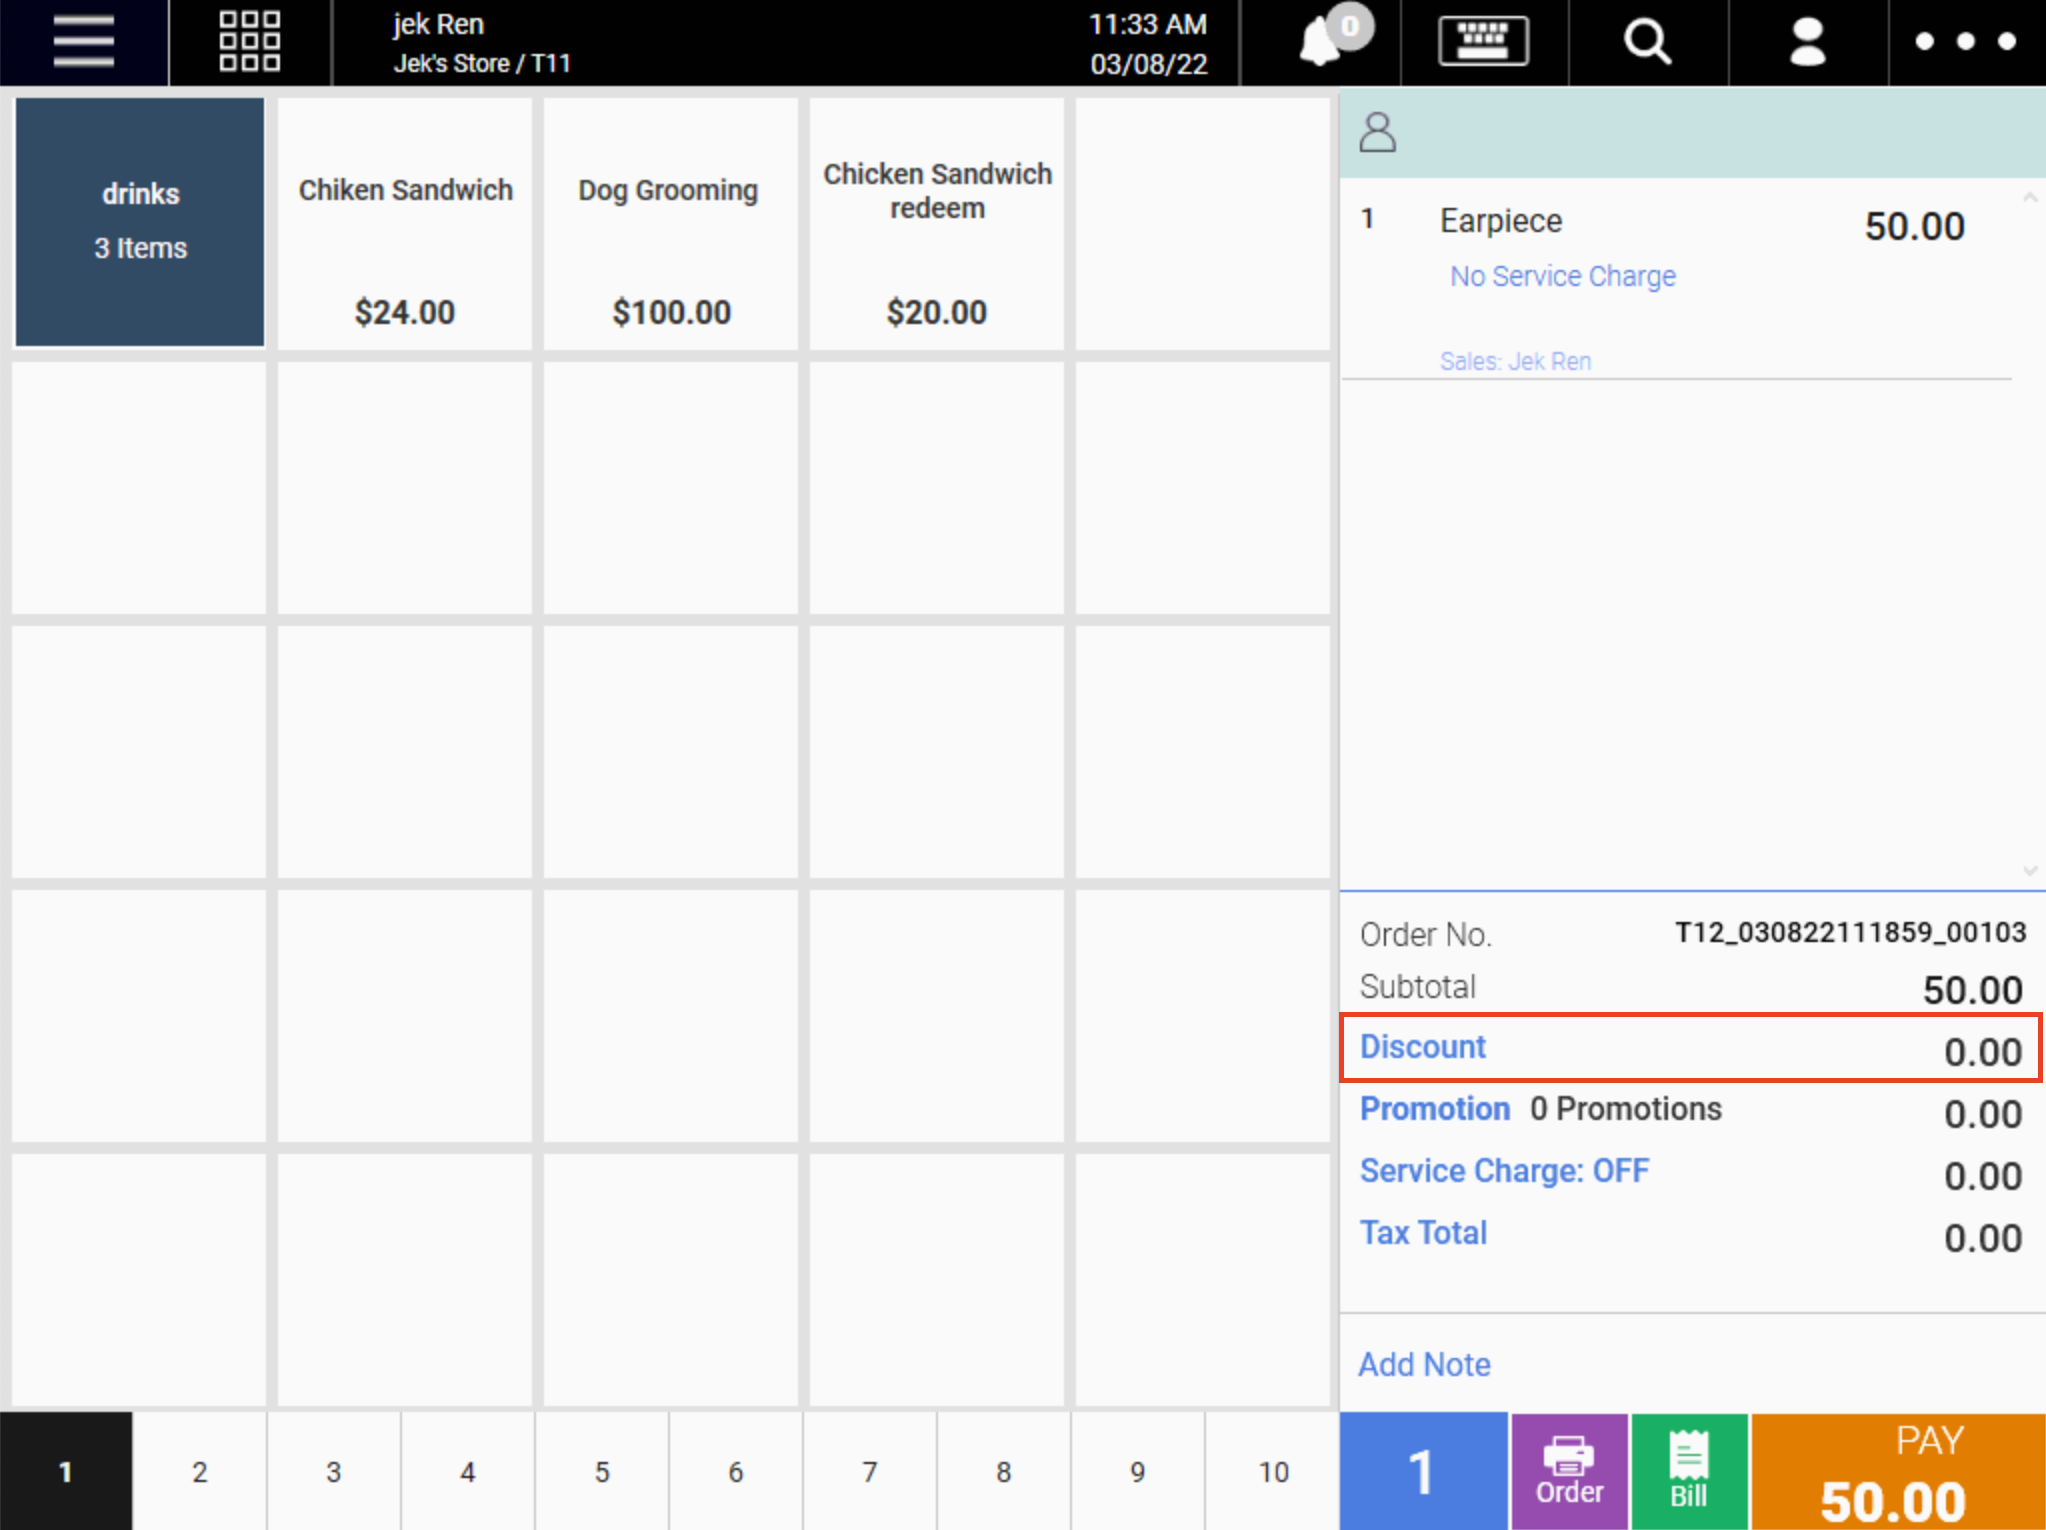
2. A manual discount window will be shown.
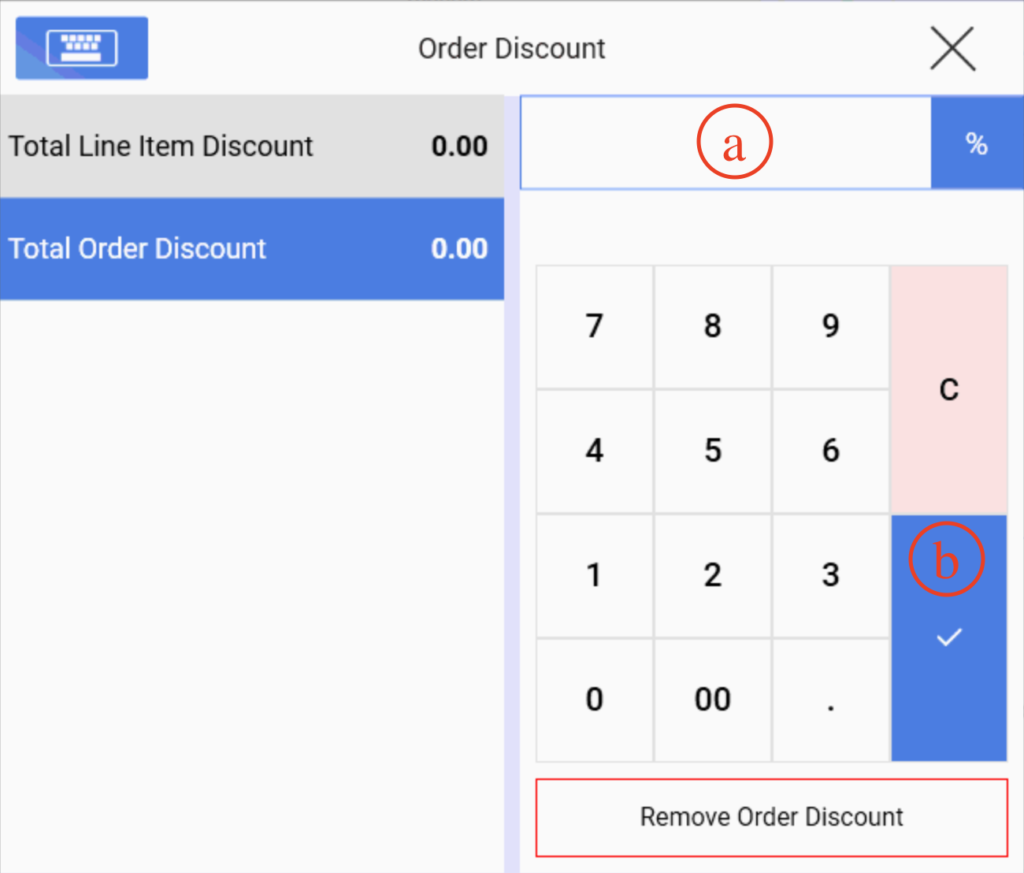
(a) Insert the discount amount (in percentage)
(b) Click on ☑️ to apply order discount.
3. The discount will be shown at the Sales Screen.
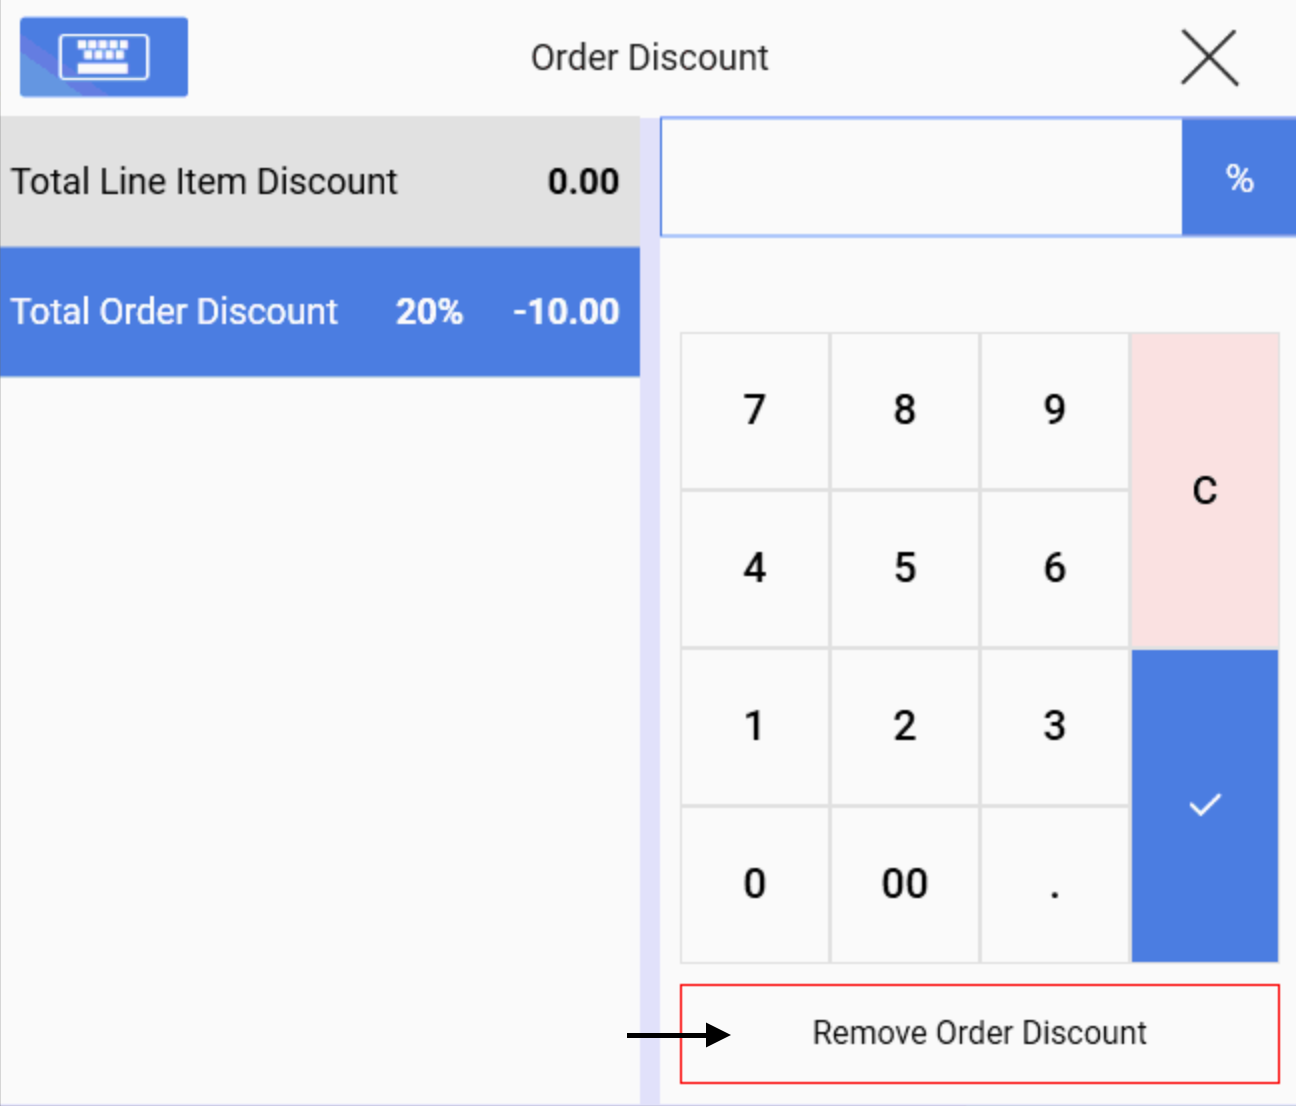
4. To remove the order discount, click on Discount again. At the Manual discount window, click on Delete Discount
NOTE:
If you would like to set different discount cap based on different staff group (ie., staff acounts under Manager Group can give upto 20% manual discount, while staff accounts under Cashier Group can only give upto 10% manual discount), you can set it up in the Backend – Manual Discount – Discount Cap Tab:
Selects a staff group, and sets the maximum allowable discount percentage for the group.

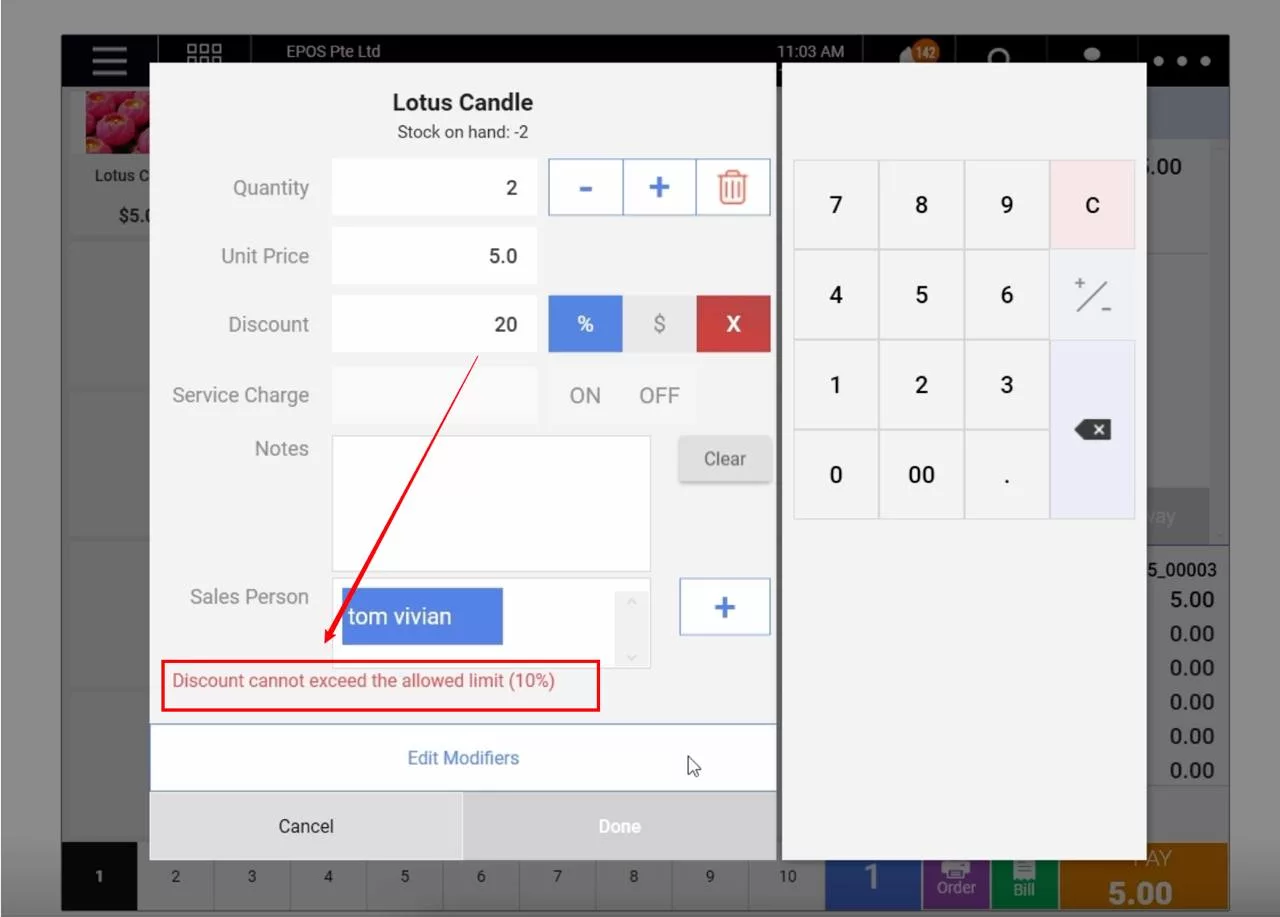
On the frontend POS, when a cashier logs in and attempts to apply a manual discount exceeding the set limit:
– A red error message will notify them that the discount exceeds the allowed limit.


– Cashier will not be able to apply the discount until it is adjusted to be within the limit.
Was this article helpful?
YesNo

