Video Tutorial :
https://www.youtube.com/watch?v=HoQBSS5Rezo
Follow the steps below on how to create new customer on frontend POS
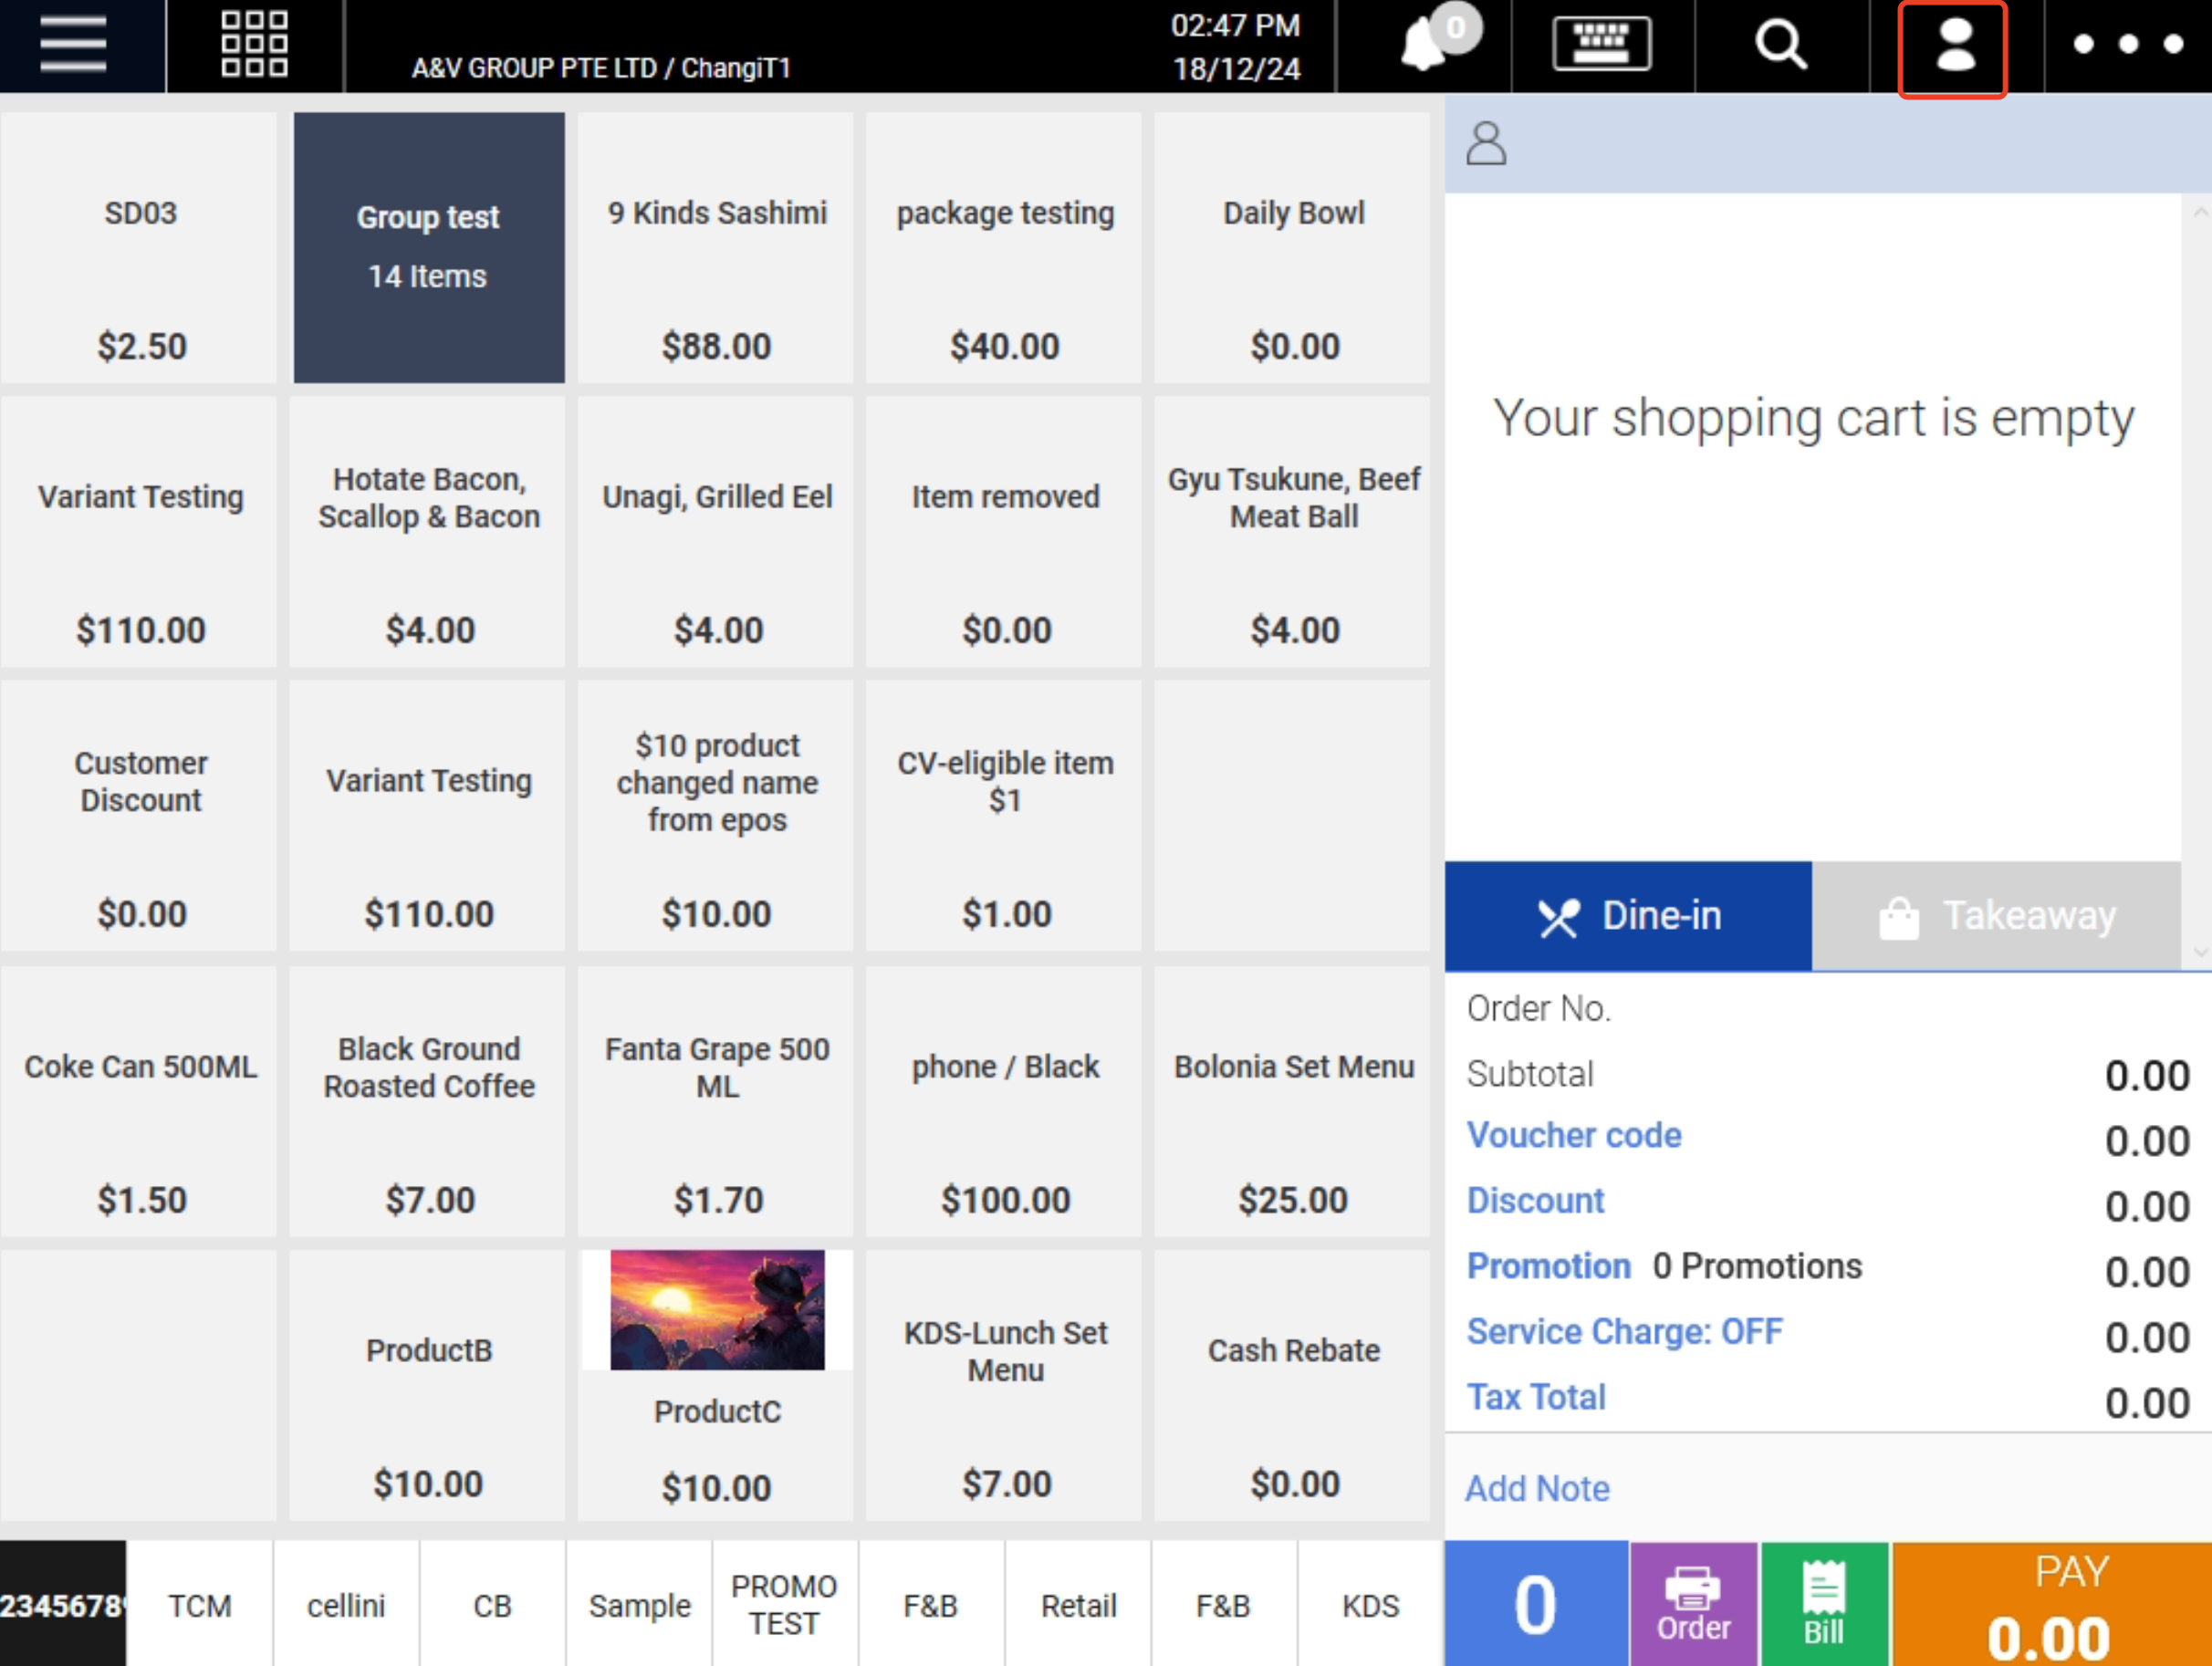
1. To add a new customer, click on ![]() located at the top right of the Sales Screen.
located at the top right of the Sales Screen.
2. Users will be shown the Search Customer window. Click on Add New Customer.
💡The “Reload” button is for the following usage:
- When create a new customer at backend and want to search for the newly created customer at the Frontend
- Synchronize the update of customer details for existing customer (Prefix, name, phone no., membership tier) at the Backend
- Would display “Reload Fail” error message when unable to sync
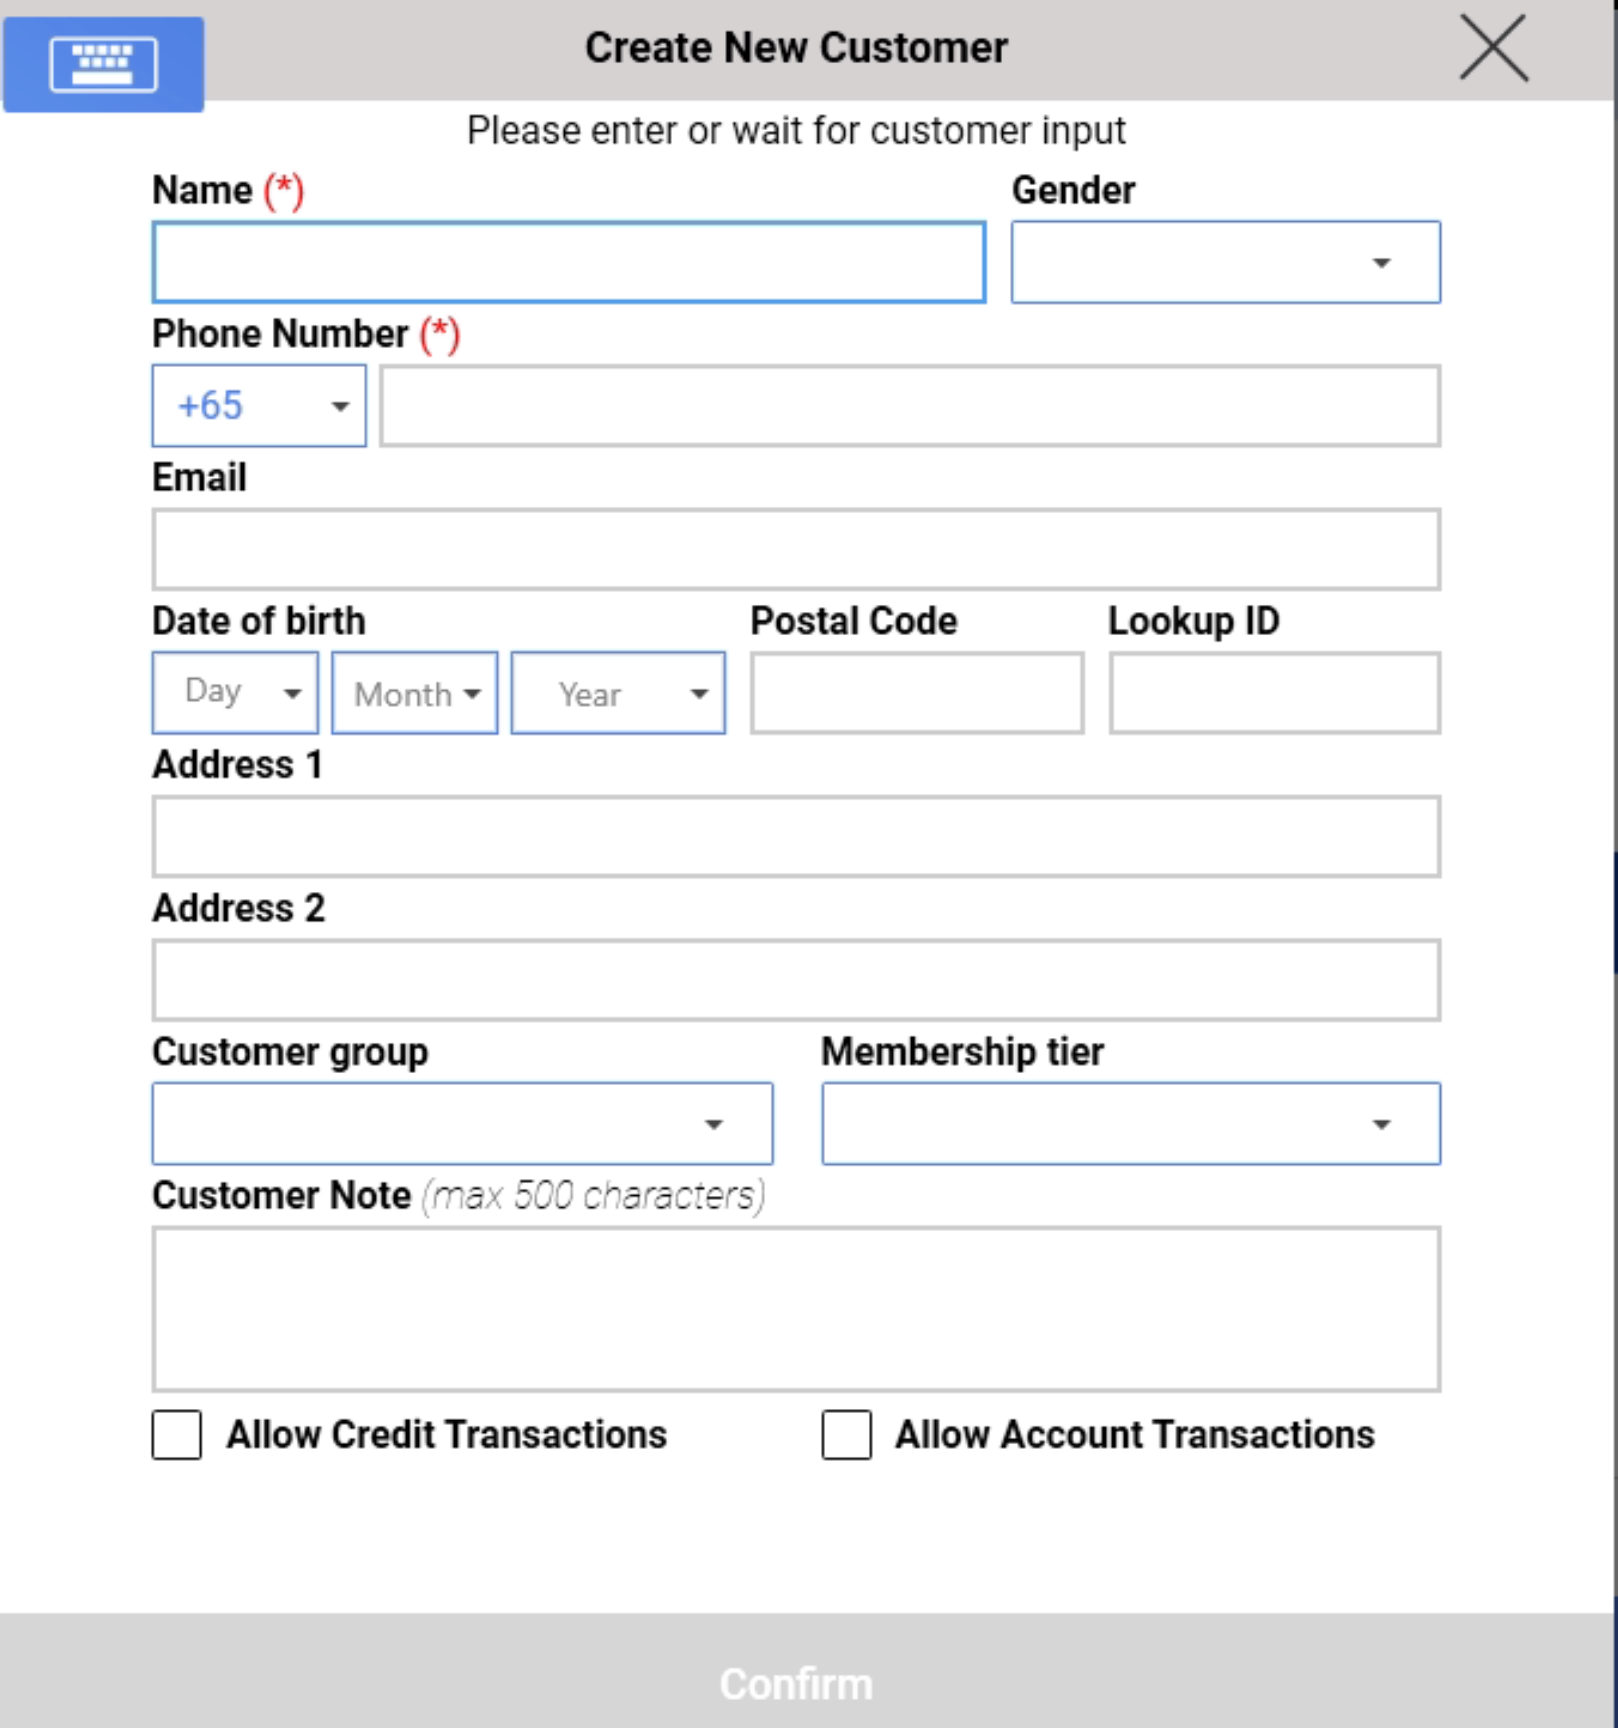
3. At the Create New Customer window, fill in the fields accordingly. Mandatory fields are marked with (*)
💡Lookup ID will be auto-filled if left blank.
💡Name, Phone number and Lookup ID can be used to search for the customer.
💡PDPA consent is set to TRUE by default.
💡For marketing materials consent, set the field to TRUE to allow receiving marketing materials, or FALSE to not receive them.
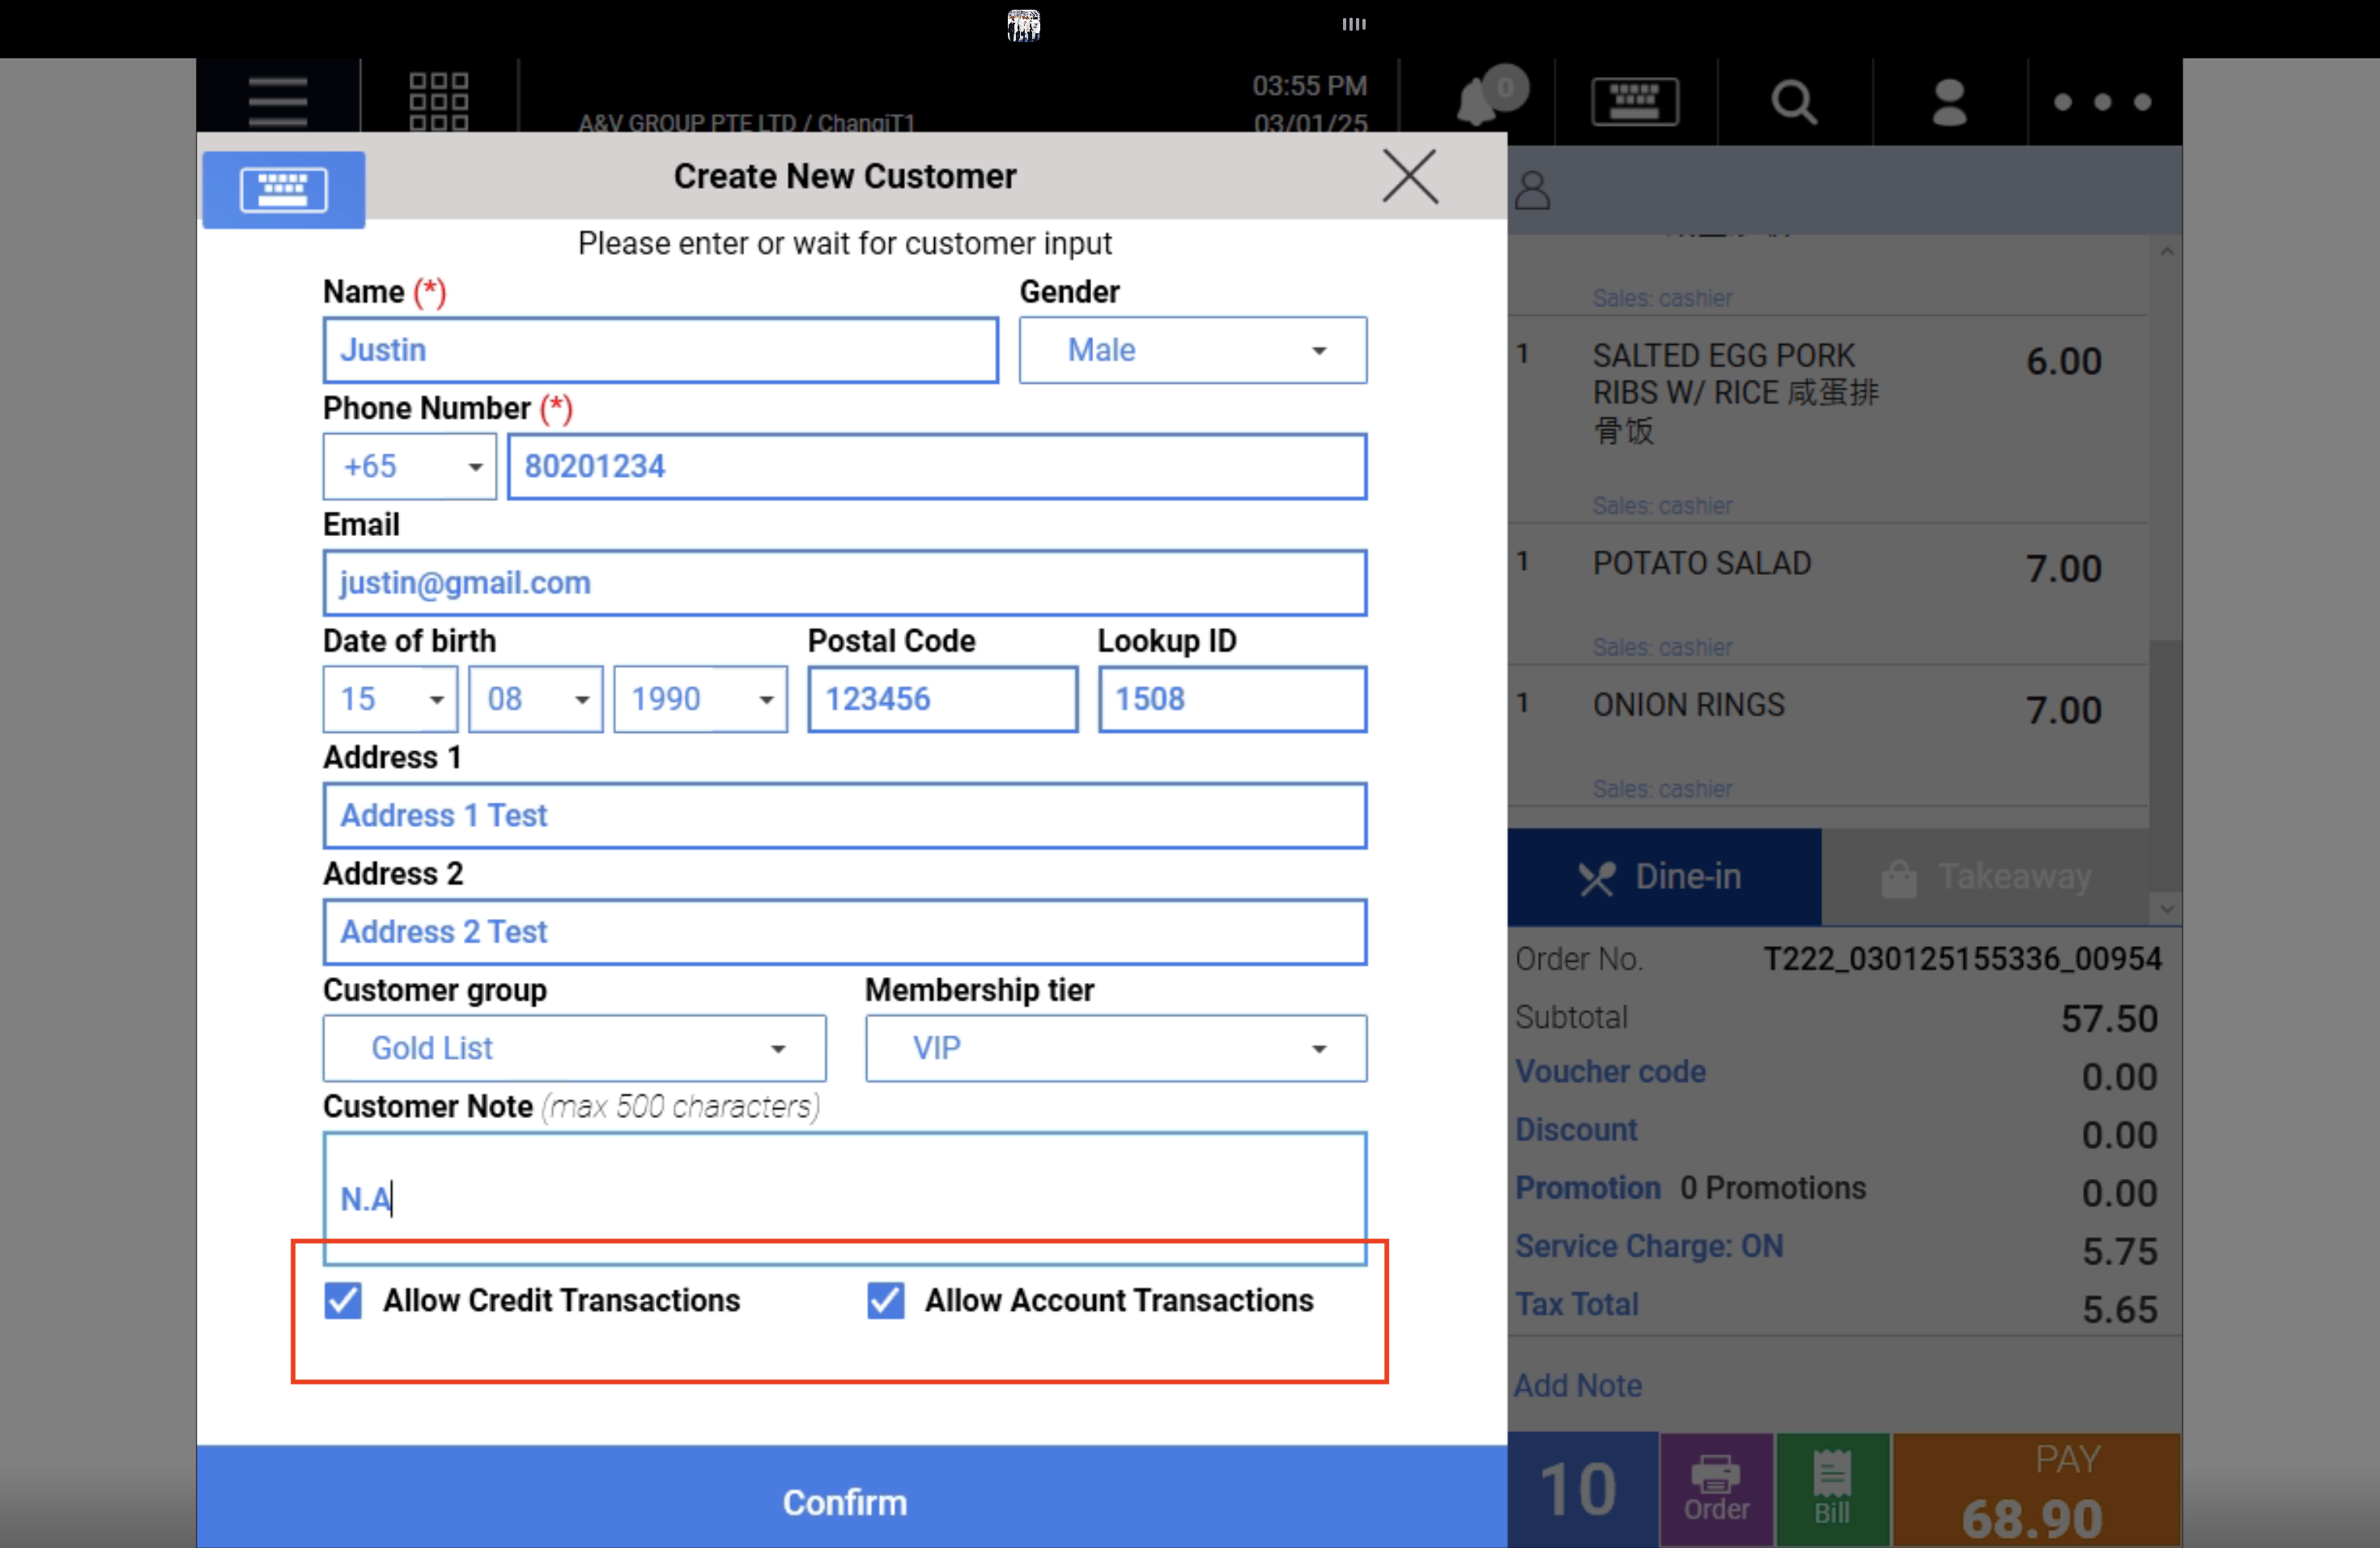
4. Make sure to select the boxes for credit or account transactions, as shown in the image below. Once the customer profile is created, the payment page will include an option to pay using credit terms for that customer.
💡 To ensure the credit or account transaction box is automatically ticked for all new customers, set it up in the backend. Learn more by clicking here.
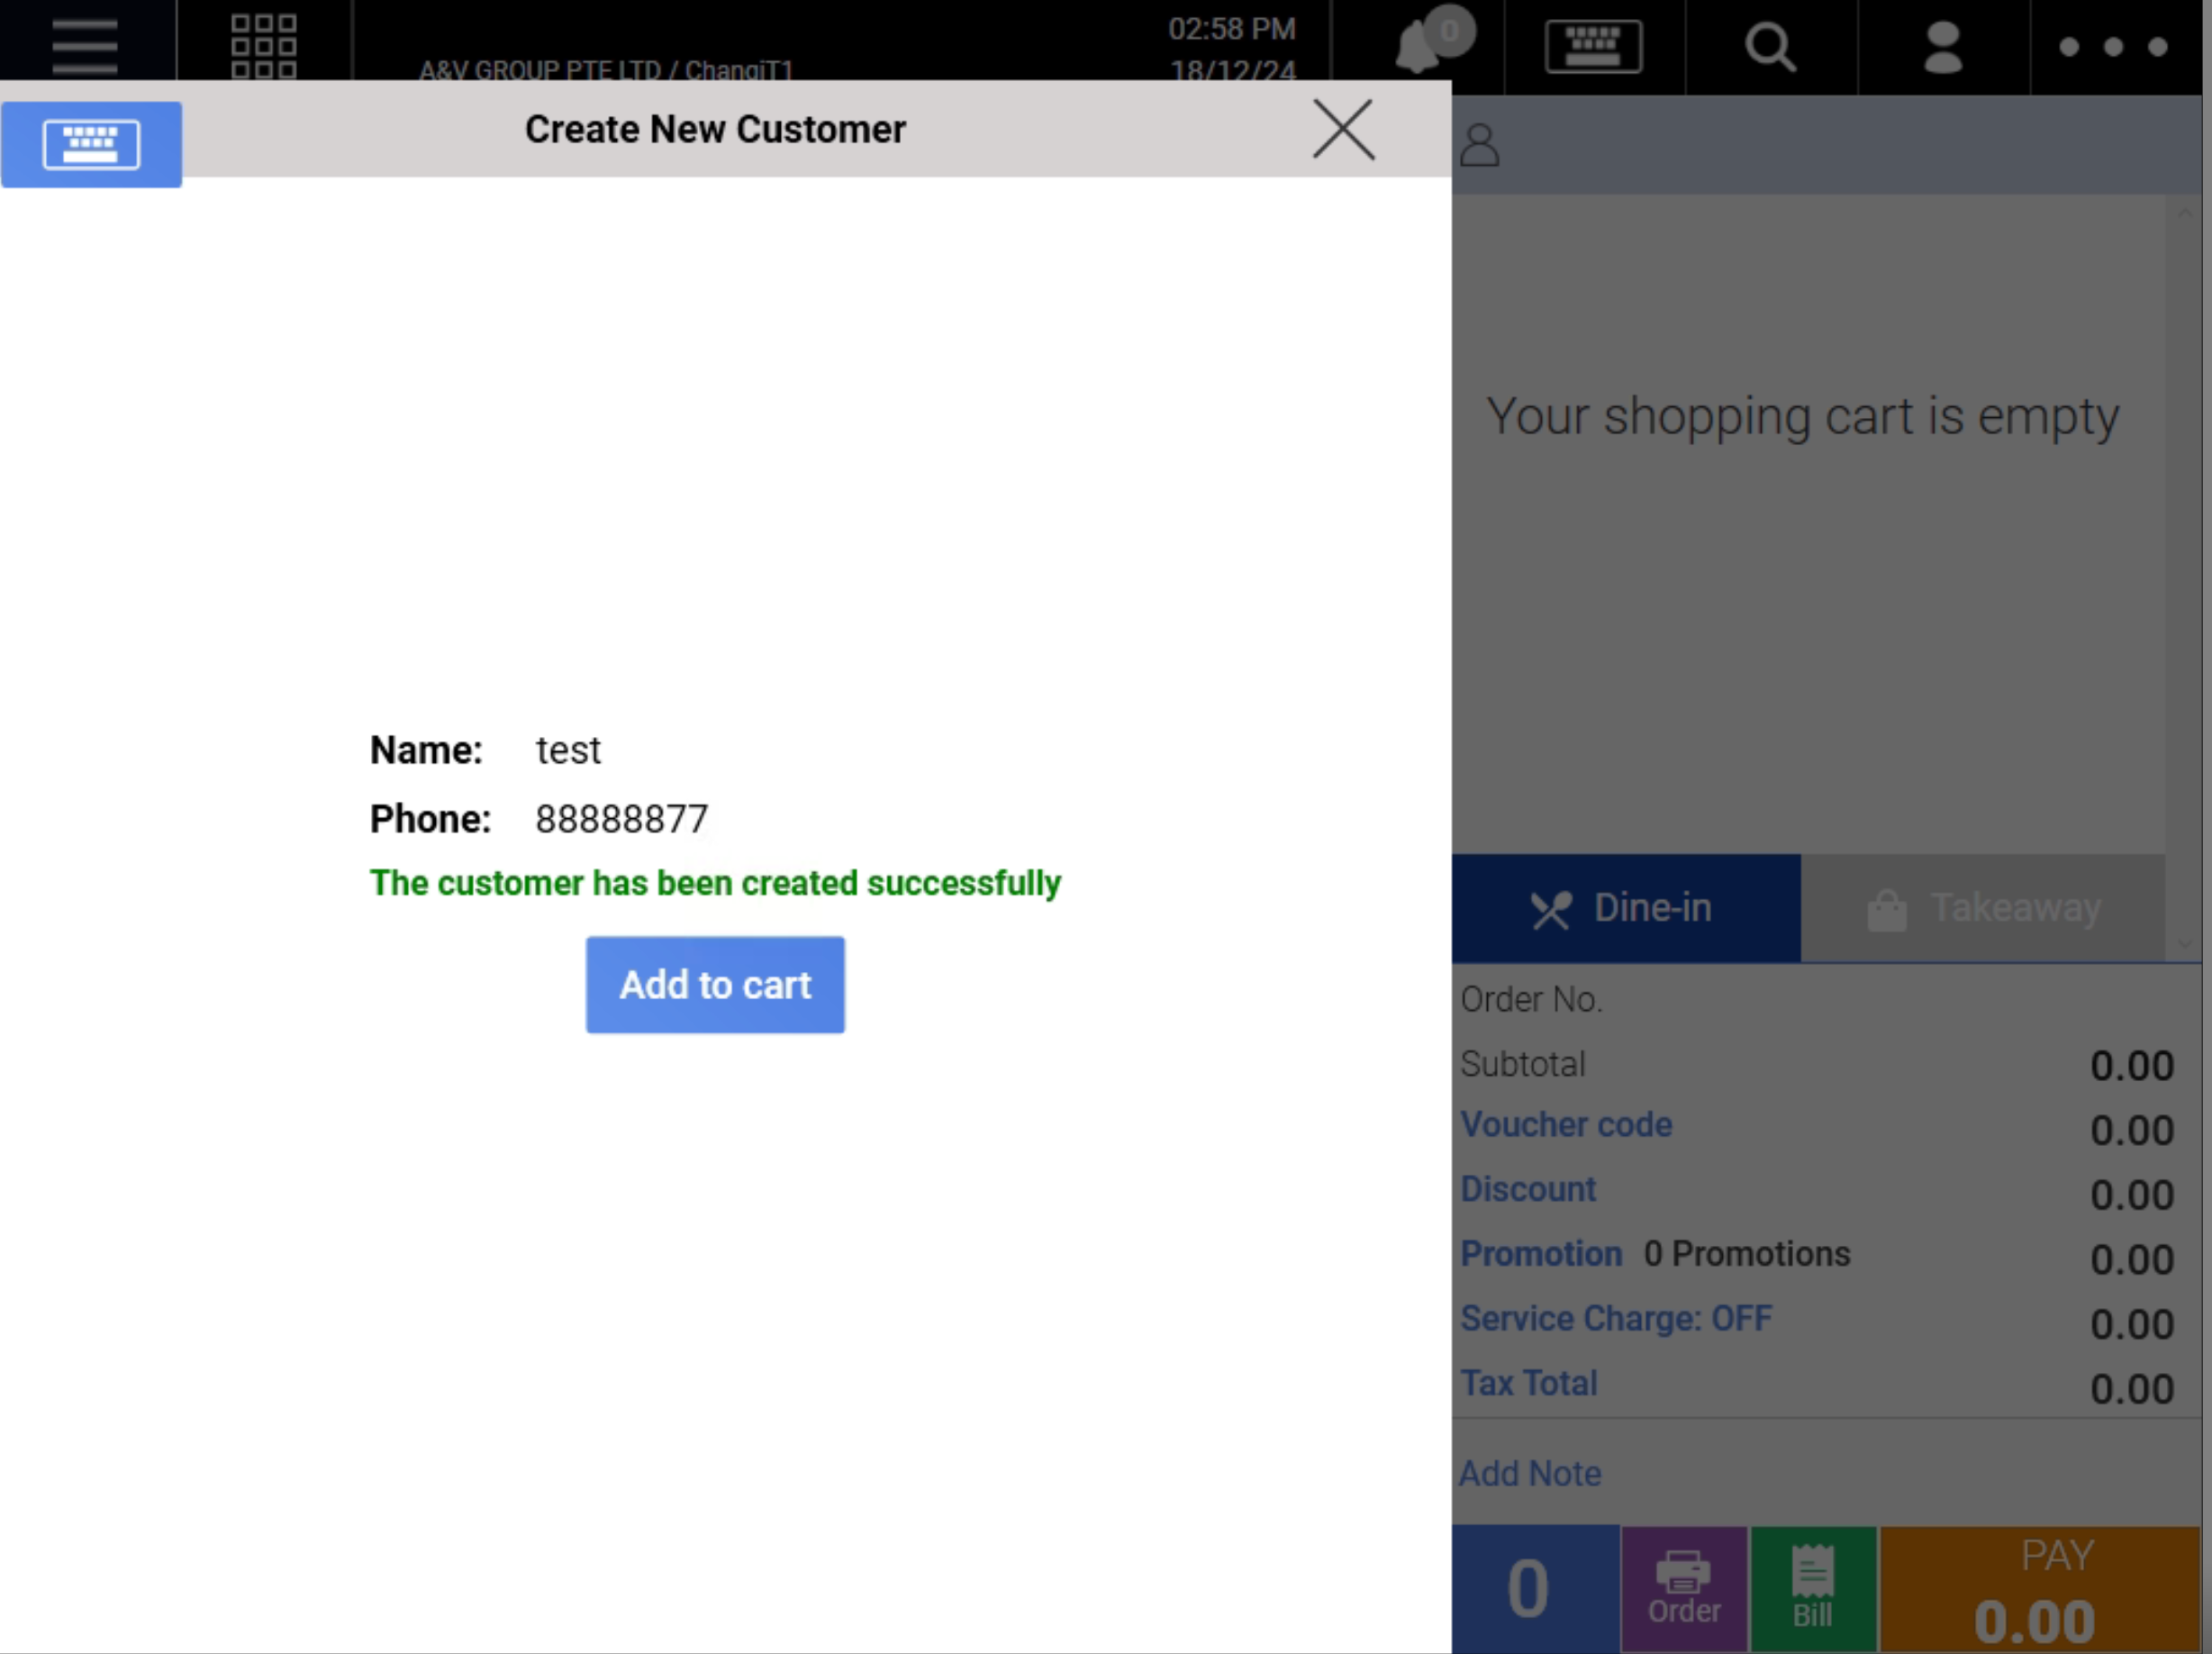
5. Click on Confirm to finalise creating a new customer. A completion notice will be shown, users can click on ⨯ to close the window.


