Release Changes
Sep 2023: Added a timer at table management page, indicated by configurable table colours
💡 This is a feature configurable on the backend, under table management – Table Colour.
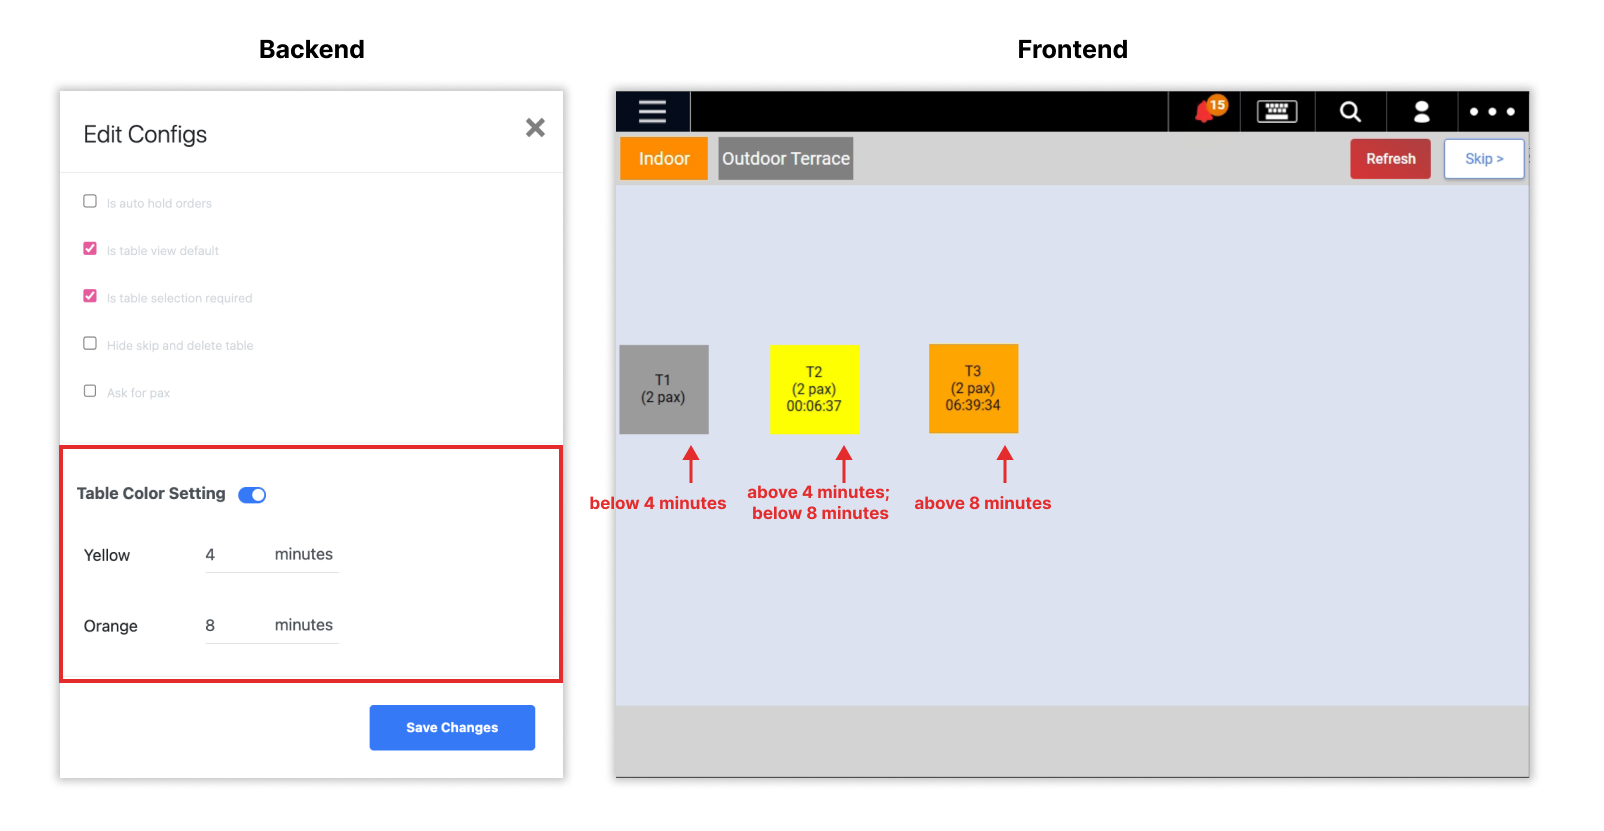
The timer and table colour work together to allow a quick glance at each table’s duration. A timer would be set for the duration a table has been taken, and the duration can be categorised into 3 colour categories: Grey, Yellow and Orange.
To get started on configuring the timer and table colour, follow through the following instructions. On the backend, set the duration for the tables to turn to Yellow at the first duration field, and turn to Orange at the second duration field.

Timer Configurations
To better understand how the timer works, the start and stop time is recorded from the following actions:
Transactions on the POS:
-
- If the table view is the default view on your POS, the timer will start once the staff click on the “Take order” button.

- If the sales view is the default view on your POS, the timer will start once the staff click on the “Add Table” button.

- The timer will stop once payment has been made and the table becomes vacant again.

- If the table view is the default view on your POS, the timer will start once the staff click on the “Take order” button.
QR Ordering + Pay at cashier
-
- If “auto send to kitchen” has been disabled, the timer will start once the staff presses on the “send to kitchen” button in the notification centre.

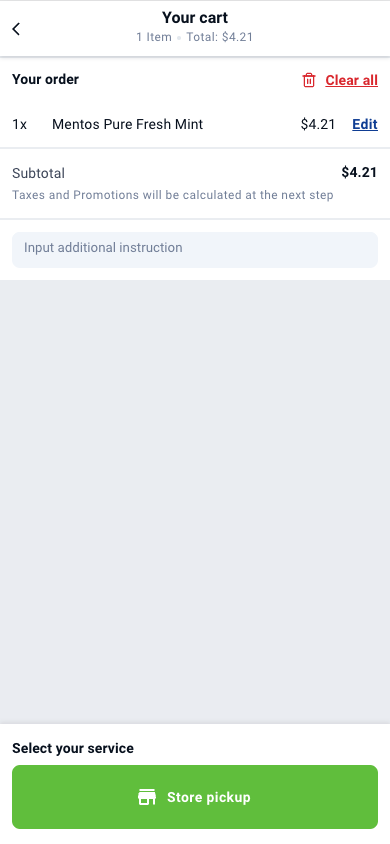
- If “auto send to kitchen” has been enabled, the timer will start once the customers click on “store pickup” on the web ordering app.

- The timer will stop once payment has been made and the table becomes vacant again.

- If “auto send to kitchen” has been disabled, the timer will start once the staff presses on the “send to kitchen” button in the notification centre.
Table Colour Configurations
As mentioned above, configurations made on the backend Table Management module would reflect on the frontend table layouts.
Here is a table guide for the different colour indications:


