No products in the cart.
November 2024
This November, several features across our POS, Backend, and Web Ordering App have implemented features to enhance the experience of both the users and customers.
What’s New
Not sure which affects you?
These icons indicate which group of users is impacted by each enhancement: Point of Sale (POS) users, Backend users, or Web Ordering App users.
( 🖥️ POS — ⚙️ Backend —📱 Web Ordering App —🤖 Android POS —👨🍳 Kitchen Display System (KDS))
(Backend) Reporting - Add 'Fees Collected' column on Sales by Shift, Daily Sales, and Transaction List⚙️
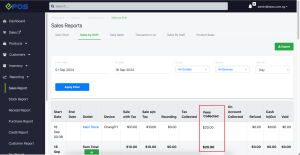
User now will be able to refer to the ‘Fees Collected’ to reconcile for the shipping fees conveniently by navigating to the ‘Sales by Shift,’ ‘Daily Sales,’ or ‘Transaction List’ reports.
Example from Sales by Shift:
The column displays the total amount of fees collected for shipping, delivery, or related services. These fees are associated with orders from the following sources:
- Webapp Courier & In-House Delivery: Includes integrations like Lalamove.
- Third-Party Platforms: GrabFood, GrabMart, Deliveroo, etc.
- E-commerce Platforms: Shopify and WooCommerce.
- Invoice-Related Orders: Applicable delivery fees.
(Backend) ERP Sales Module - Delivery Order: Filter out individual items and export to csv with Delivery Details⚙️
Users that accept pre-orders are now able to export all Individual items with delivery details from the delivery orders by clicking on ‘Export’ button.
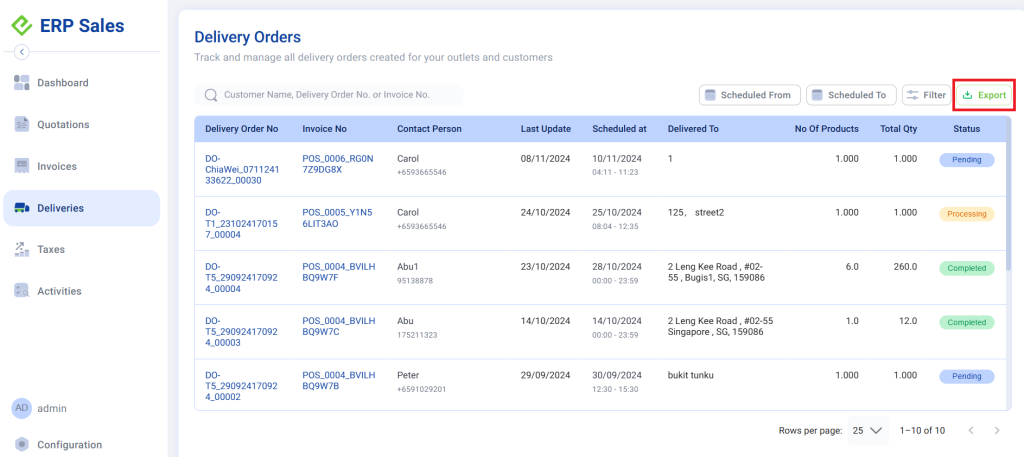
Then, selects ‘Individual Item Breakdown’
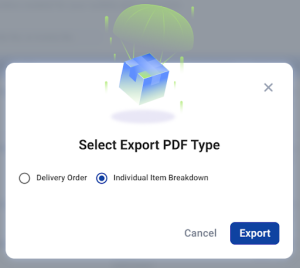
A csv file with all individual items from delivery orders will be downloaded.

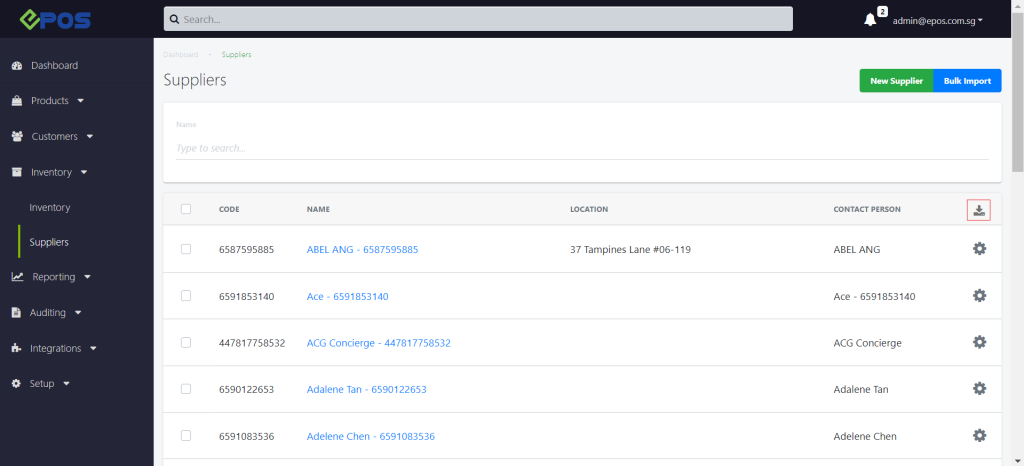
(Backend) Export list of suppliers⚙️
User is able to export the supplier list by clicking the export button!
(Backend/POS) Barcode Printing - Tax Rule indication ⚙️🖥️
As per IRAS label printing law: GST-registered businesses must show GST-inclusive prices on all price displays to the public (e.g. price tags, price lists, advertisements, publicity brochures, website).
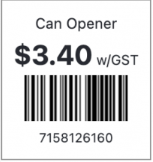
Moving forwards, EPOS barcode printing will include Tax indication on the barcode printout and preview. There will be ‘w/GST’ on the right bottom of the GST-inclusive/exclusive price in the barcode.
Frontend barcode printing:
Backend barcode printing:
Click here to find more about IRAS Policy.
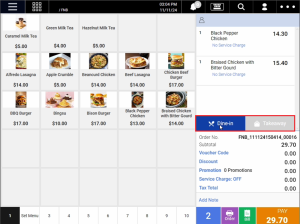
(POS) Dining Mode - Allow user to select dining mode on POS 🖥️
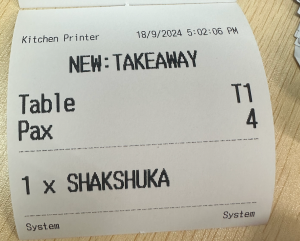
FnB cashiers can select a dining mode (e.g., “Dine-In” or “Takeaway”) for the entire order directly from the POS when creating an order.
Kitchen staff will see the correct dining mode displayed on the KDS and kitchen slip.
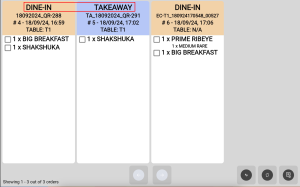
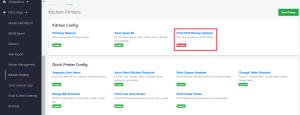
To disable it, go Backend > Kitchen Printing to disable ‘Print POS Dining Options’.
(Backend/POS/Android) Manual Discount - Set tier based manual discount % cap by staff group ⚙️🖥️🤖
Follow the steps below to set the maximum percentage of manual discount that can be given to different staff group on frontend POS.
Backend Configuration:
1. Navigates to Backend > Manual Discount > Discount Cap, selects a staff group and sets the maximum allowable discount percentage for the group.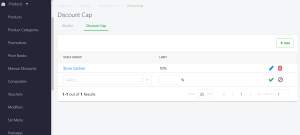
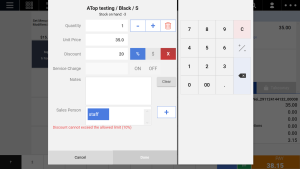
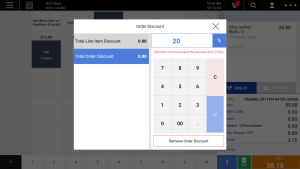
2. On the frontend POS, when a cashier logs in and attempts to apply a manual discount exceeding the set limit:
Windows POS:
– A red error message will notify them that the discount exceeds the allowed limit.
Android POS:
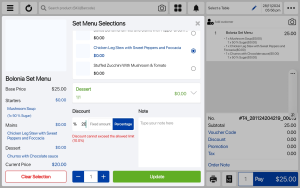
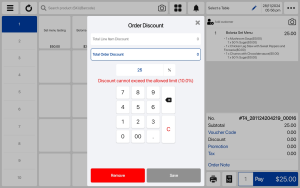
– User will be unable to apply the discount until it is adjusted to be within the limit.
(POS/Android) End Shift - FOC Payment Method Listing🖥️🤖
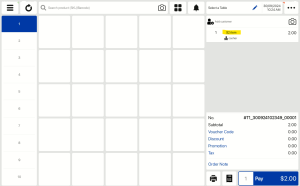
End Shift and Sales Analysis reports are updated to display FOC (Free Of Charge) Amount as a separate row in the Other Analysis section.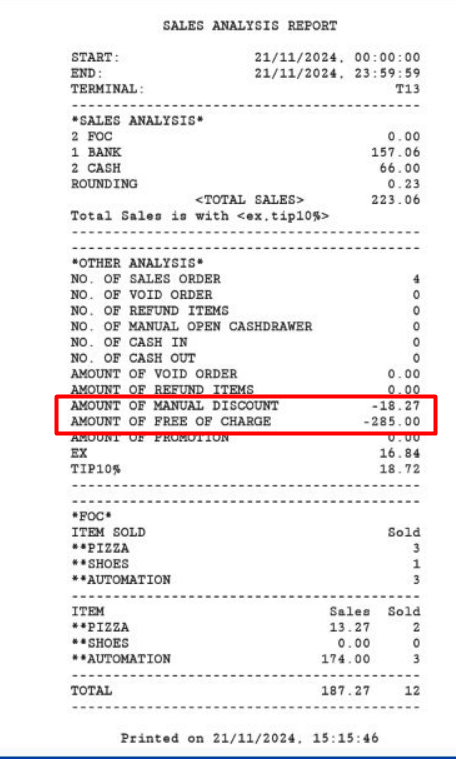
NOTE: If the order includes Manual discount and FOC, FOC will be the total sum of the subtotal.
(Android) Sale Receipt - Print footer image🤖
Android POS now supports printing a footer image at the bottom of the receipt!
Refer here for a guide on how to set up the footer image in the backend system.
(Android) Customer - Tag customer to order with device built-in camera🤖
User can now conveniently tag customers to orders using the built-in camera by tapping camera icon for membership barcode scanning, eliminating the need for external barcode scanners!
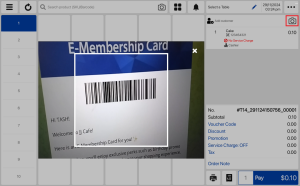
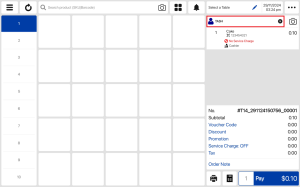
NOTE: If the membership barcode is not found, an error will be displayed indicating the customer does not exist.
(Android) Product - Scan product barcode using built-in device camera🤖
User can scan product barcode with the built-in camera by tapping on camera icon beside product search bar.
When product barcode not found, an error message will be displayed.
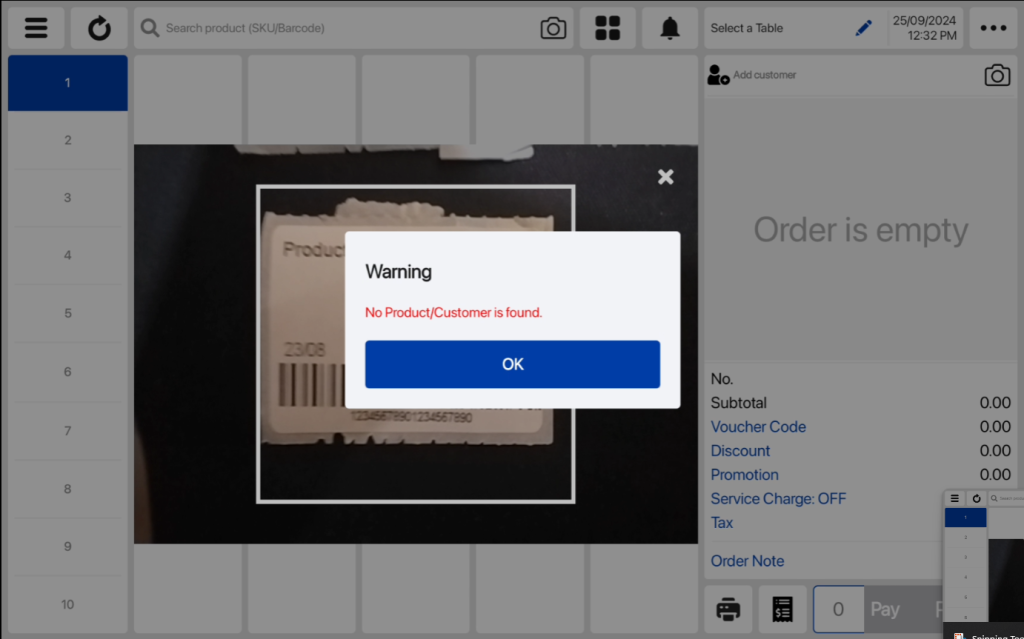
NOTE: a notification tone will play to confirm that the product has been successfully added.
(Android) Voucher - Scan cash and discount voucher barcode using built-in device camera🤖
User can scan voucher with the built-in camera by tapping on camera icon beside product search bar.
💡A notification tone will play to confirm that the product has been successfully added.
To scan a Discount Voucher, taps Voucher Code in the order details on the sales view then taps the camera icon in the Voucher Code Number field.
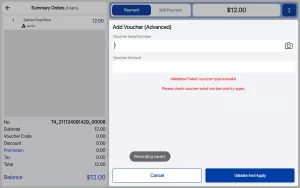
To scan a Cash Voucher, selects Cash Voucher as the payment method and taps the camera icon in the Voucher Serial Number field to scan the voucher.
When a voucher is not found, an error message will be displayed.
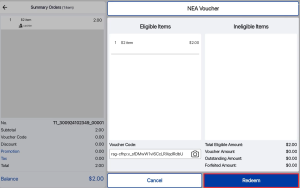
(Android) NEA Voucher - Scan NEA voucher QR code using built-in device camera🤖
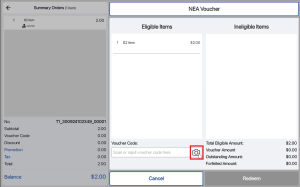
Follow steps below to scan NEA voucher directly through the built-in camera:
- Cashier adds eligible products to cart.

- Cashier selects payment method of NEA voucher and tap on camera icon

- Cashier scans valid NEA voucher and click redeem button.

NOTE: Tone/sound confirmation after QR code is scanned.
(Android) Pre-settlement Printing - Shift print pre-settlement button to sales view🤖
User now can print pre-settlement with a single tap!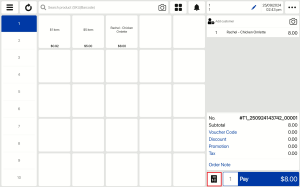
(Android) Quick pick - Group list and grid view🤖
User now can view quickpick group as list and grid view on Android POS:
Quickpick is displayed in grid view by default. Users can navigate between pages of products and add multiple items from that product group into cart. 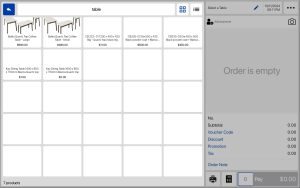
By tapping on list view icon, user is able to view quick pick group in list. Users can scroll through the list of products that are part of the product group and add multiple items to cart. 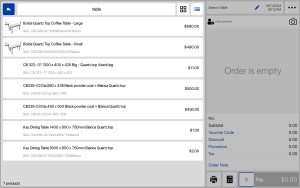
(Android) Kick Cash drawer from printer device🤖
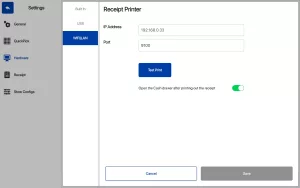
Android POS now is able to trigger the opening of a cash drawer via a printer connection after printing a receipt!
1. User navigates to the Setting>Hardware>Receipt Printer>WIFI/LAN.
2. User enter IP address, Port to connect the printer, then toggle on “Open the Cash Drawer after Printing”.
(Kitchen Display System (KDS)) Table View 👨🍳
The Table View supports the overall view of all orders categorized based on the Table number. Additional orders from the same table will be appended under the same chit. User may click on the icon below on the most far right to toggle between Order View and Table View.

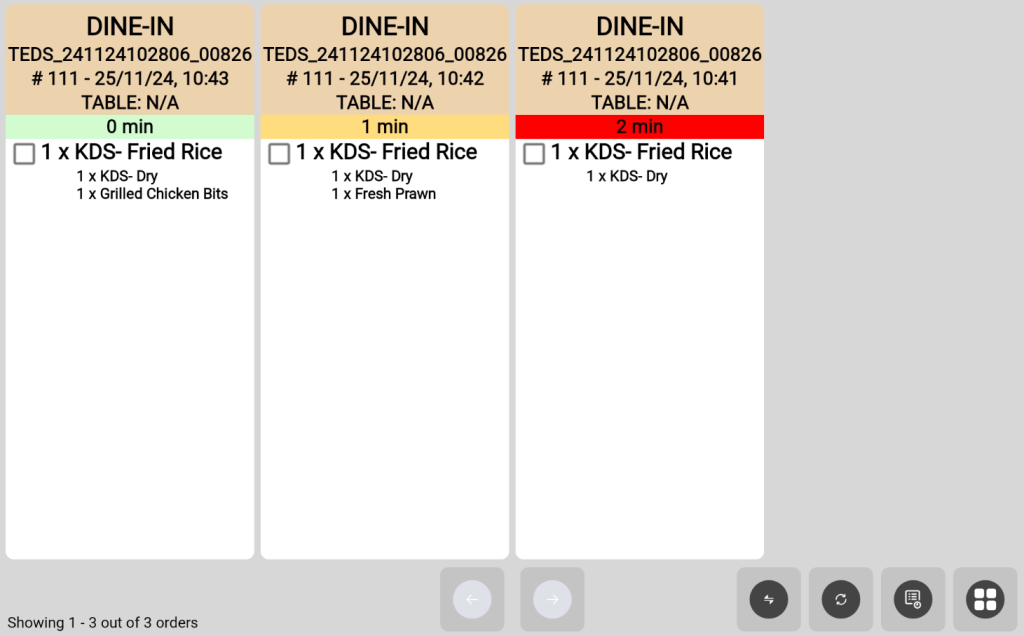
(Kitchen Display System (KDS)) Colour-coded Elapsed Timer👨🍳
Elapsed timer changes colour to show how long the order has been waiting. User can turn on elapsed timer and set the number of minutes taken for elapsed timer to change to yellow and red.
Once turned on, elapsed timer will be appended under each order header. This helps kitchen staff track order times, reduce delays, and ensure food is prepared on time, improving customer satisfaction.
How to Update
For POS related features, user will need to update the POS to the latest version, version 5.211.0.0.
For Backend related features, user are not required to perform any actions, the new features would automatically be updated.
Feedback
We value your input! If you encounter any issues or have suggestions for further improvements, please don’t hesitate to contact us.
Stay Connected
Stay updated with the latest news and updates by following us on our social platforms.
Thank You
We appreciate your continued trust in EPOS. This update is just one of many steps we’re taking to provide you with the best POS system on the market.
If you have any questions or need assistance with the update, please contact our support team at:
Call: 6871 8833 / Email: [email protected] / Whatsapp: 8482 1888

Was this article helpful?
YesNo
