Follow the steps below on how to merge multiple bills for a table
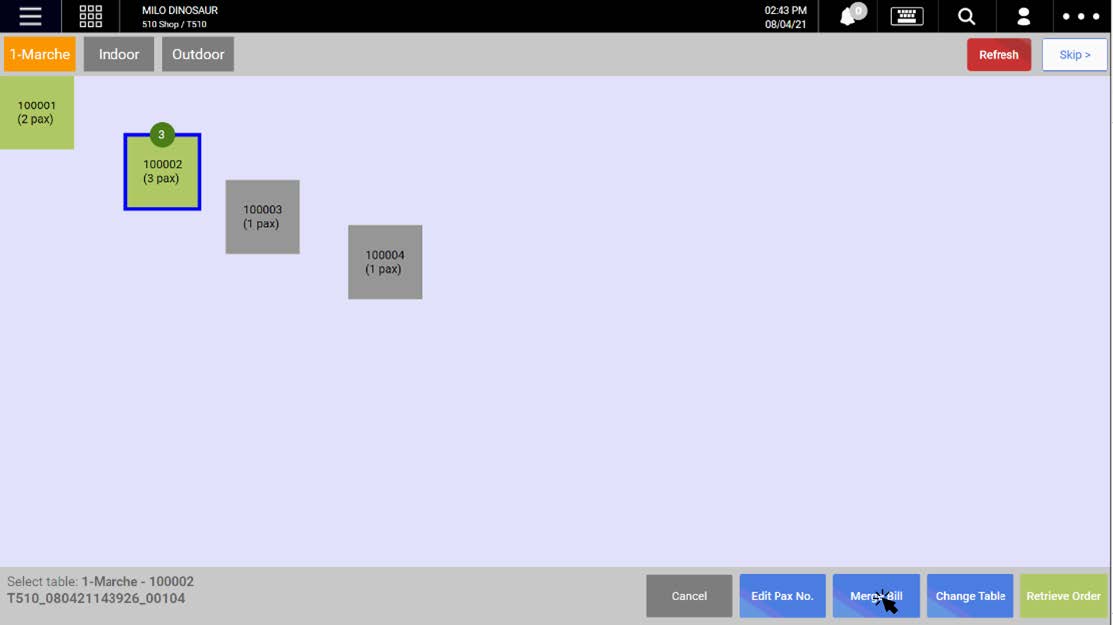
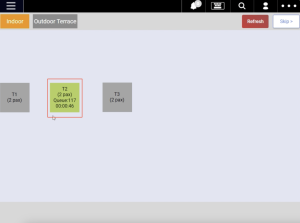
1. Access the table management page. Occupied tables with a green numbered balloon on it signifies that there are multiple bills tagged to the table
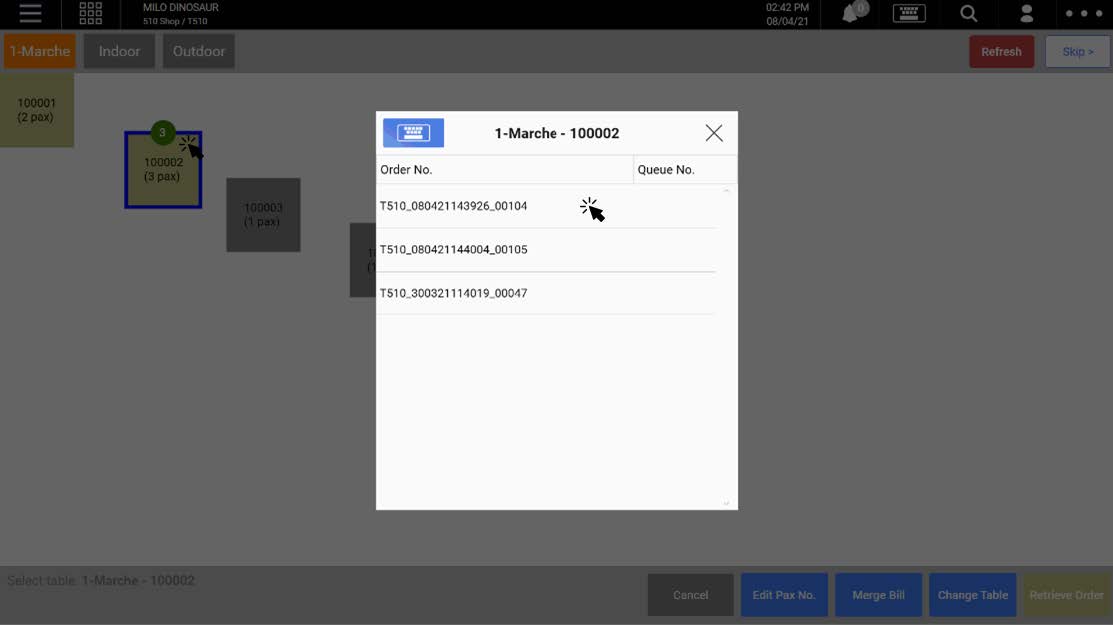
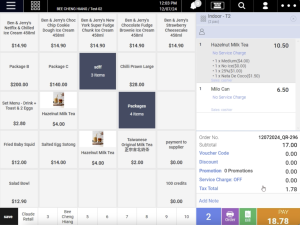
2. Select the table, and a window with a list of order numbers will be shown, users may select one of the order numbers
3. Upon selecting the order, the window will close, and users can click on the Merge Bill button
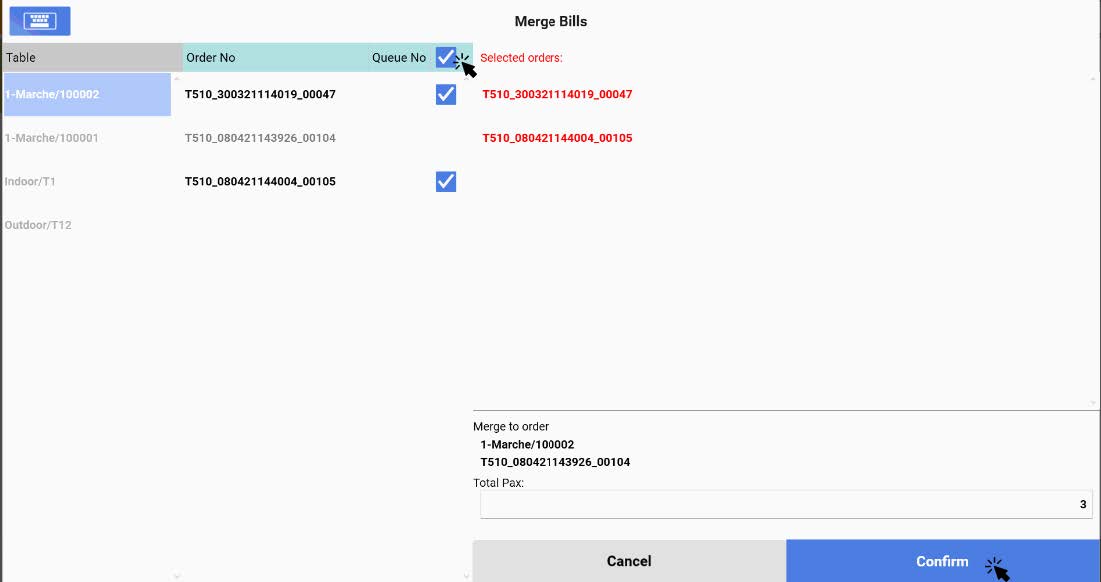
4. A Merge bills window will be shown, users can either select one particular order to be merged, or select all. Next, click on Confirm to proceed with merging.
5. The numbered balloon will no longer be shown. Users may retrieve the order from the table and proceed with check out.
For increased convenience when users search for items across different orders made from the same table, this feature allows orders to be automatically merged on the POS.
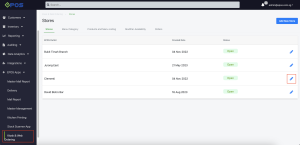
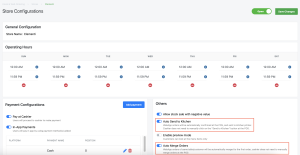
On the backend, users can navigate to the Kiosk & Web Ordering tab to edit the specific store’s configuration by clicking on the Pencil icon.
Users can enable/disable the toggle for ‘Auto Send to Kitchen’ and ‘Auto Merge Orders’.
There are 2 ways in which users can retrieve orders from a specific table:
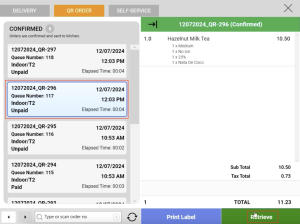
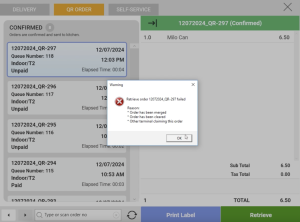
When both toggles are enabled, QR and Kiosk orders will automatically appear under the Confirmed column in the POS 3rd party view. To retrieve separate orders made from the same table, users will click on the first order made from that table to retrieve it. If users click on the second order from that table, there will be an error message.
Users can navigate to the Table Management view and click on the selected table to retrieve all orders placed from there.
Once users click on Retrieve, they will be redirected to the Sales View with all the separate orders from that table merged.