No products in the cart.
This tab gives a step-by-step tutorial on stock adjustment on the stocktake device.
Follow the steps below to make stock adjustment:
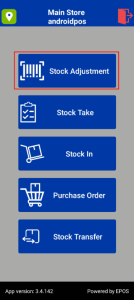
1. User selects “Stock Adjustment” button
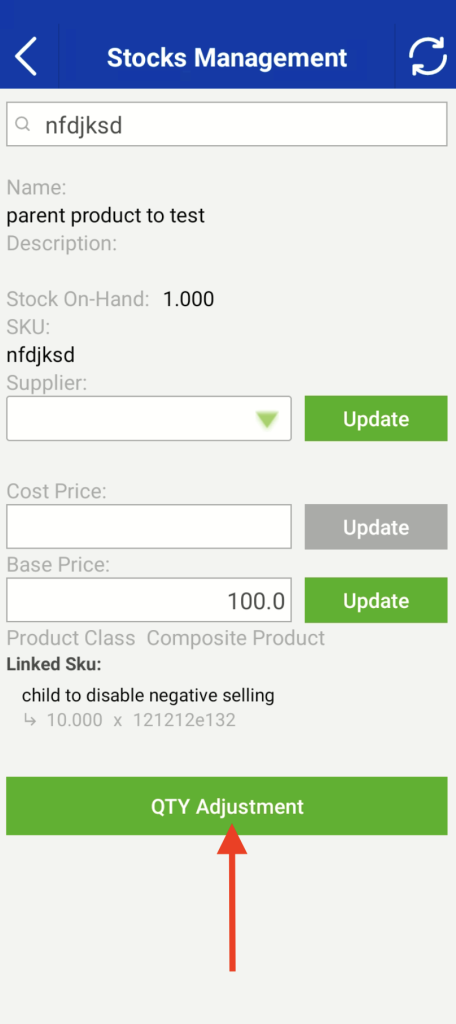
2. User will be redirected to Stocks Management page, where they are prompted for a barcode.
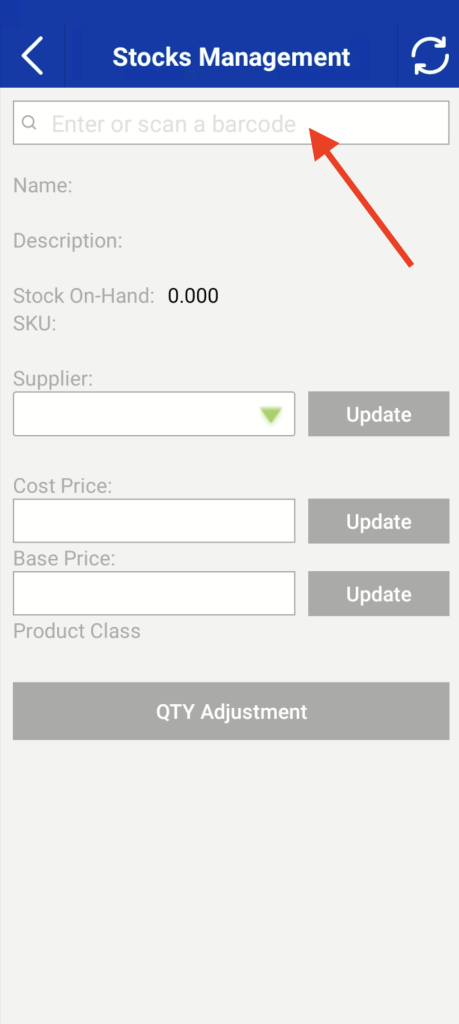
Note: At this stage, the user can either scan or enter an existing barcode to update the details of the linked product, or scan/enter a new barcode to create a new product with its own details.
3. The scanner button is found on both sides of the device
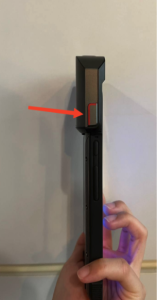
4. User presses and holds the either side of the scanner button, pointing the device at a barcode (of a product/variant that exists at the backend).
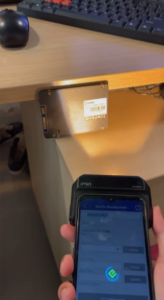
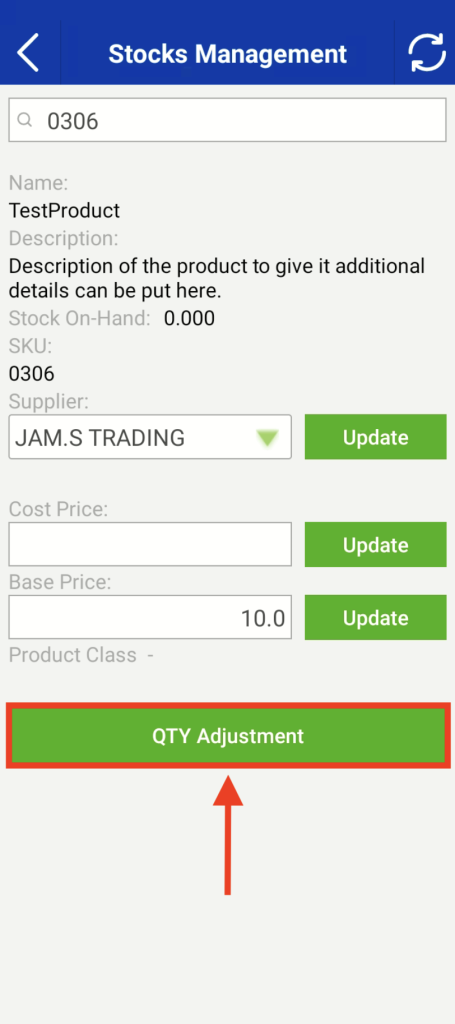
5. The Stocks Management page is populated with the product/variant data.
Users can enter/update a supplier for the product.
Users can enter/update a cost price for the product.
Users can enter/update a base price for the product.
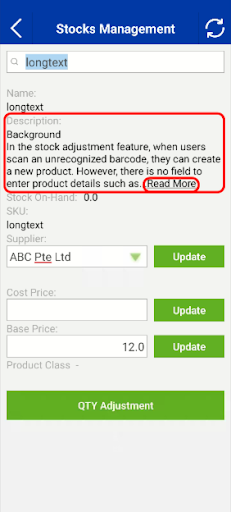
Users can add a description when creating a new barcode. However, product descriptions cannot be edited for existing barcodes which are already linked to existing products.
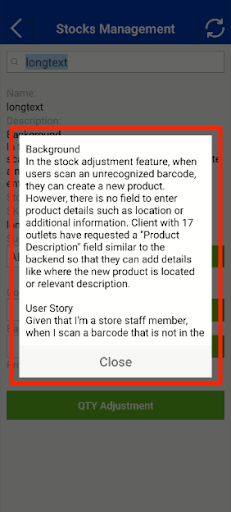
- Note: For product descriptions longer than 5 rows, the display will be collapsed. Users can tap “Read More” to expand and view the full details.
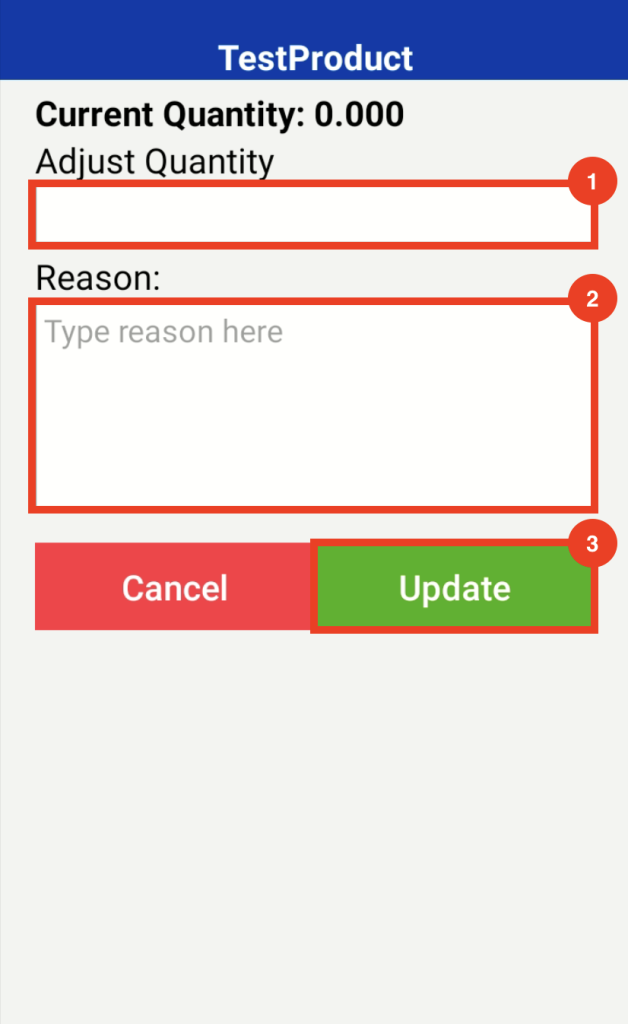
Enter a quantity to adjust by [+number will increase stock, -number will decrease stock]
– For Normal Products:
a. Tap on “QTY Adjustment”
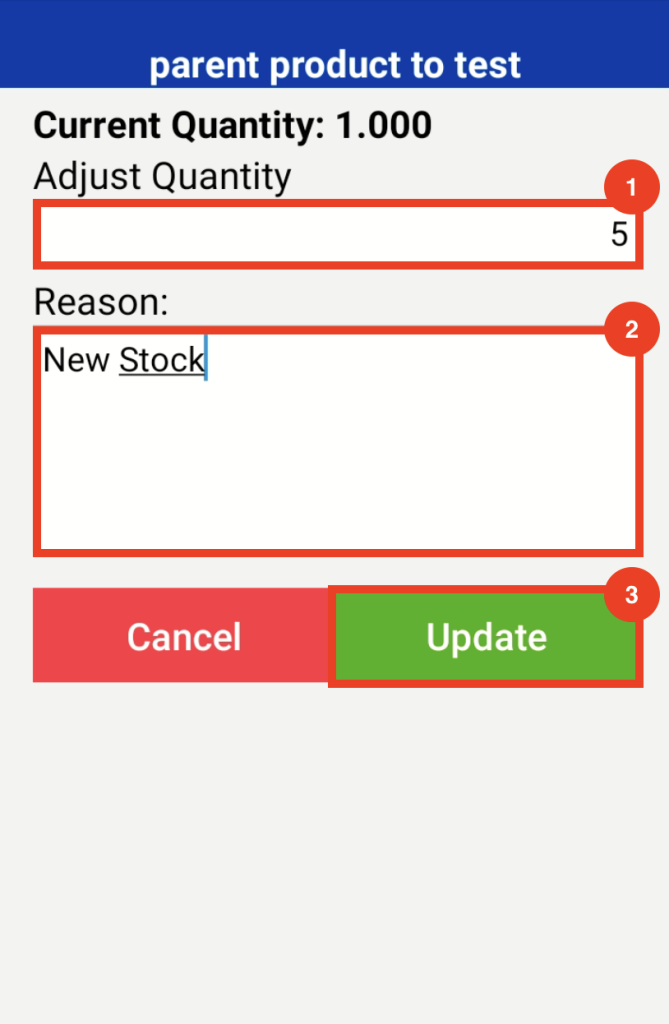
b. Input Adjust Quality
c. Input Reason
d. Tap on “Update”
– For Composite Products:
For Composite products, the child product’s qty will adjust according to the no. of qty per parent set in the Backend
a. Tap on “QTY Adjustment”
b. Input Adjust Quality
c. Input Reason
d. Tap on “Update”
Need to adjust permissions for staff? Click here to learn how.
This tab gives a step-by-step tutorial on how to perform stock take on the stocktake device.
Follow the steps below:
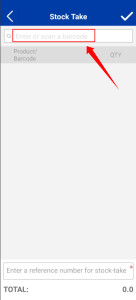
1. Tap on “Stock Take”

2. Enter/scan the product barcode
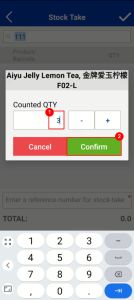
3. Input quantity, tap on confirm
4. Input the reference number for this stock-take and tap on the “✓” at the up right corner
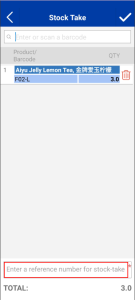
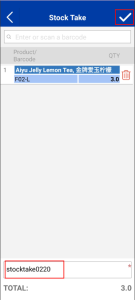
The stock-take is performed successfully!
Need to adjust permissions for staff? Click here to learn how.
This tab gives a step-by-step tutorial on how to do Stock In on the stocktake device.
Follow the steps below:
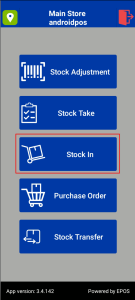
1. Tap on “Stock In”
2. Input the product barcode
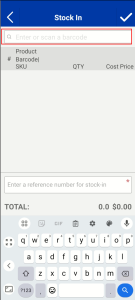
3. Do the stock-in
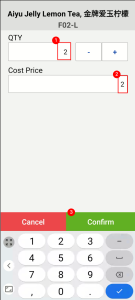
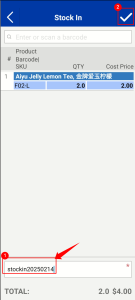
For Normal Products
- Input quantity
- Enter reference number
- Click the tick button
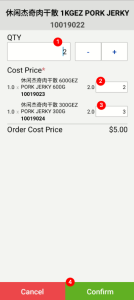
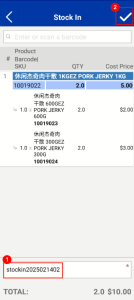
For Composite Products
- Scan product barcode
- Input quantity
- Child Cost Price (optional)
- Enter reference number
- Click the tick button
Need to adjust permissions for staff? Click here to learn how.
This tab gives a step-by-step tutorial on creating a purchase order on the stocktake device.
Follow the steps below or watch the video to create a new PO:
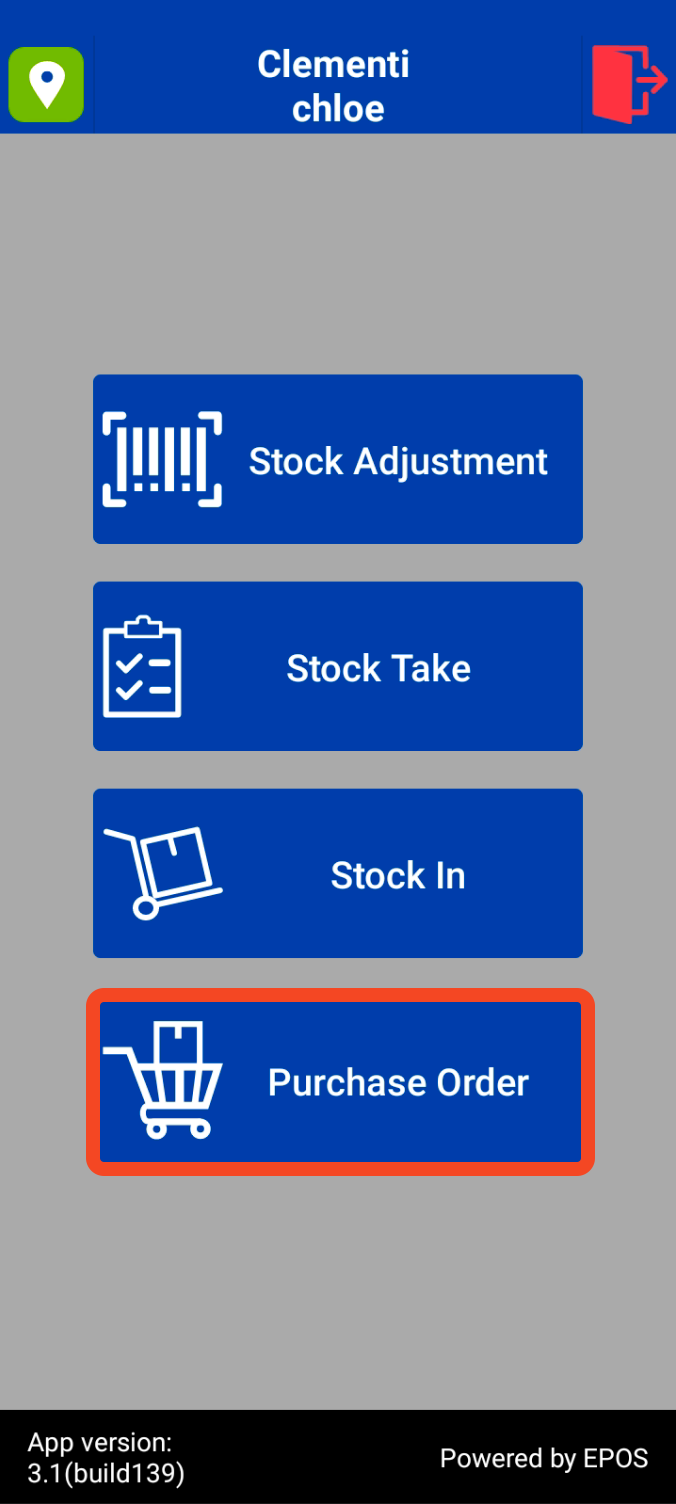
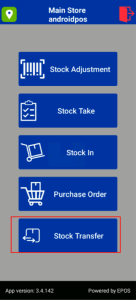
- From the EPOS App home page, click “Purchase Order”.

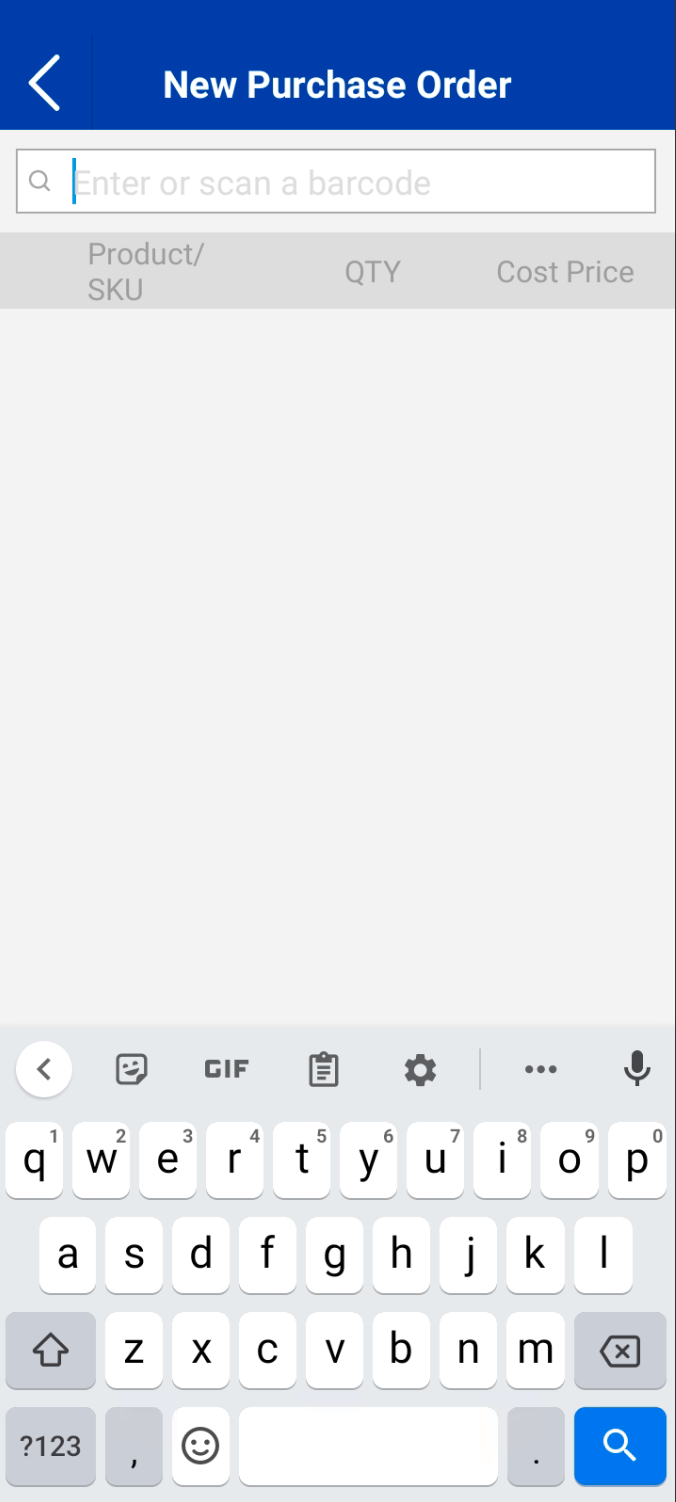
- Click on “New Purchase Order”

- Key in / Scan Barcode Number

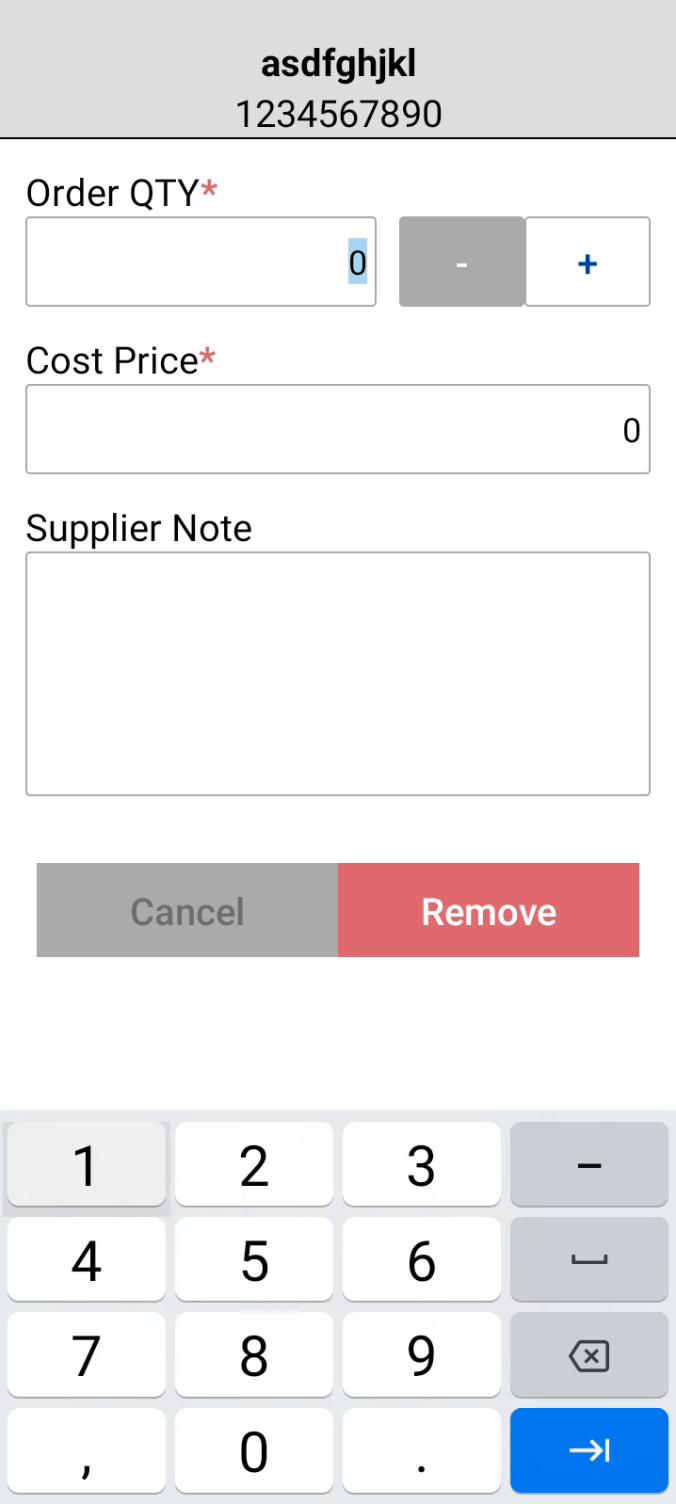
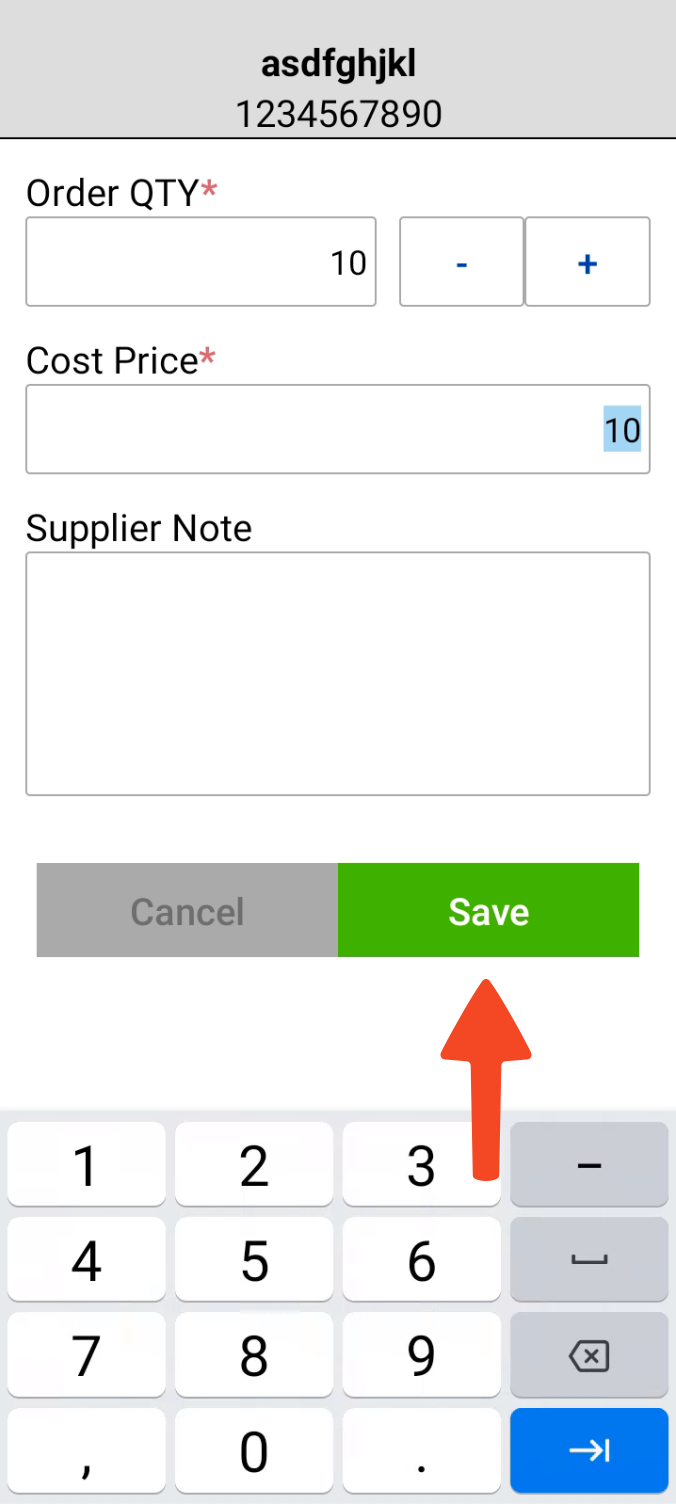
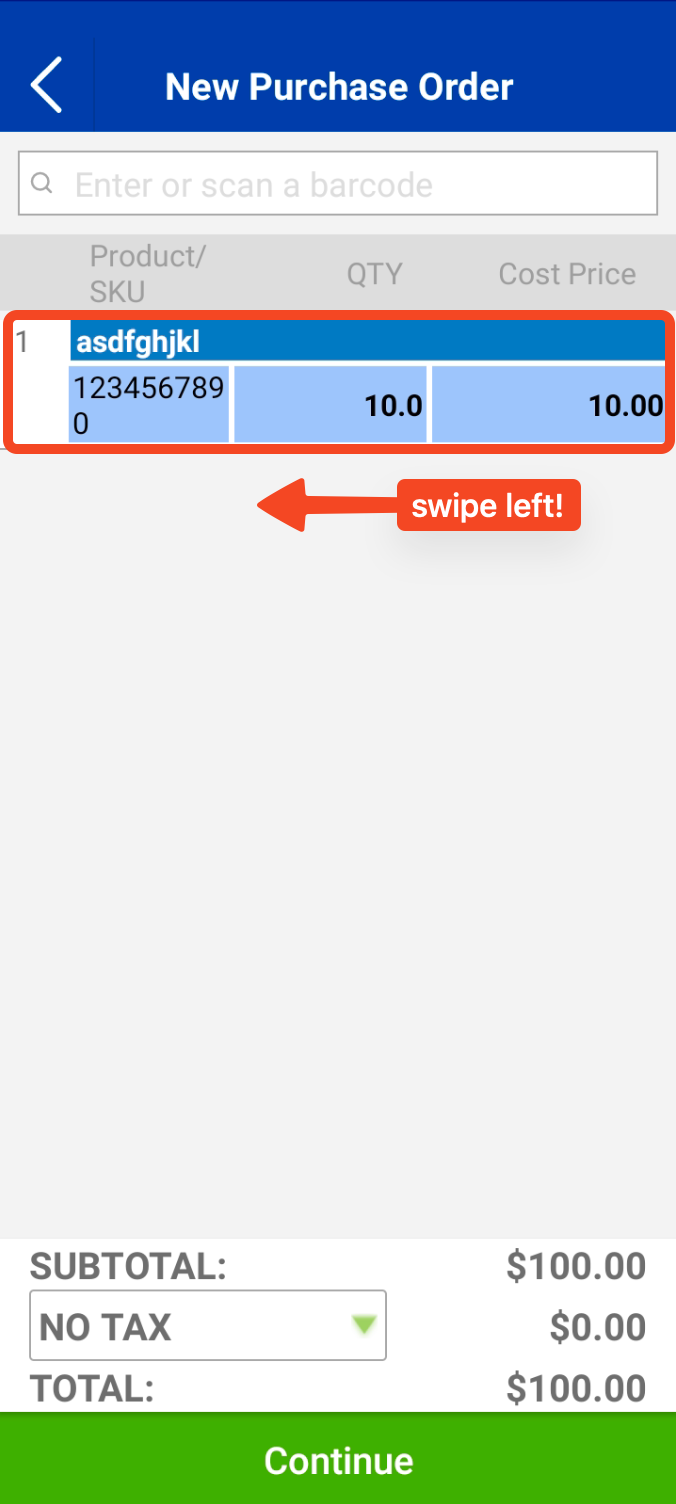
- A details window would appear, key in the relevant details.
Click on the green “Save” button when done.

- Swipe left to view action items to duplicate or delete the line item

 .
. 


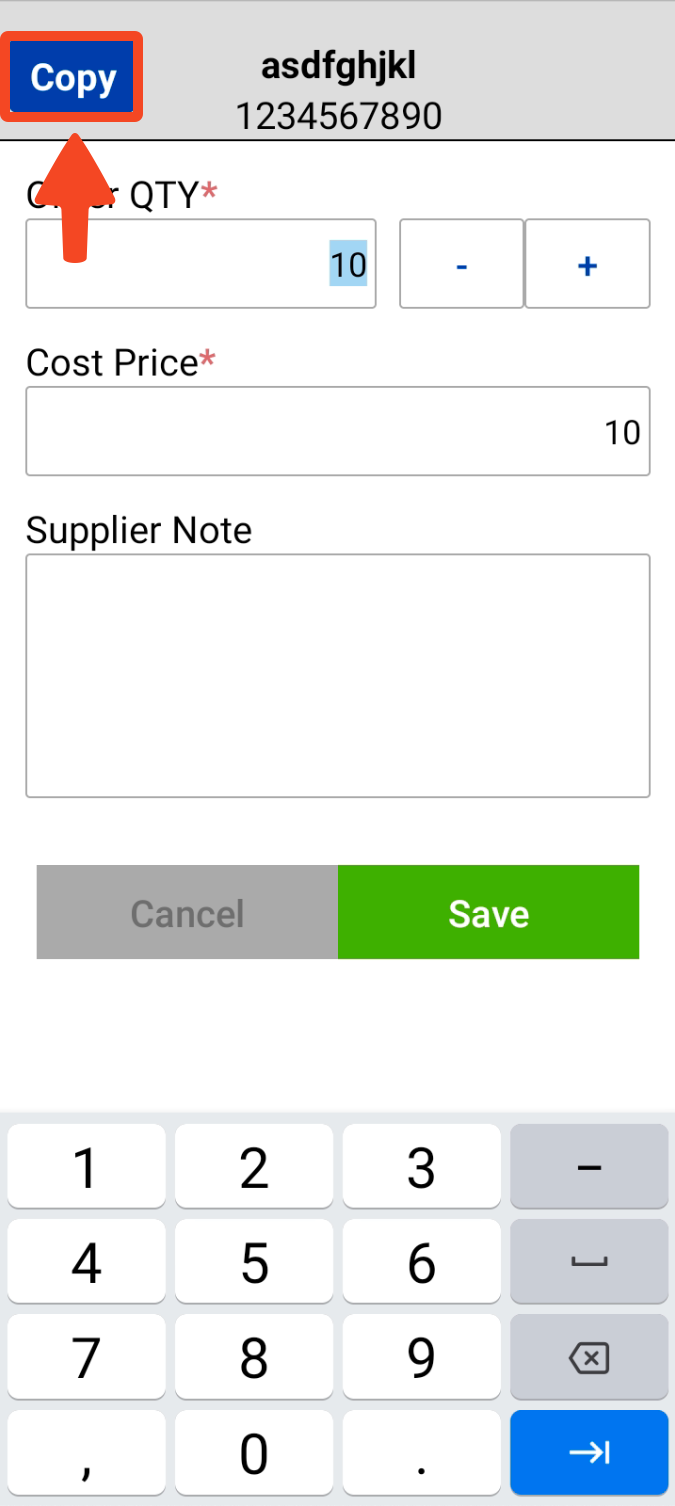
Duplicate:
- A detail window of the duplicated line item would appear with a “Copy” indicator at the top left corner of the screen.
- The “Copy” indicator would only appear on the first edit of this newly duplicated line item
Delete:
- Clicking on delete would delete the selected line item
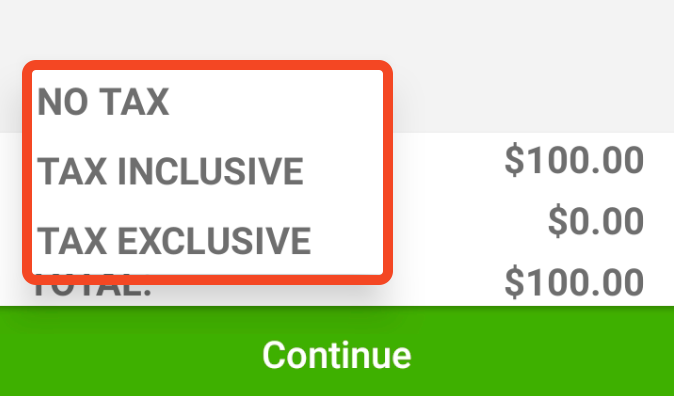
6. To make any changes to tax rules, click on the tax field dropdown
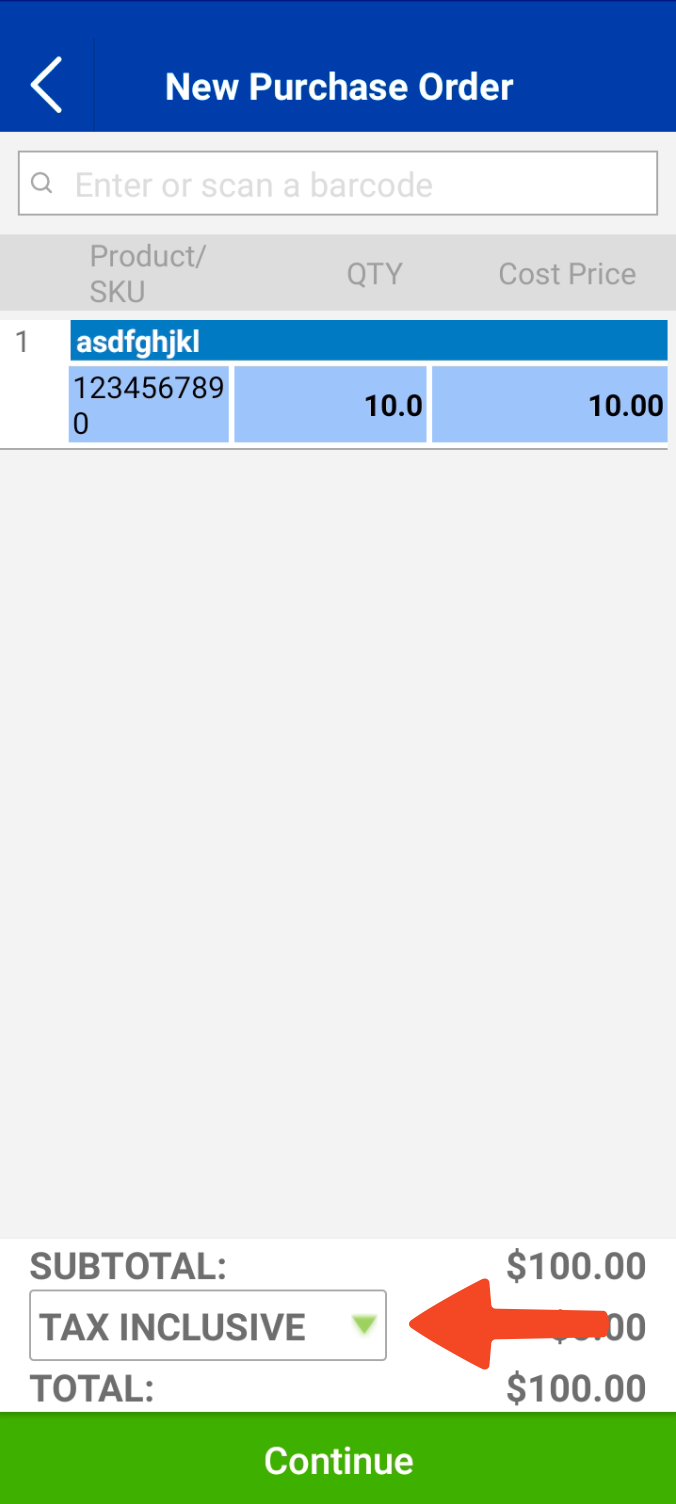
If there is no changes to tax rules, click on “Continue”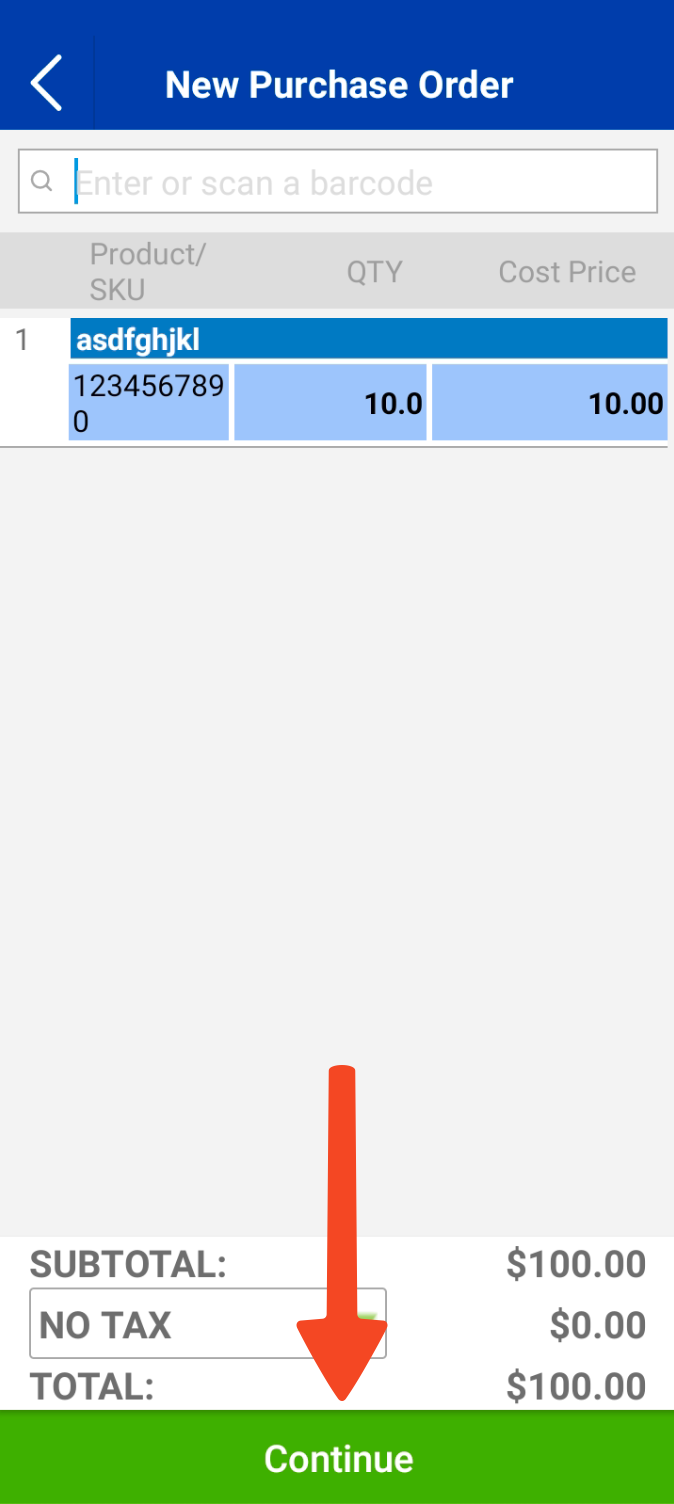
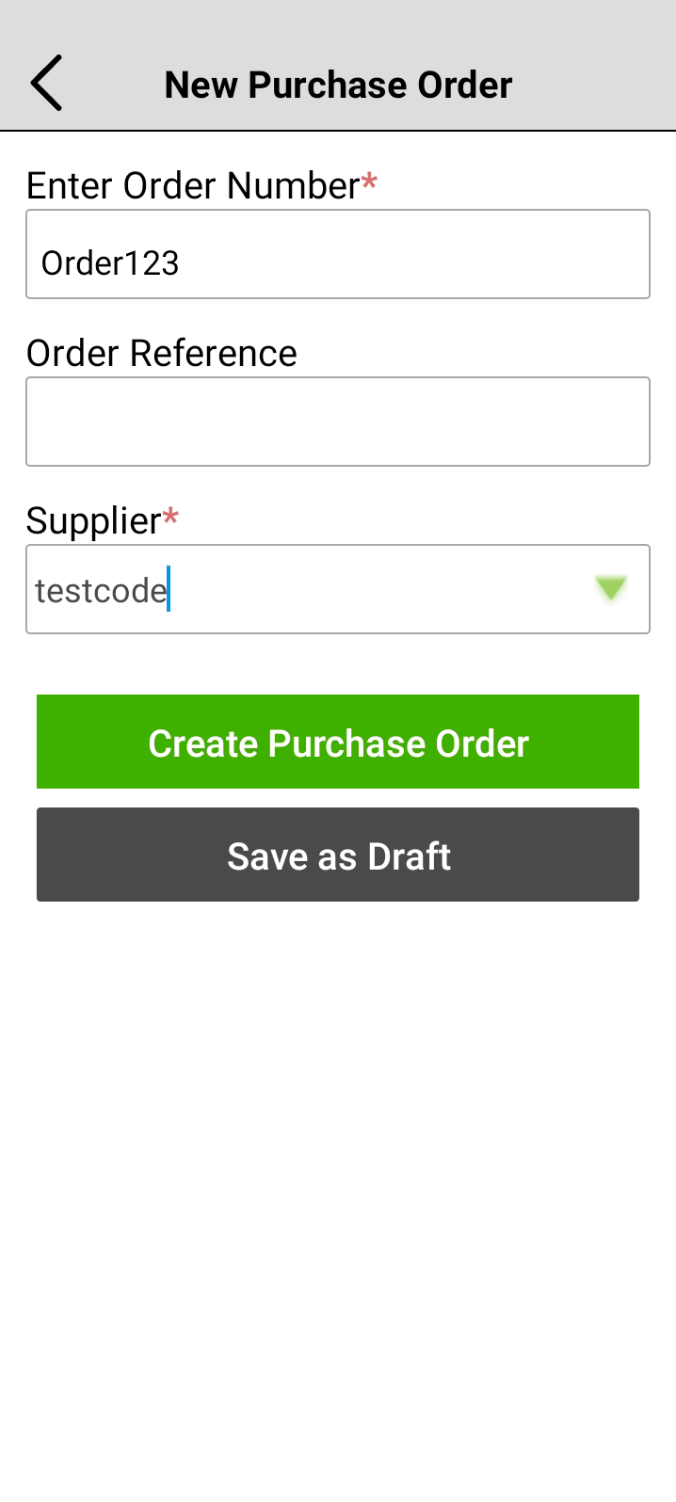
7. Key in the Order Number to identify this purchase order creation and save as draft or create purchase order.
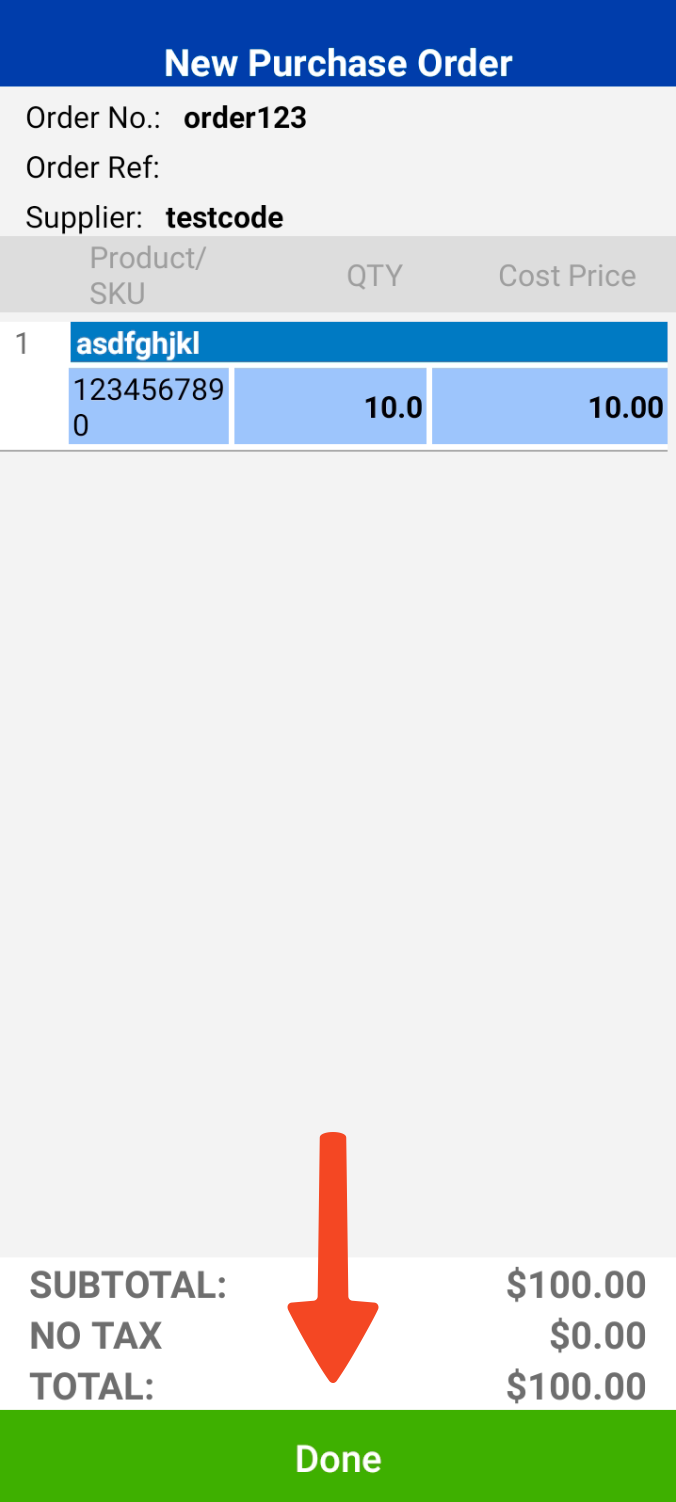
8. A new purchase order has been created.
Click on “Done” to return to the Purchase order action page.
Video Tutorial
Follow the steps below or watch the video to Edit Draft / Receive Goods:
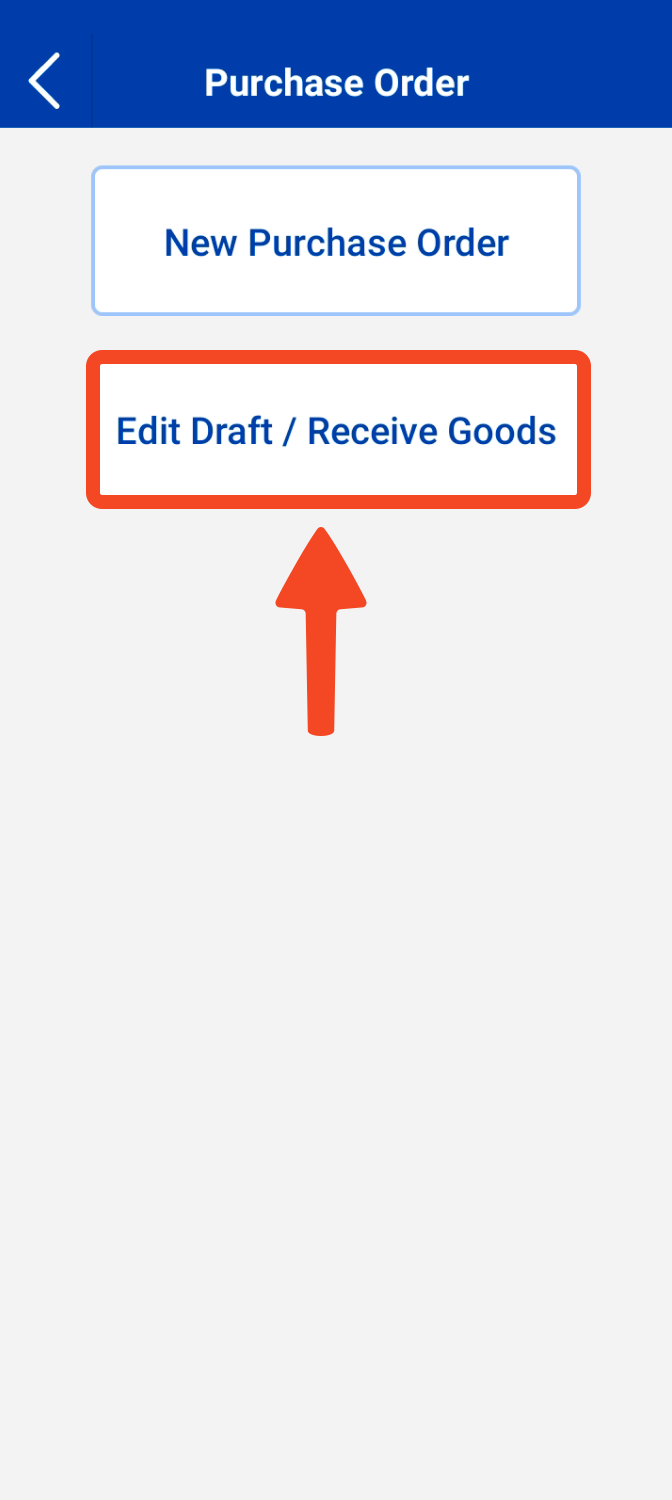
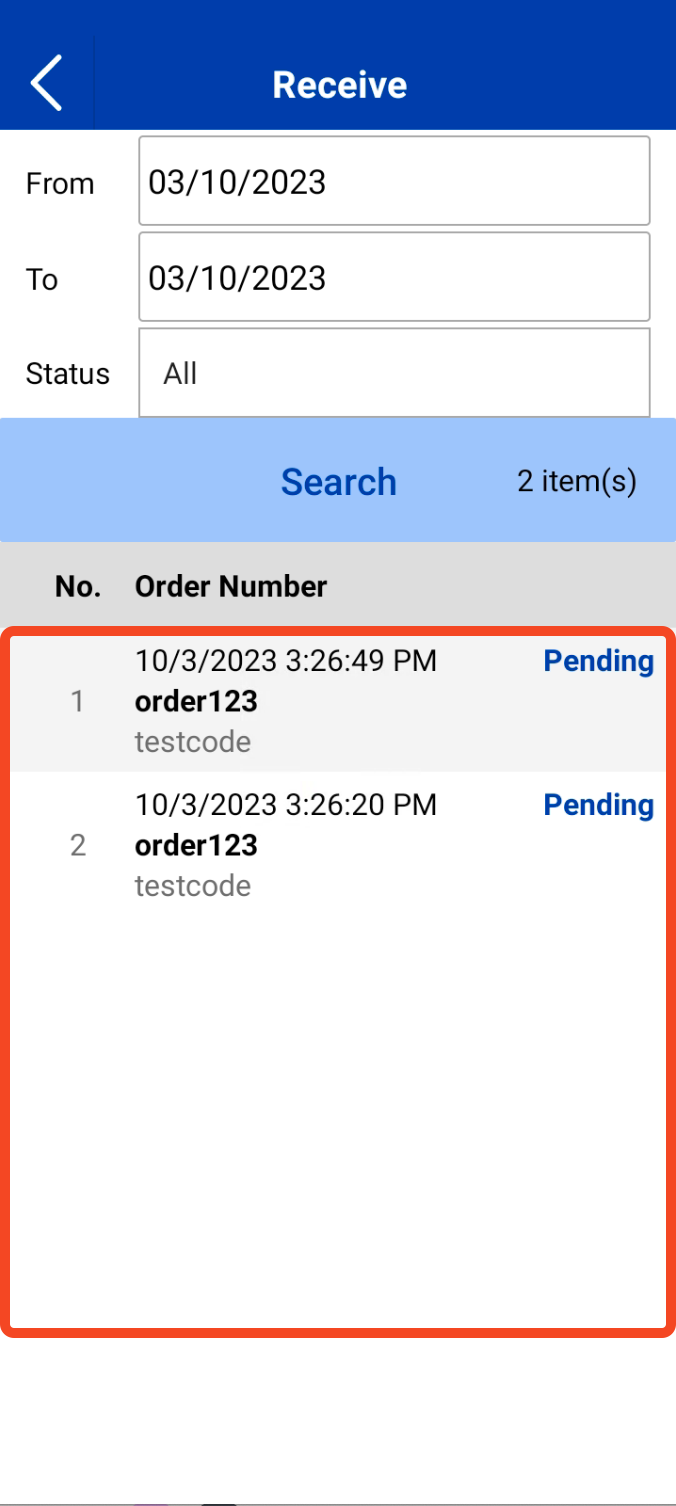
- From the EPOS App home page, click “Purchase Order”.

Click on Edit Draft / Receive Goods

Click on the Purchase Order that you would like to update on

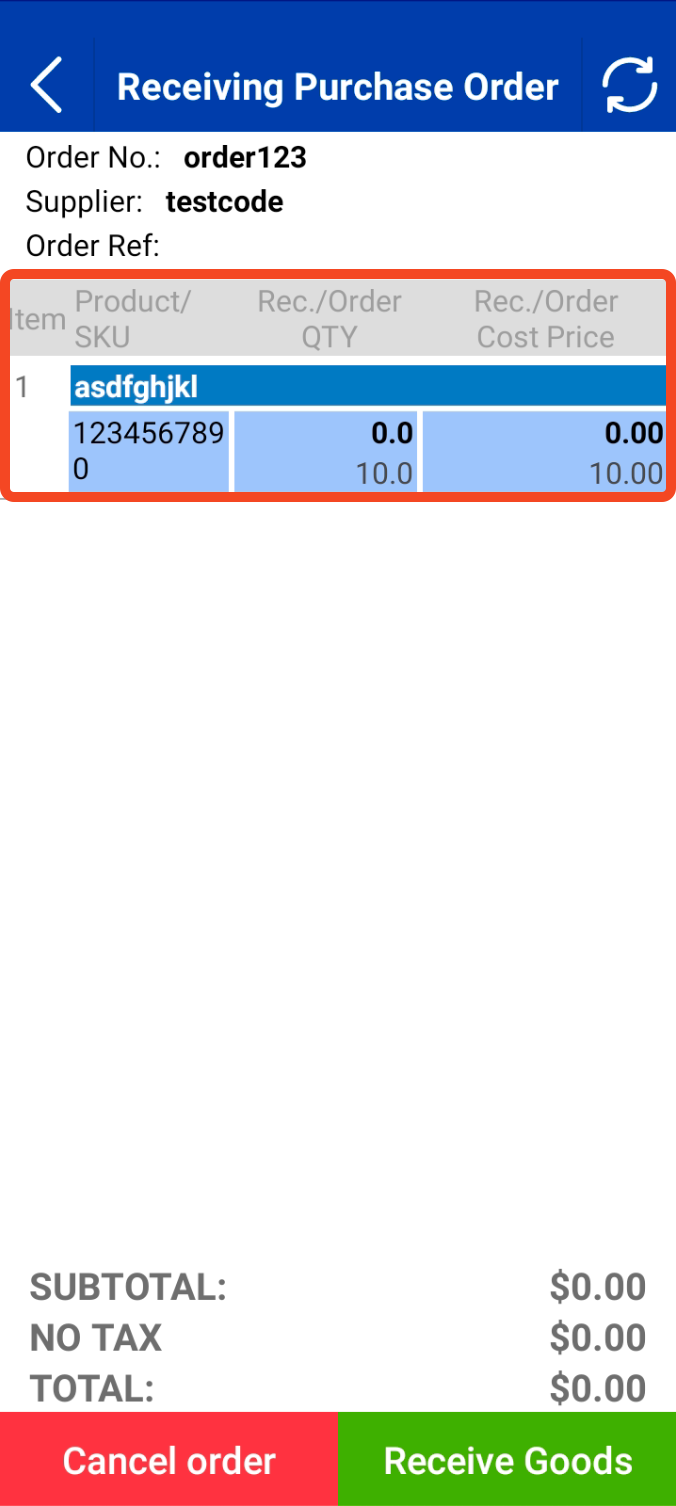
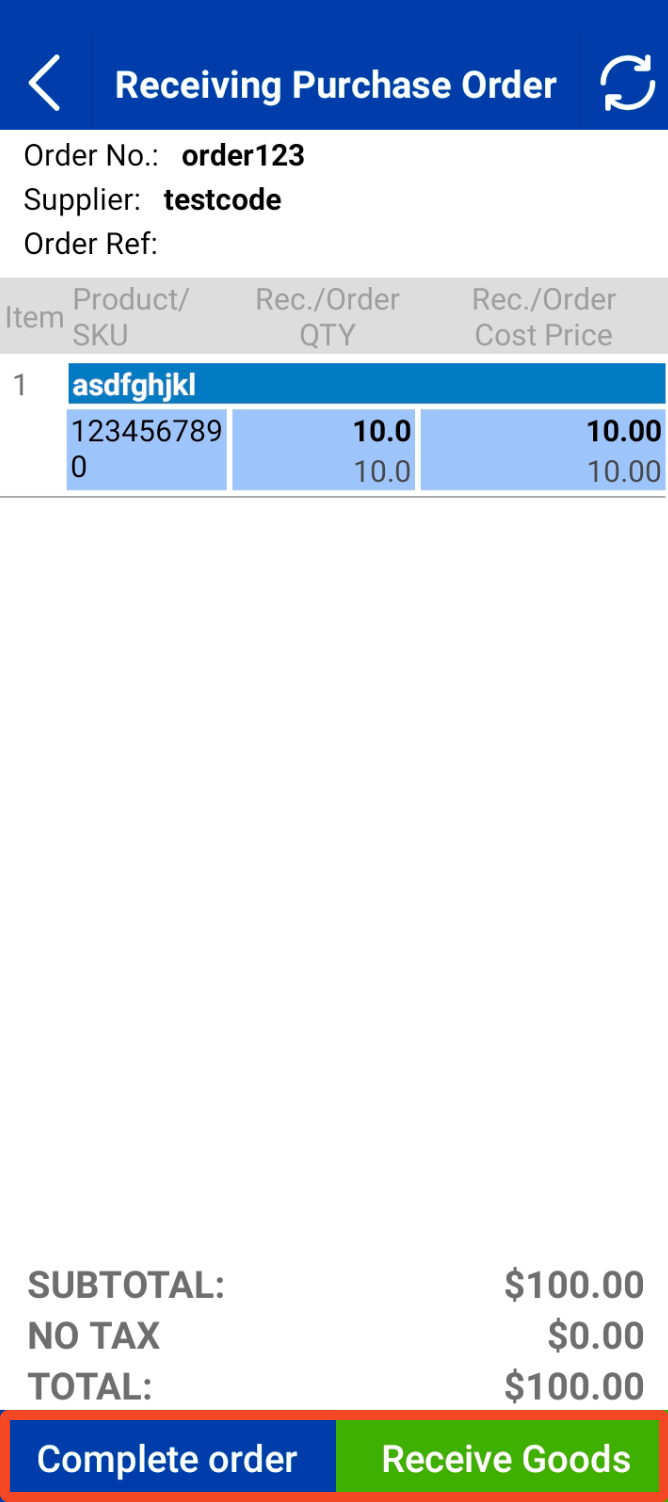
Check that you have clicked into the right purchase order.
If it is correct, click on “Receive Goods”, otherwise click on the back icon on the top left of the screen.
To cancel the purchase order, click on “Cancel Order”
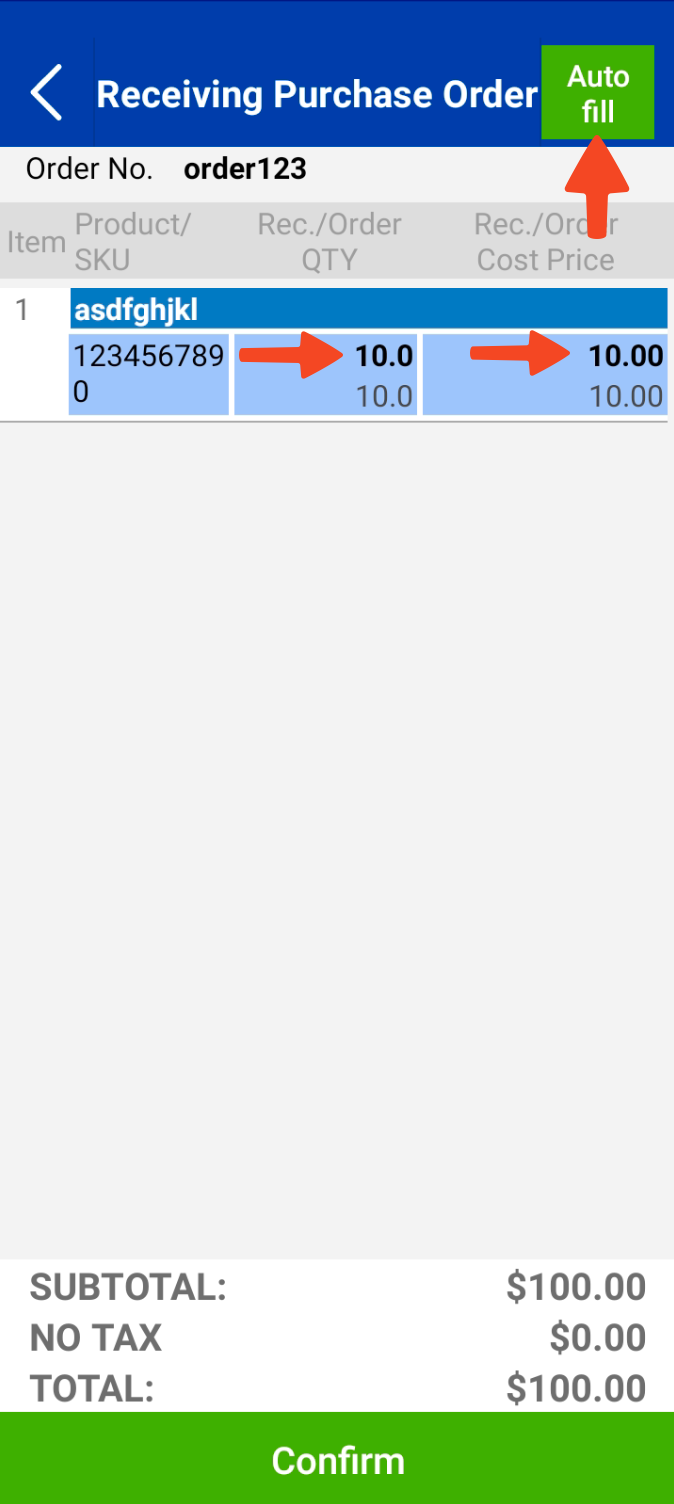
Edit the sku/qty/cost price of the purchase order by clicking on to the appropriate fields OR click on the “auto-fill” button to auto-fill the same quantity and cost price as stated on the purchase order.
Click on “Confirm” to proceed

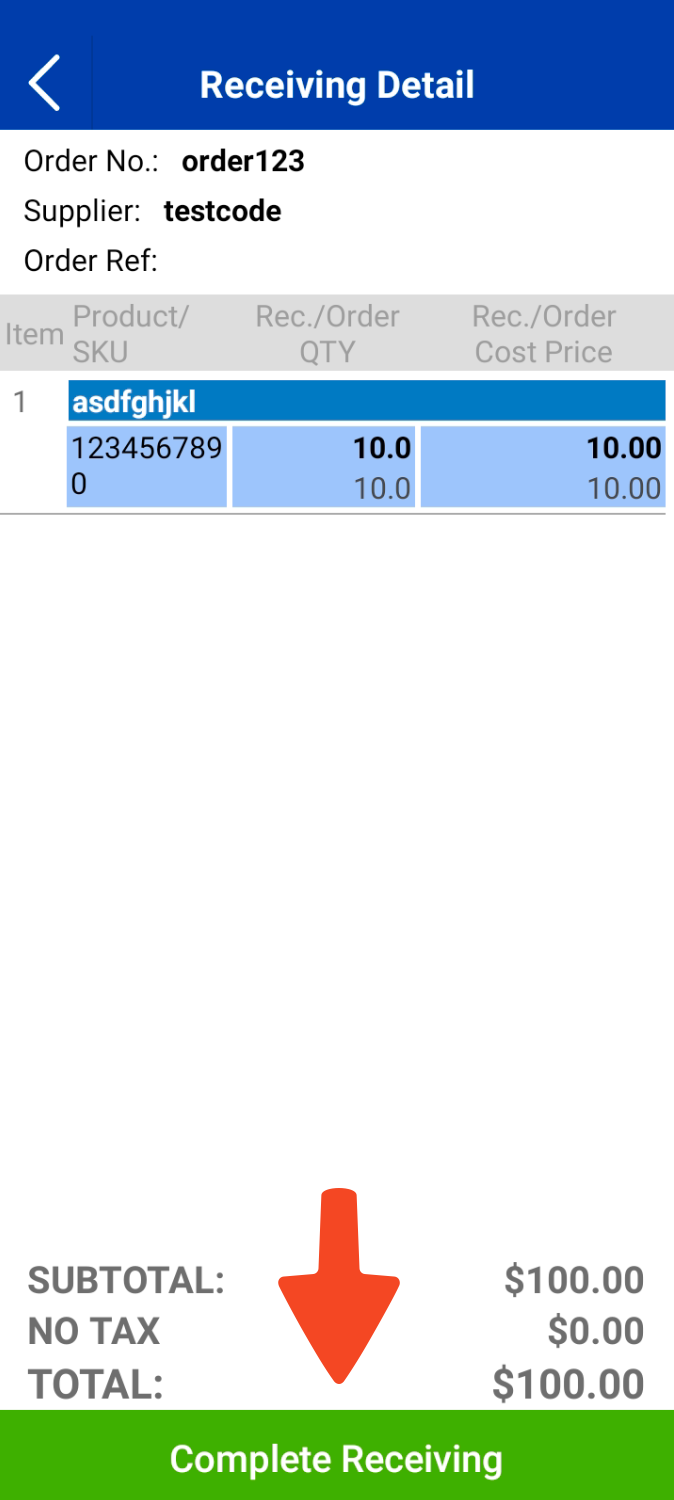
Click “Complete Receiving”

- Click on “Receive Goods” to receive another batch of goods from the current purchase order.
- Click on “Complete Order” to conclude and close off the current purchase order.

Video Tutorial
To create a purchase order on the backend, head on to Purchase Orders.
Need to adjust permissions for staff? Click here to learn how.
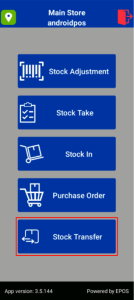
This tab gives a step-by-step tutorial on how to do stock transfer on stocktake device.
What can we do in Stock Transfer?
Create a New Stock Transfer
Send Goods
Receive Goods
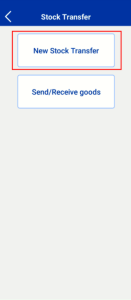
A. Create a new transfer:
1. Navigate to Stock Transfer > New Stock Transfer
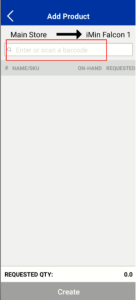
- Select destination outlet > Enter a reference number > Tap on “Add Product”
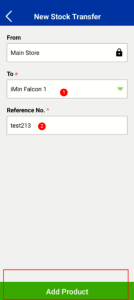
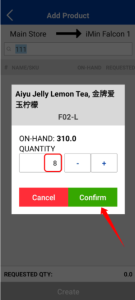
2. Add products by entering the product name or scanning barcodes
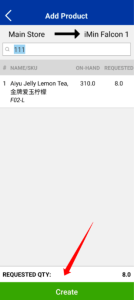
3. Input the quantity of the product requested by destination outlet
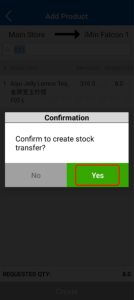
4. Tap on “Create” button to create the stock transfer
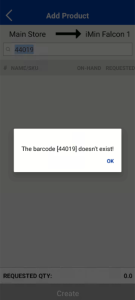
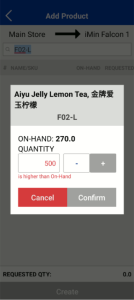
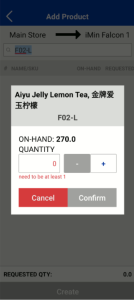
Error Messages When Creating a New Stock Transfer
- Barcode Not Found
- Requested quantity Exceeds On-Hand Stock
- Quantity Must Be At Least 1
- When product is deleted or stock is no longer enough
B. Send Goods
How to send goods after creating a new stock transfer?
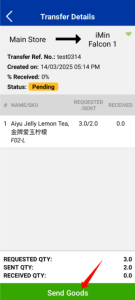
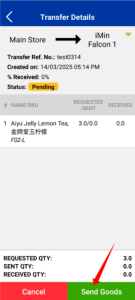
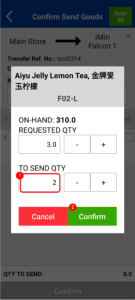
1. After creating a new stock transfer, user can view the transfer details
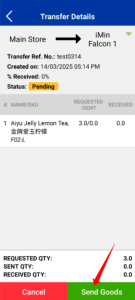
2. Enters the reference number and manually fill in the quantity to send.
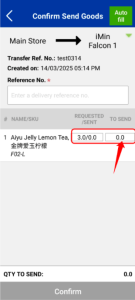
- User can also tap on “Auto Fill” to fill in the quantity automatically.

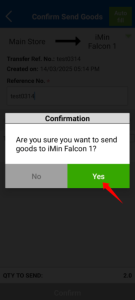
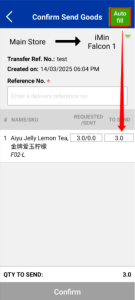
3. Once all details are filled in, can proceed to confirm send goods
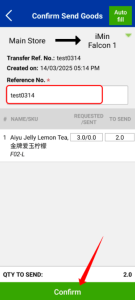
4. After confirmation, user will be able to view the transfer details again and decide whether want to send the remaining goods or not.
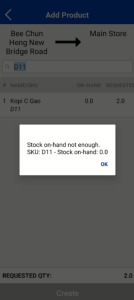
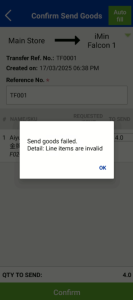
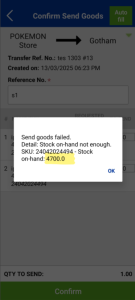
Error Messages When Sending goods
- Product no longer exist
- Stock on-hand is not enough
How to send goods for an ongoing transfer?
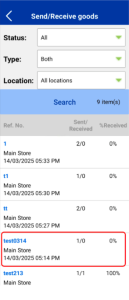
1. Navigate to Stock Transfer > Send/Receive goods > Select the ongoing transfer

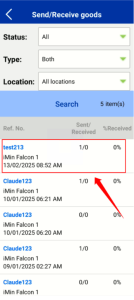
2. User can filter the:
- Status: Pending, Completed, Canceled
- Type of transfer: Incoming, Outgoing, Both
- Locations
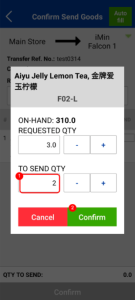
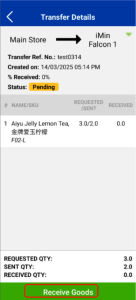
3. Users then directed to transfer details screen and tap on Send Goods button.
4. User can adjust the ‘To Send Quantity’
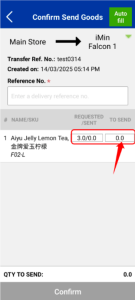
- User may use the “Auto Fill” button to fill up the quantity automatically.
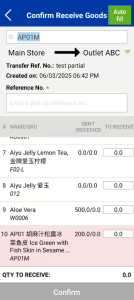
C. Receive Goods
1. Navigate to Stock Transfer > Send/Receive goods > Select the ongoing transfer > Tap on Receive Goods button
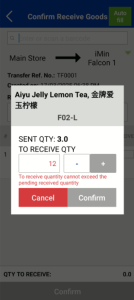
2. Enter the reference no. and quantity you want to receive.
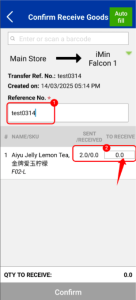
- User may use the “Auto Fill” button to fill up the quantity automatically.
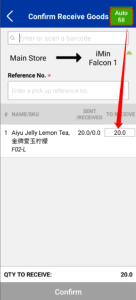
- if there are many items in the transfer, the user can scan barcodes to find the item faster. When a barcode is scanned, the app will highlight the corresponding product row, making it easier for the user to locate and update the quantity.
4. Once all details are filled in, can proceed to confirm receive goods. After confirmation, user will be able to view the transfer details again and decide whether want continue receiving goods or not.
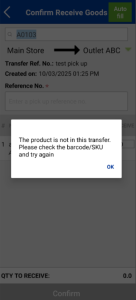
Error Messages When Receiving goods
- The scanned barcode cannot be found in this transfer
To receive quantity is higher than Sent quantity
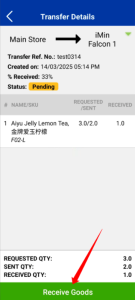
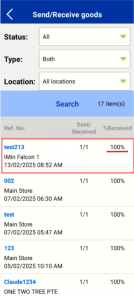
D. How to complete the transfer after destination outlet receiving goods?
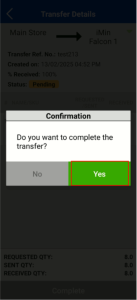
1. Navigate to Send/Receive Goods > look for the transfer with a 100% receiving rate.
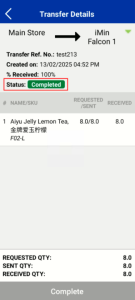
2. tap on Complete > Yes
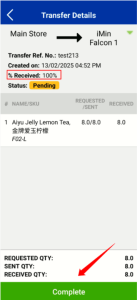
3. Status changed to Completed. The transfer is successfully completed.
Need to adjust permissions for staff? Click here to learn how.